
Express Trip to Iceland

Total Days: 2.5 (Friday to Sunday)
Total Trip Cost without Food: $1,467 (Put those credit card points to use!)
Cultural Tips: They speak great English, their currency is Kronos but I did not bring cash, I used my card for everything, and they do not tip (service fees are included).
First, let me set your expectations with what this trip is not. It’s not a luxury trip or an extended stay. It is not a “let’s explore the city trip”, foodie trip, or summer vacation.
It’s a quick and dirty “let’s get out in nature” trip, experience as much of Iceland as possible in a weekend trip, a solo trip, an “I’m only taking one personal item and packing super light” trip (aka one-bagging - there’s a whole thing on Reddit apparently), and a winter wonderland experience of the ages!!
Ok, now that I’ve set your expectations, let’s get into it.
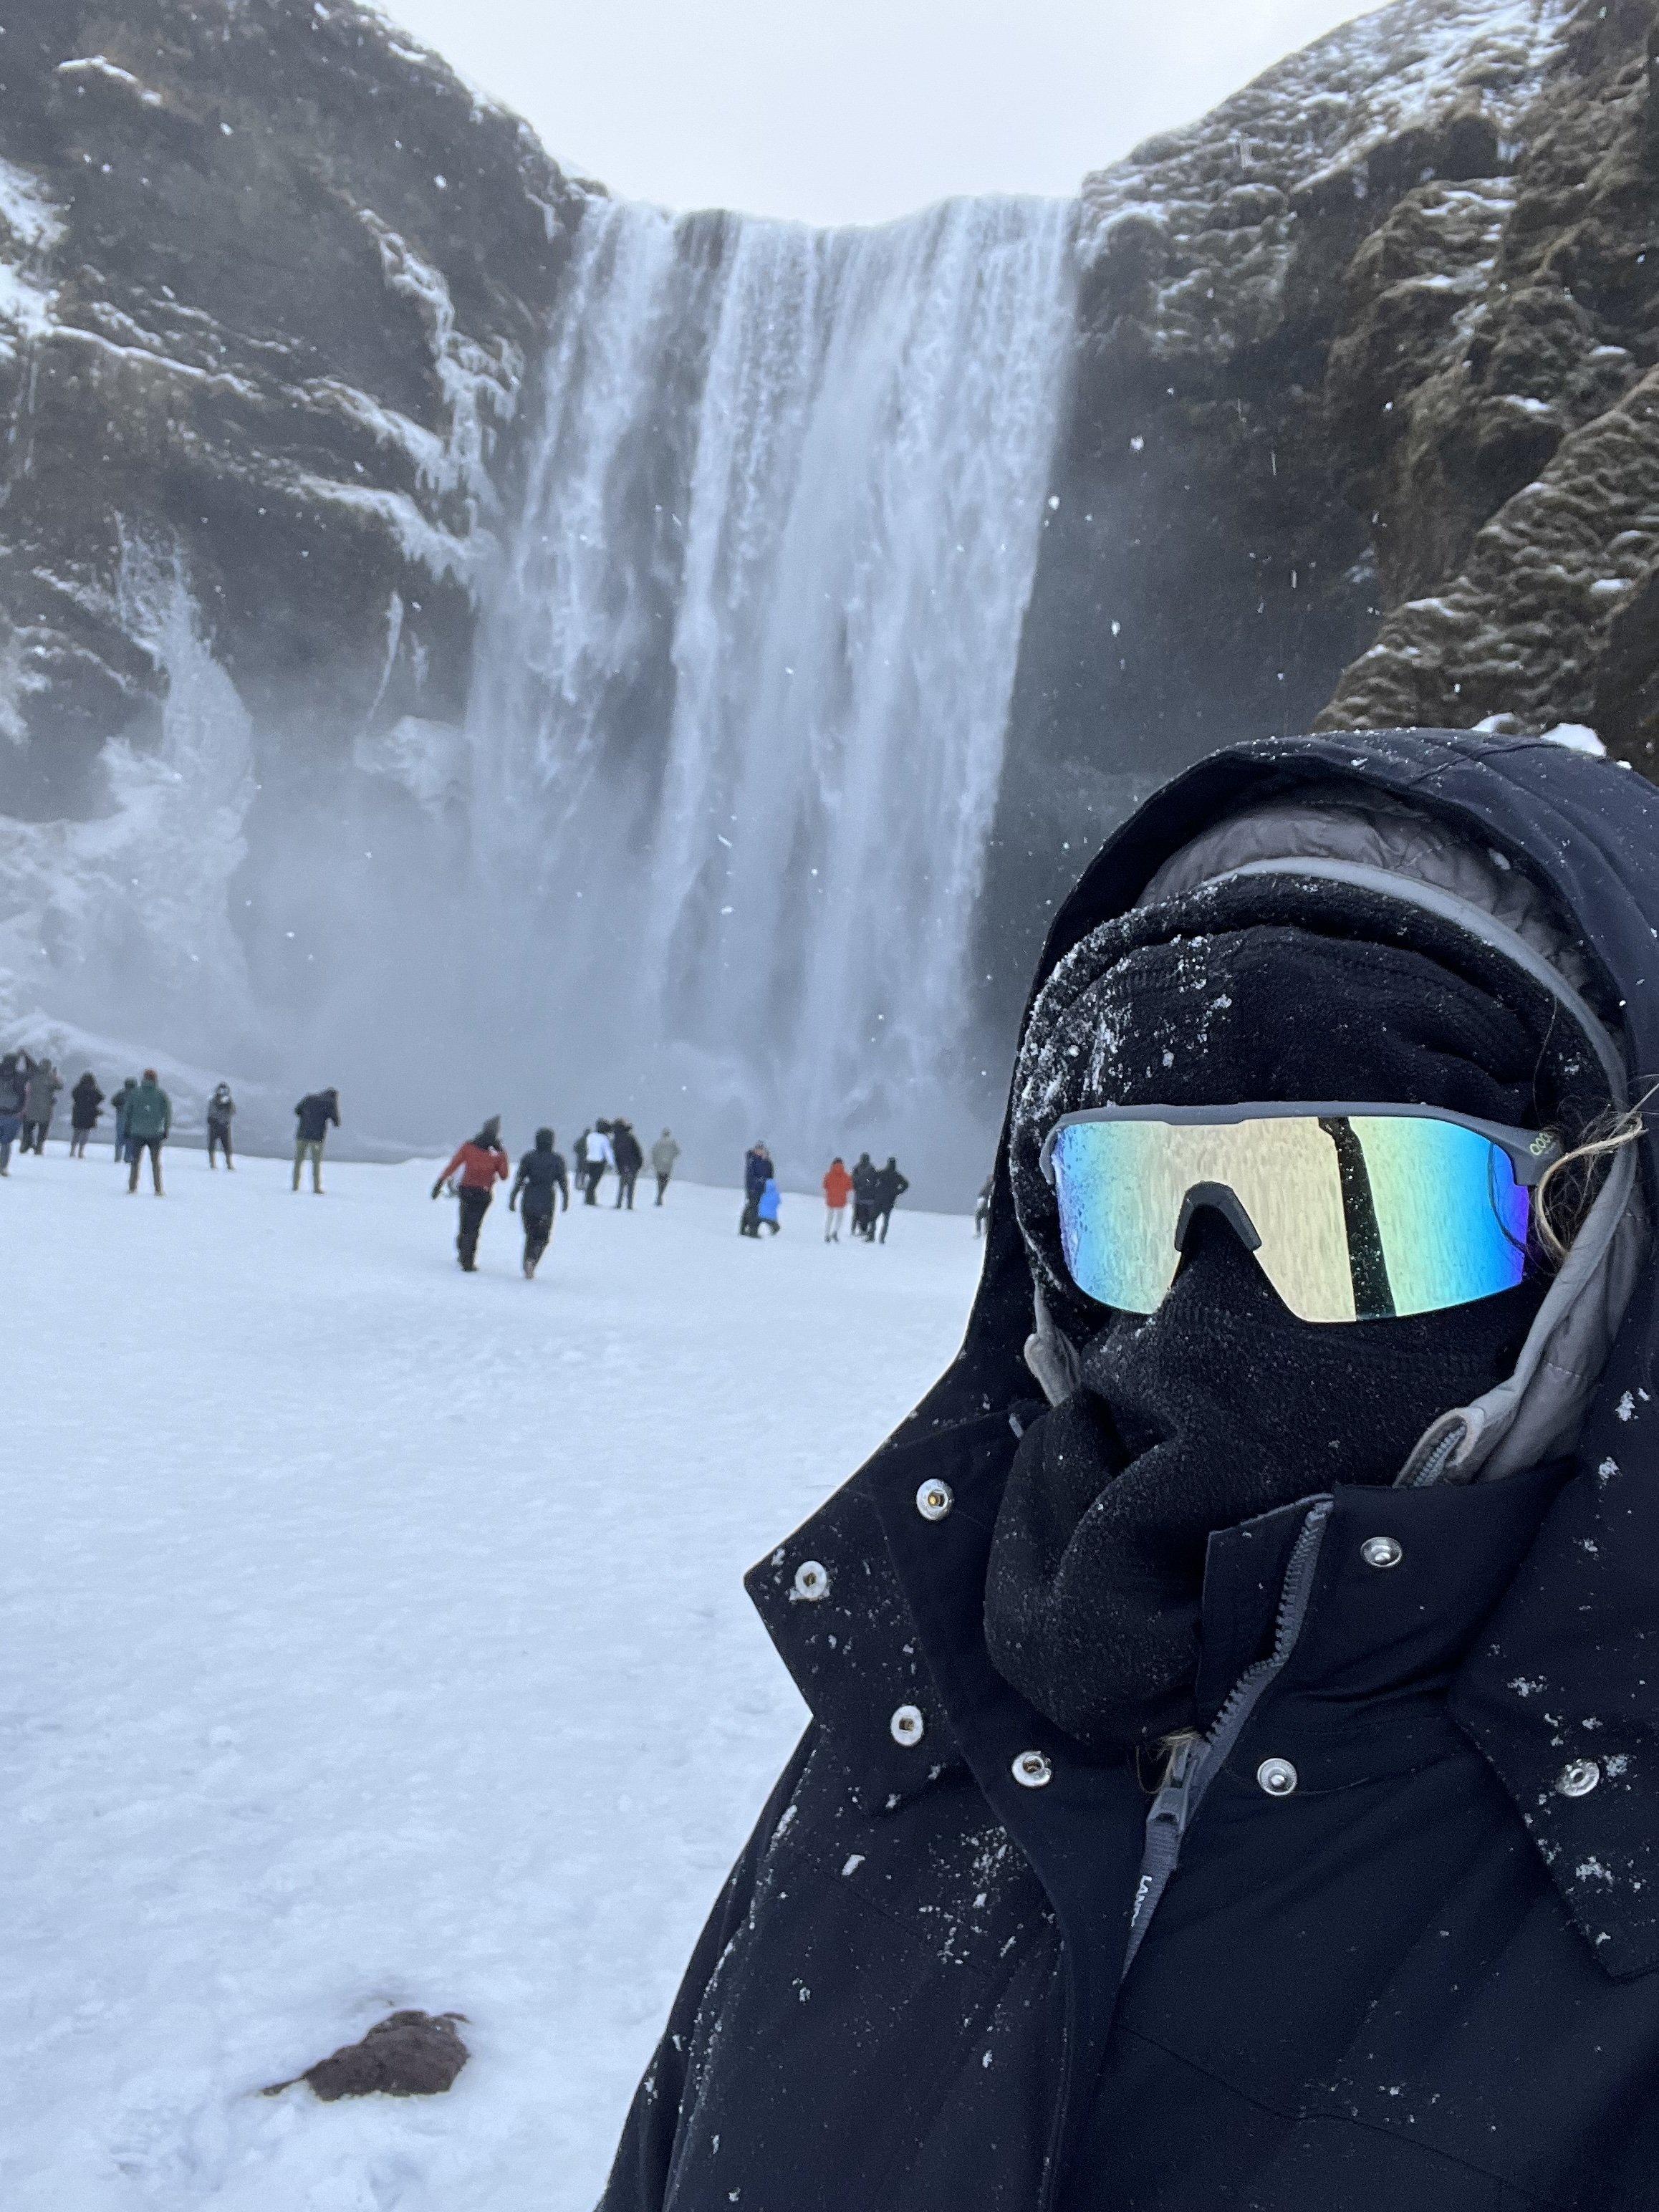
I used to shy away from winter trips to the cold. We should be escaping from cold NY winters to somewhere warm, right? Think again. Imagine leveling up your winter experience by visiting the most quintessential winter wonderland countries in the world. White snow, twinkle lights, snowy mountains, vistas, warm and cozy coffee shops, natural hot spring lagoons, and a perspective reset.
Winter weather in Iceland is very unpredictable. We were stuck in whiteouts, rain, sun, hail, and everything in between. Although it’s the best time of year to see the northern lights, the crazy weather meant cloud coverage so I wasn’t able to see them. I went to Iceland the last weekend in January, and the sunrise was around 11 AM and sunset around 4:30-5 PM, so the daylight is short! But, don’t fret. There’s still plenty to see and do!
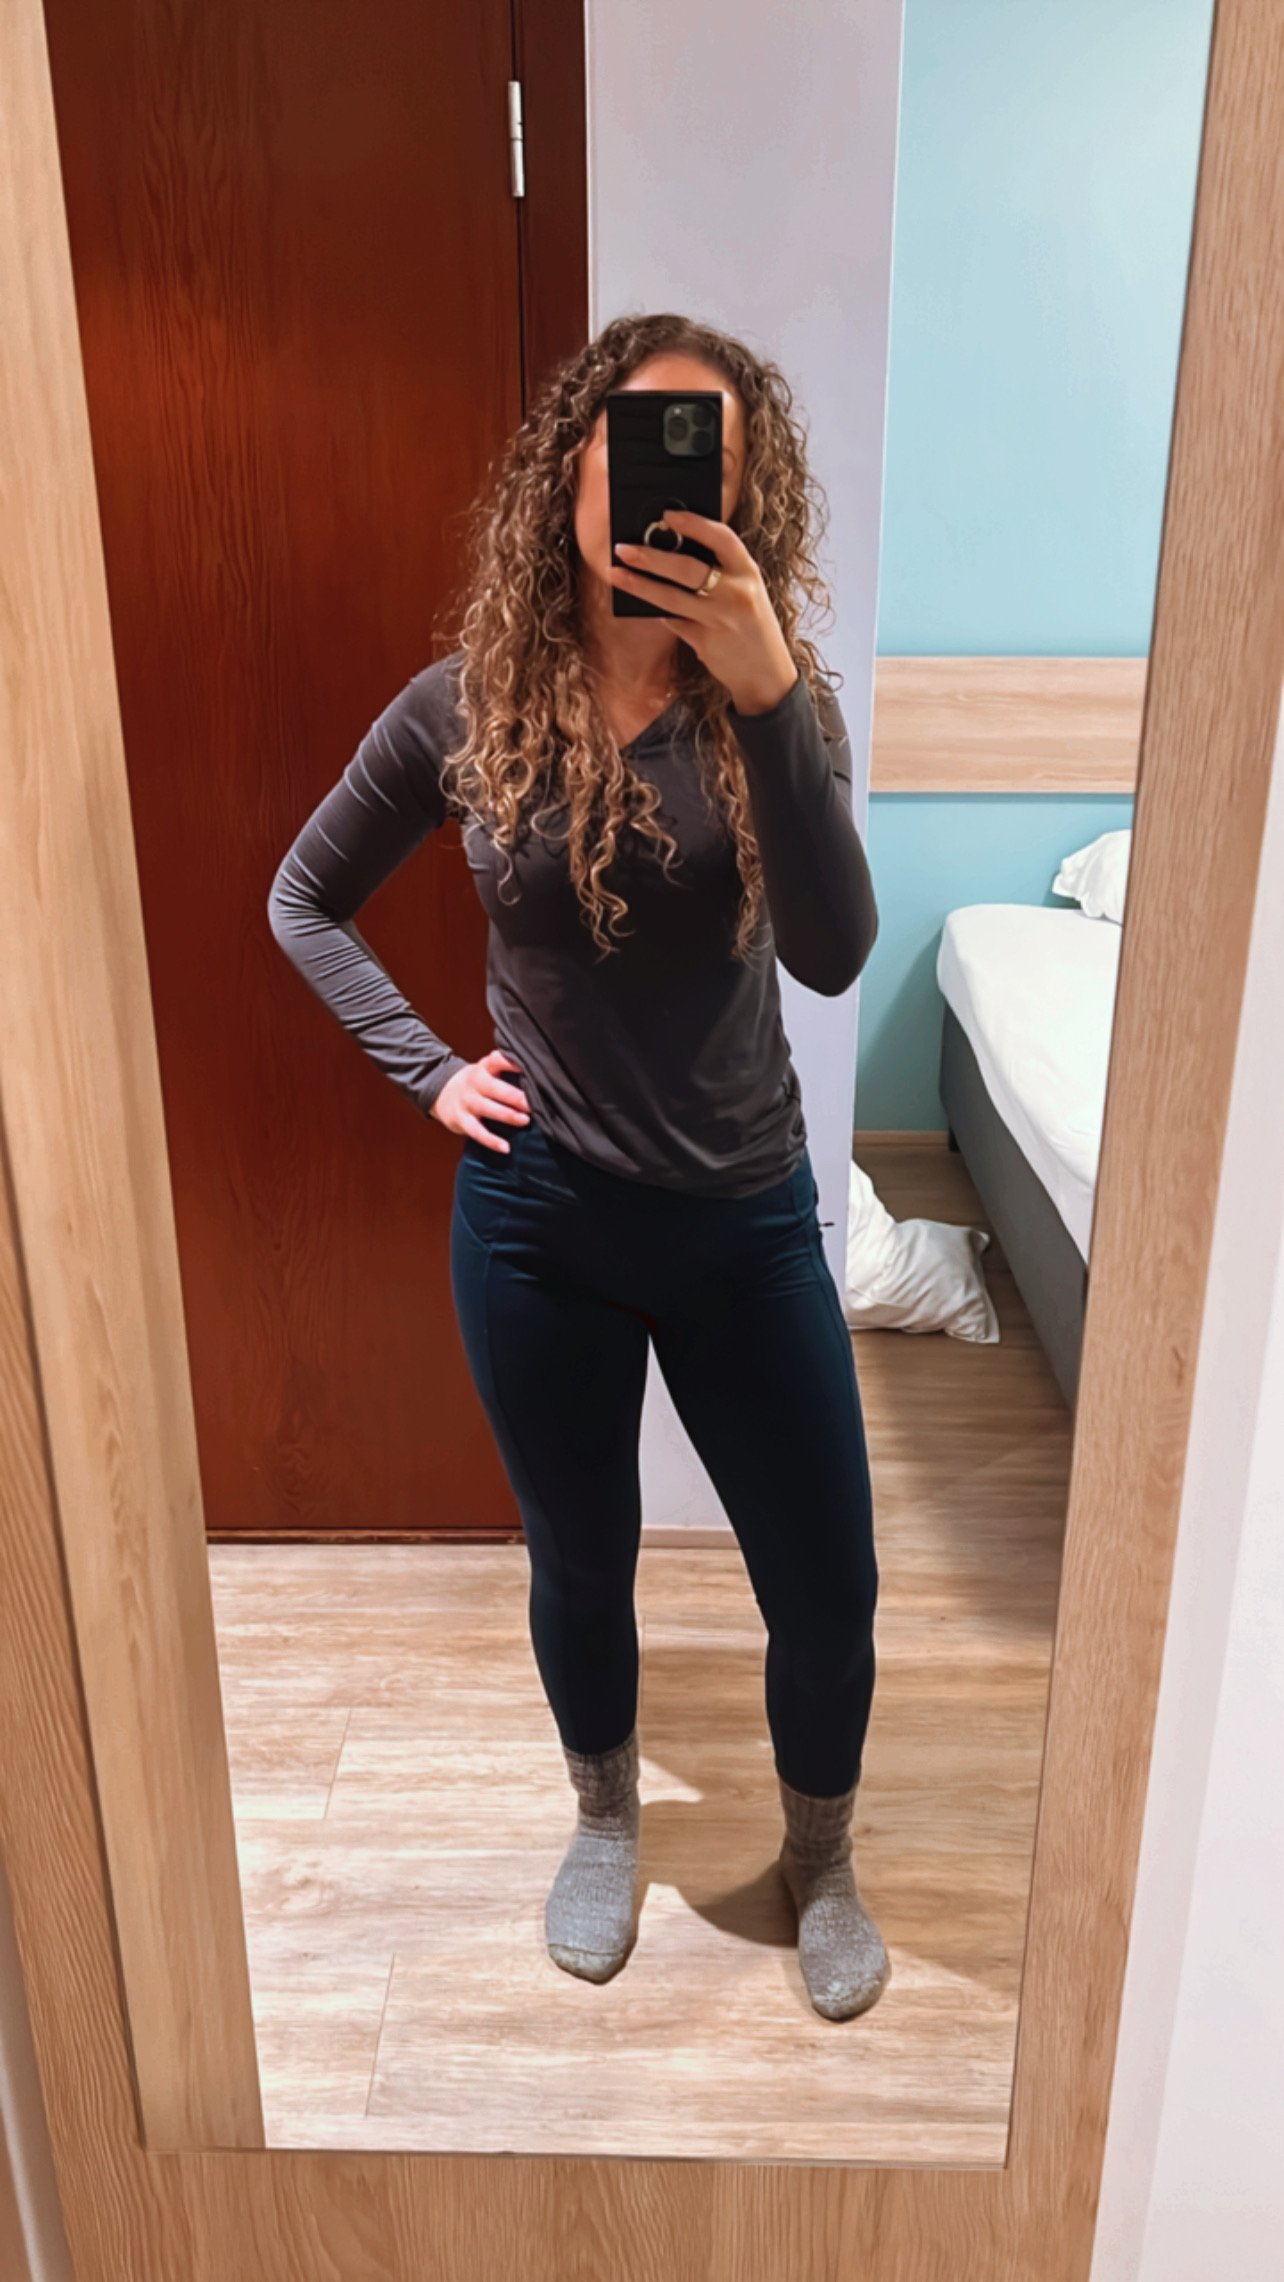
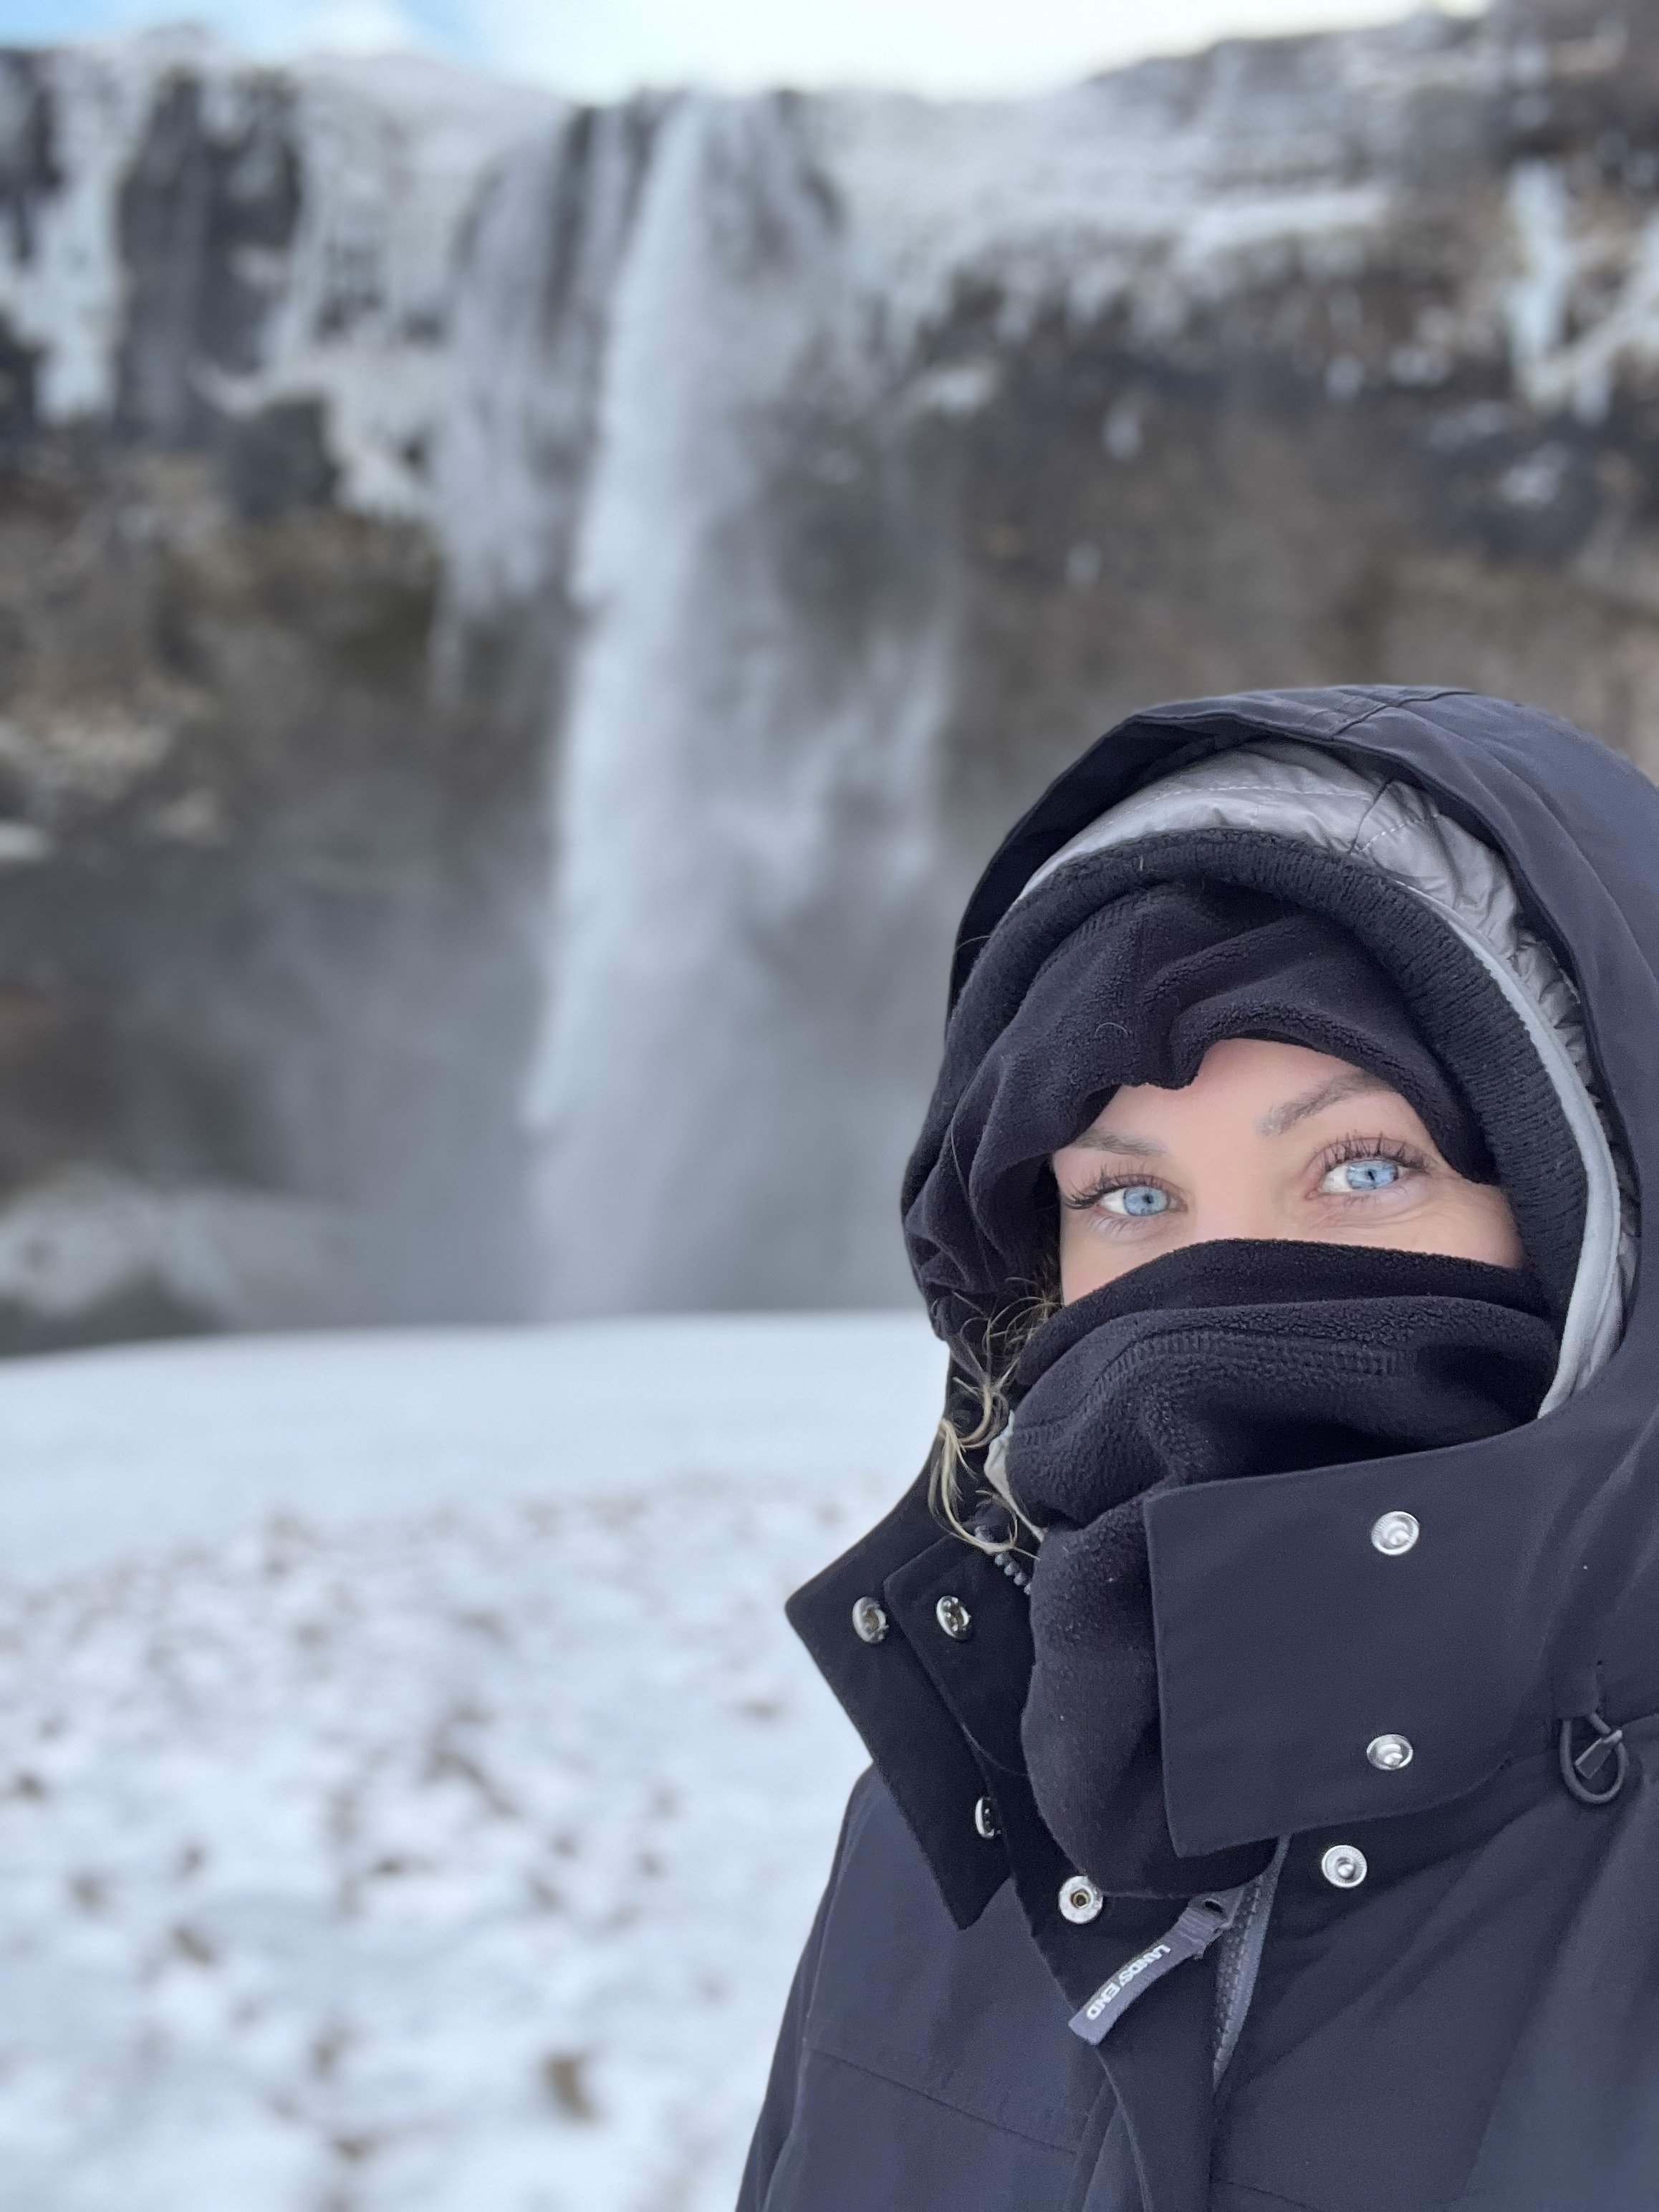
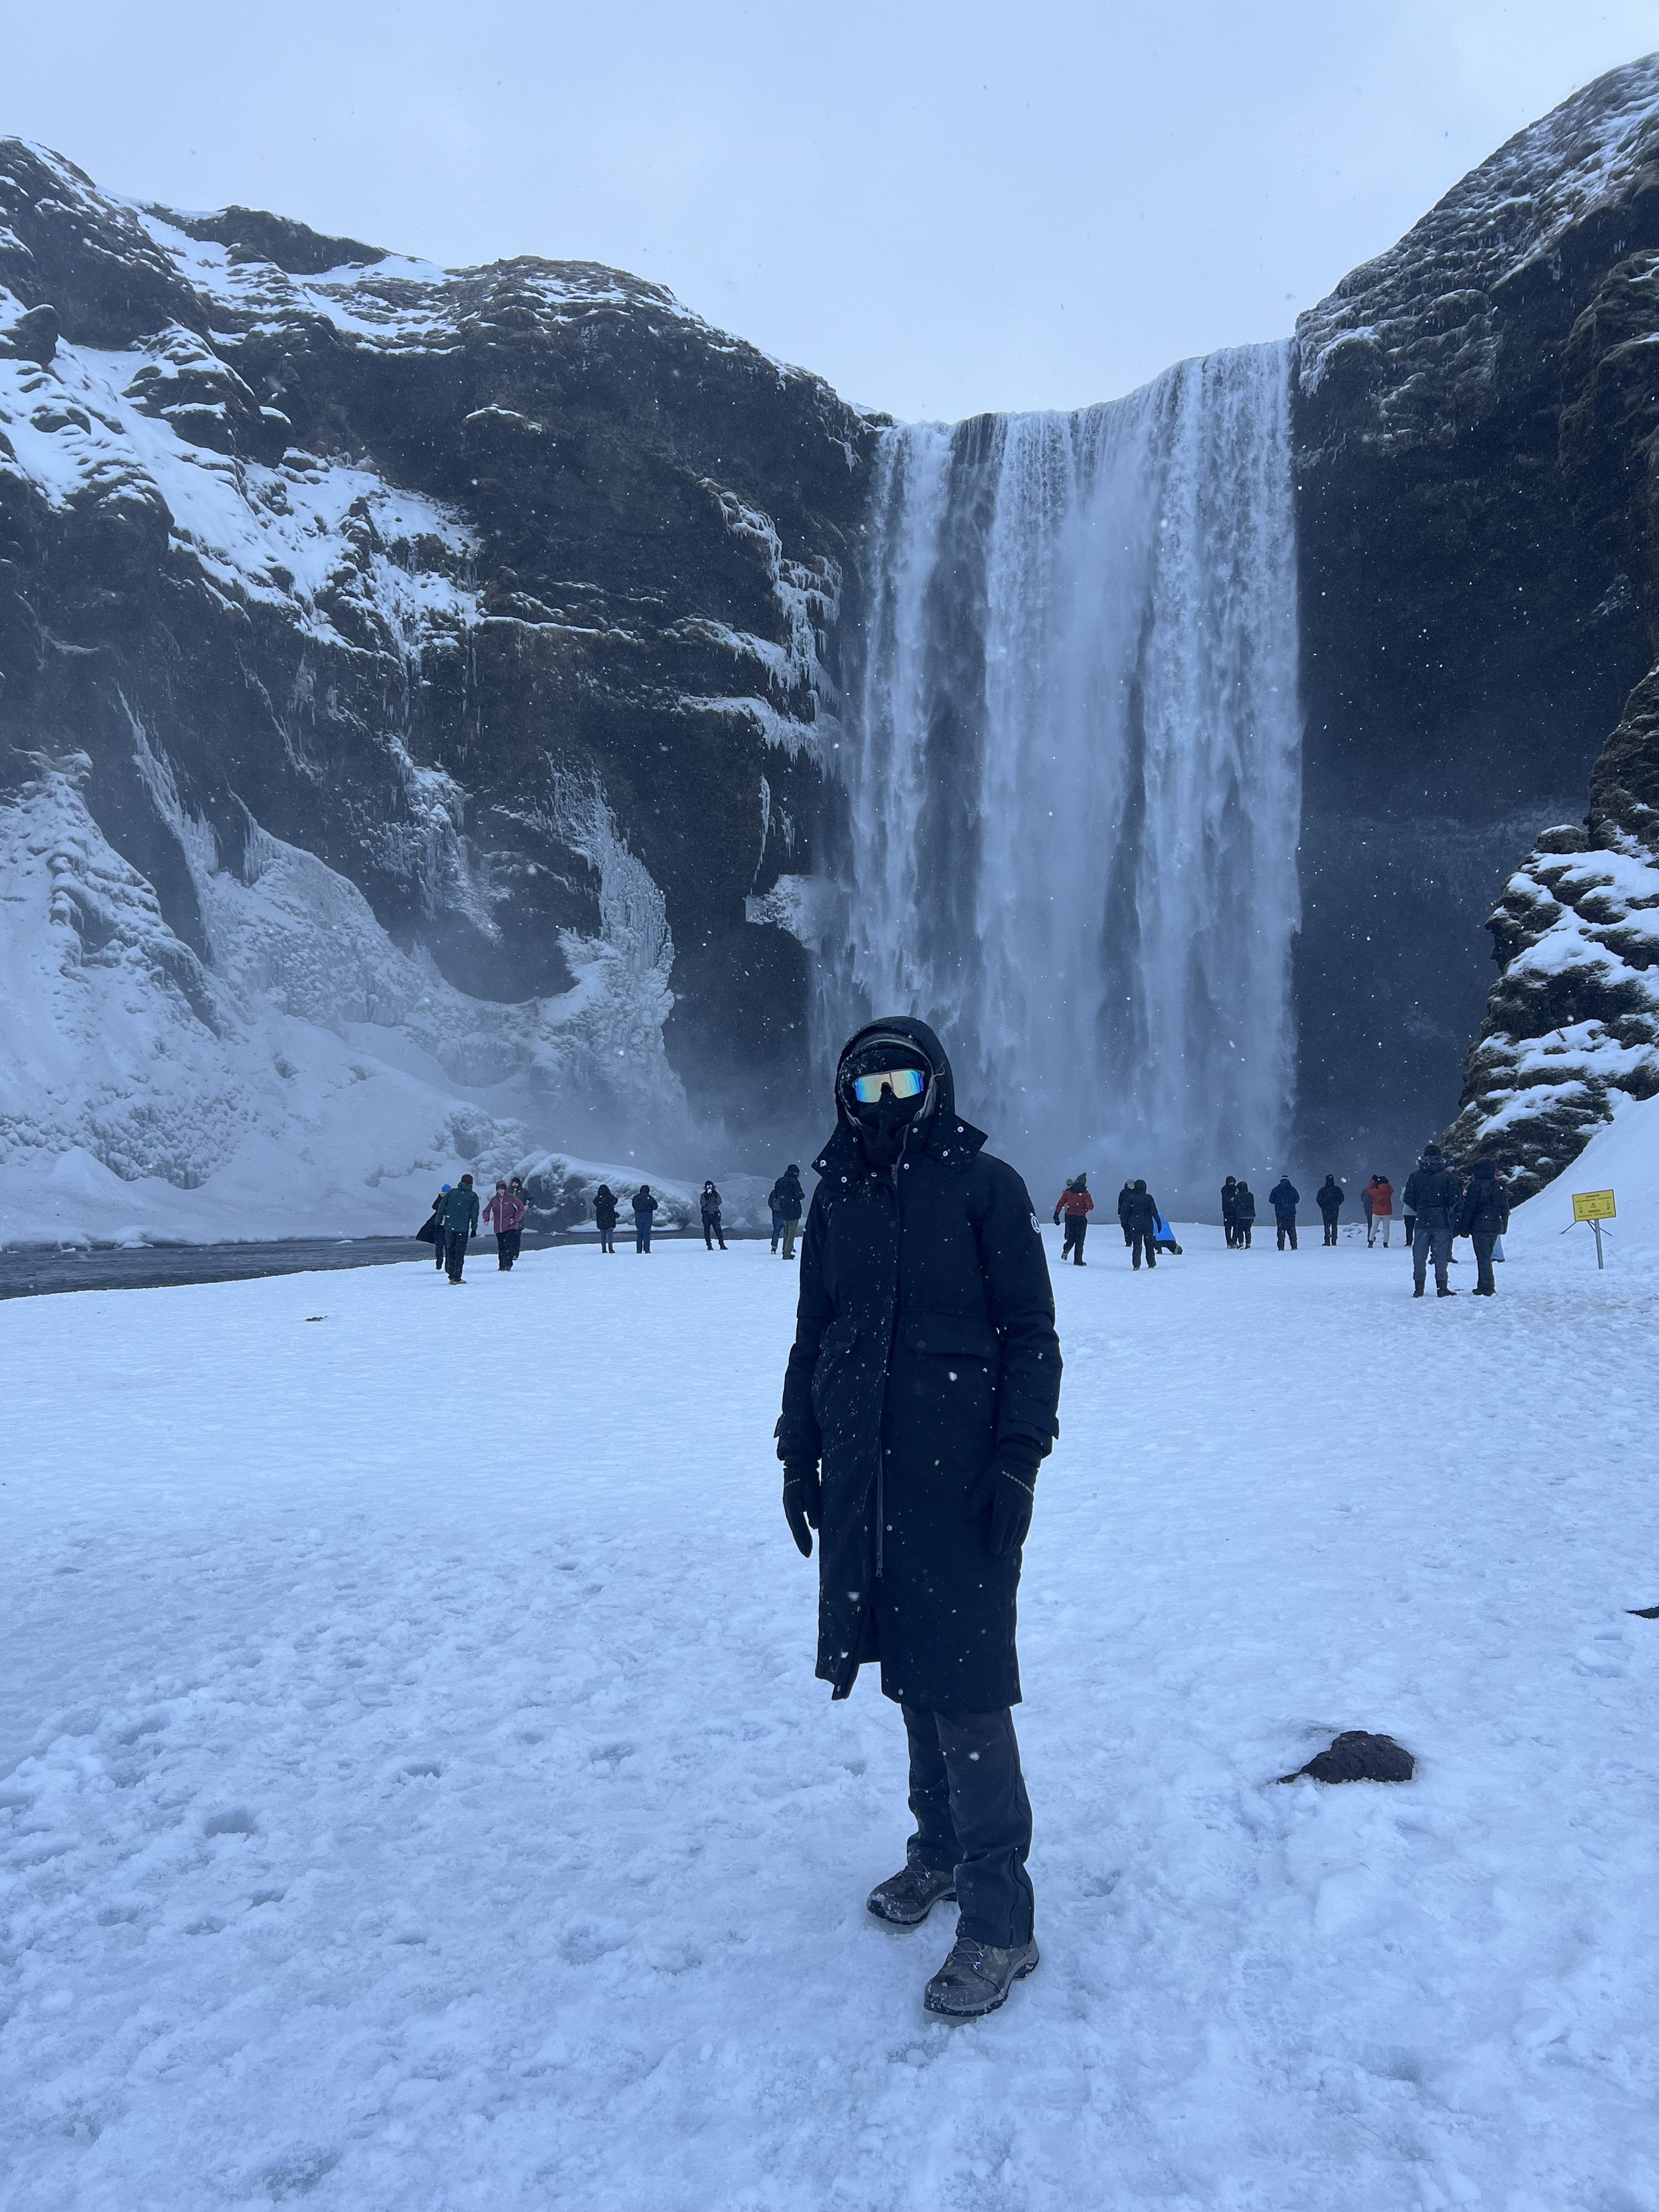
The best tip I read about was packing layers and all water/windproof outer layers. I’m telling you, don’t skip this part. Remember when I said this wasn’t a luxury trip? I only packed what I needed. Everything on my packing list fit into my small backpack or on my body.
I flew out of Stewart Airport in Newburgh, NY on PLAY Airlines on a Thursday evening around 6 PM and returned on Sunday evening around 5 PM so I only took off one day of work. Iceland is 6 hours ahead of us, so when I flew there, I landed at 5 AM but it was still 11 PM in NY. And when you fly home, you basically leave at the same time you land. So I left around 4 PM and arrived in Newburgh at 5 PM. And THAT, my friends, is how you maximize and leverage time differences to your advantage.
*Side note: When you fly into Reykjavik, you’re flying into the Keflavik Airport, not the local Reykjavik airport in the city. I feel like airlines are misleading and don’t always make this clear. It’s about 40 min outside of Reykjavik proper.
Choosing Your Hotel
The only disadvantage to this flight schedule is that because you land super early, you have to be ok with sleeping on the plane and taking tour bus naps because you’re not going back to sleep for a long time. (I’m telling you, pack the neck pillow!) Ideally, your hotel will allow early check-in, but they can’t guarantee it. I made a note with my reservation that I would like to request it (they usually charge a fee if they have availability when you arrive. I paid 35 euros). If they can allow it, great, this gives you a moment to freshen up after your flight and remove some items from your bag. If not, well it doesn’t really make a difference because you’ve only got your backpack, remember? So you‘re just going to keep your backpack on because it has everything you need and keep moving.
The other crucial parts of choosing your hotel are to:

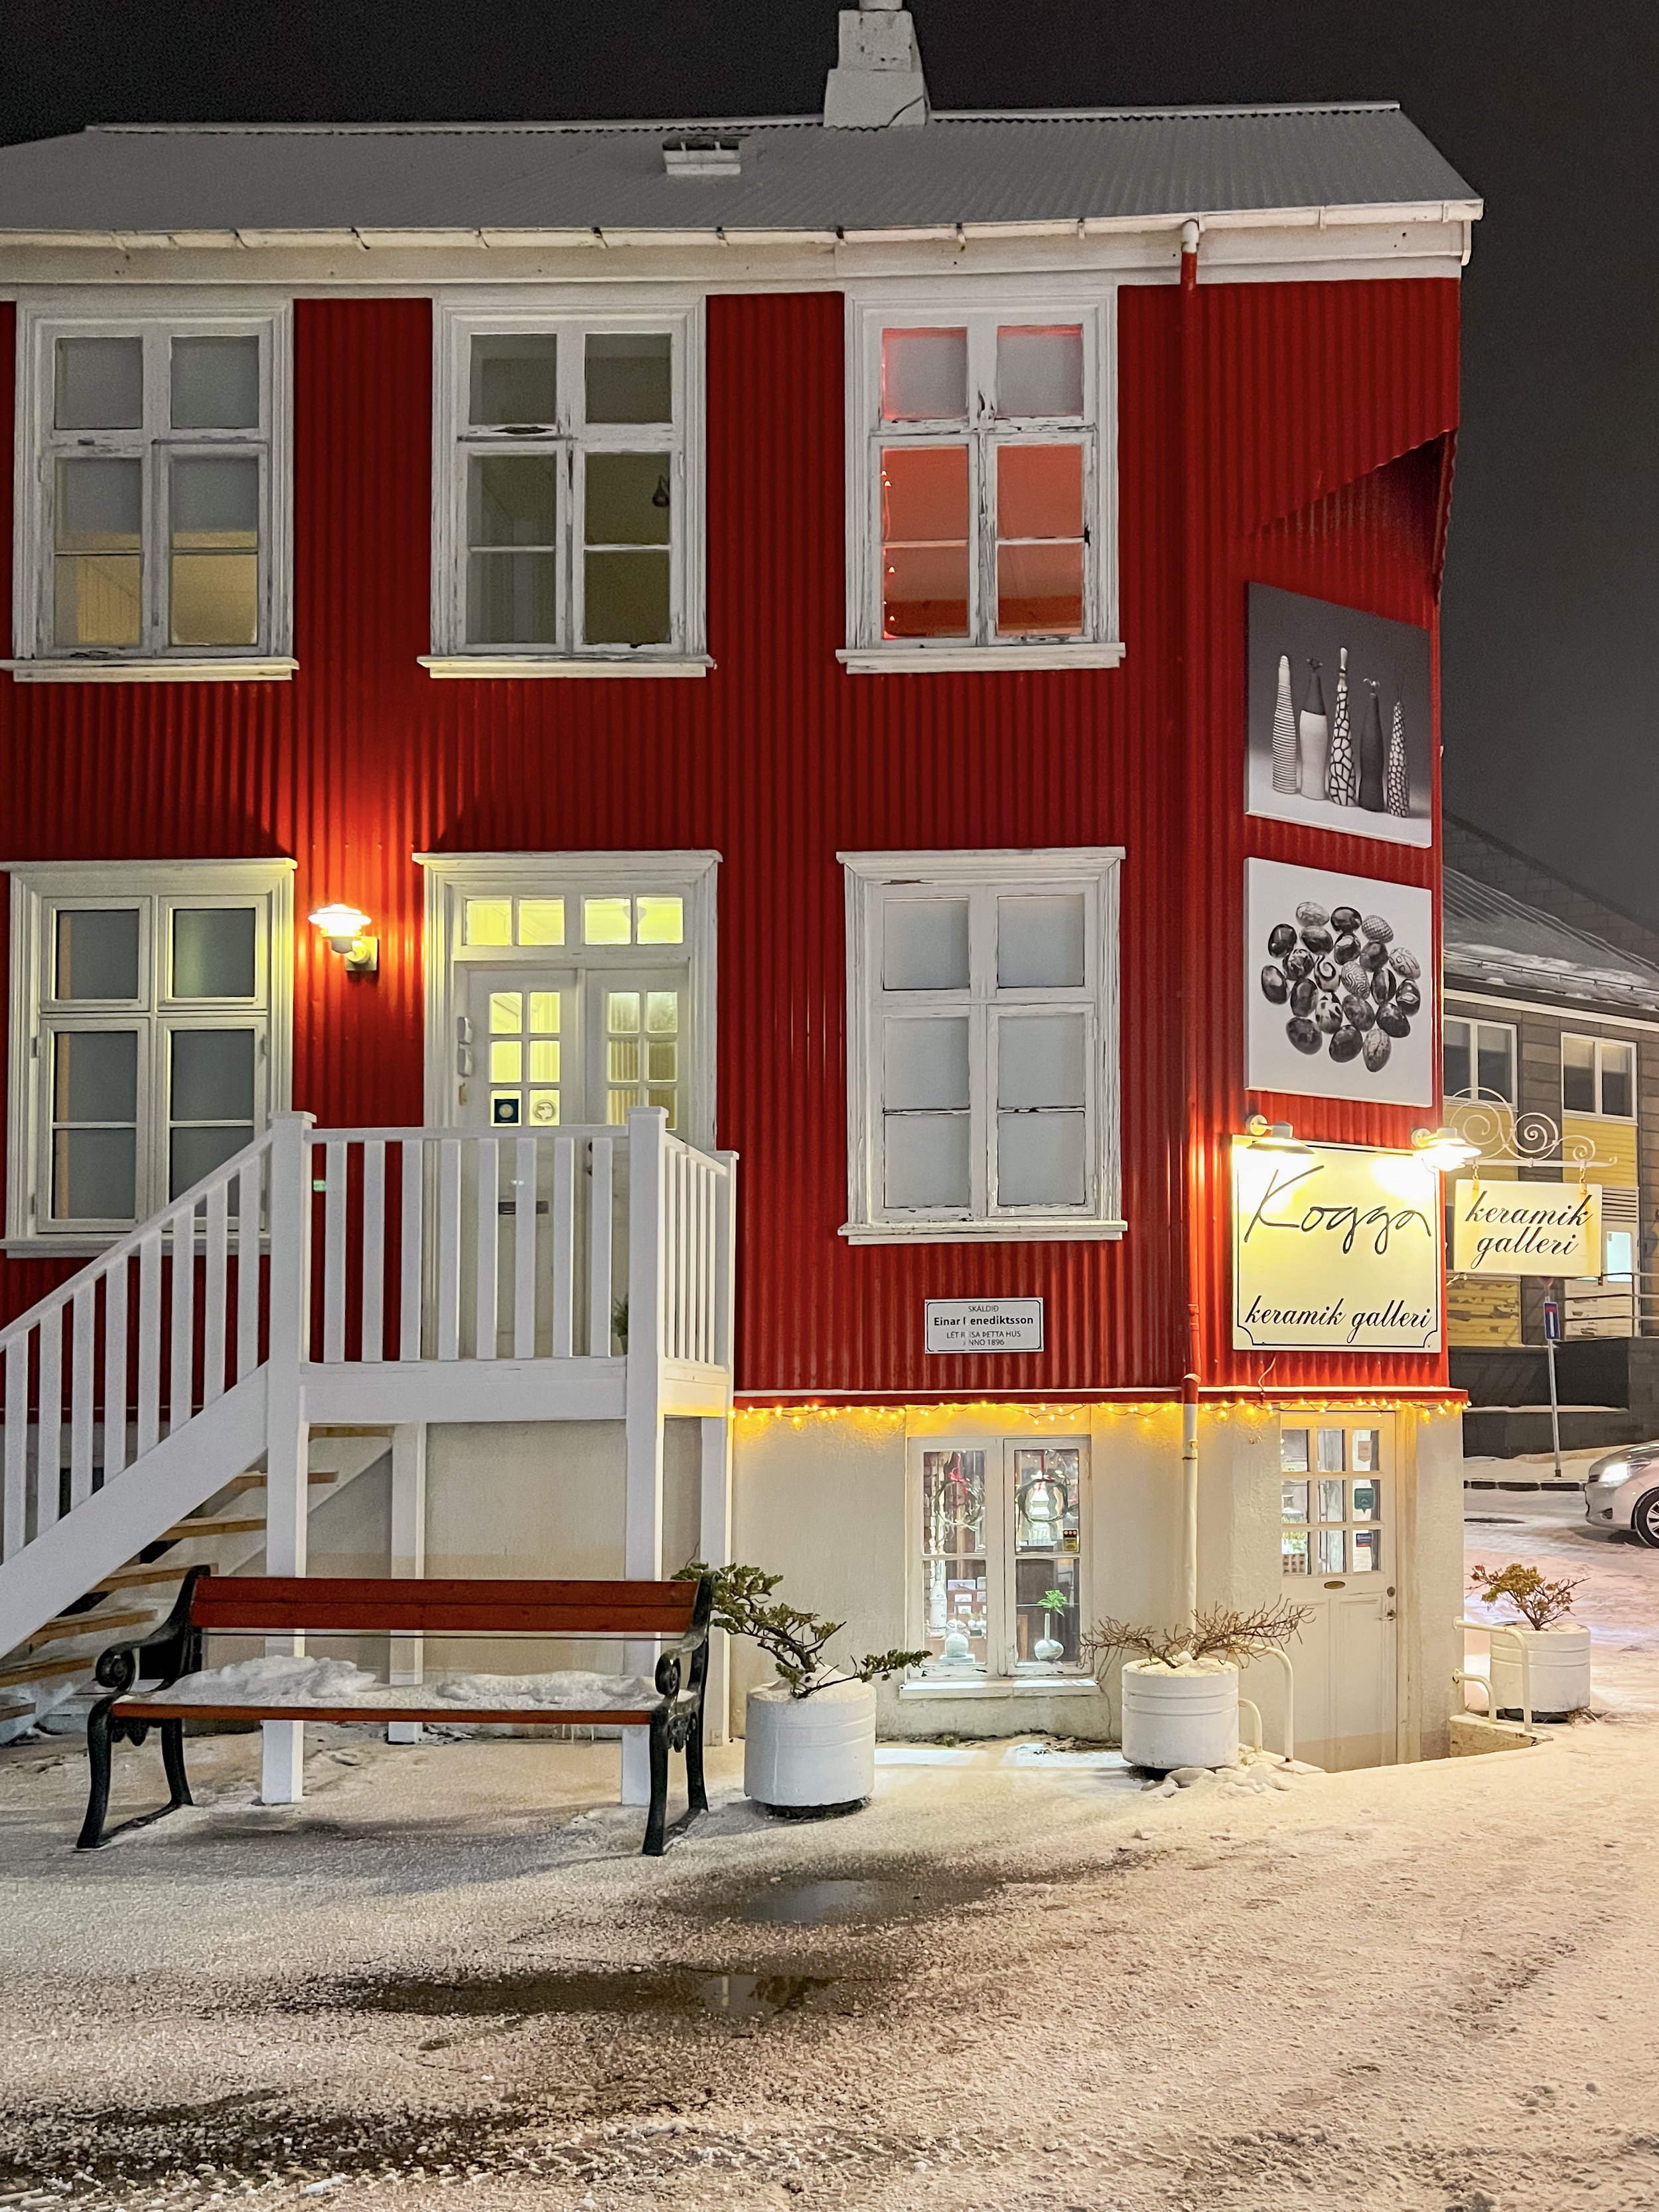
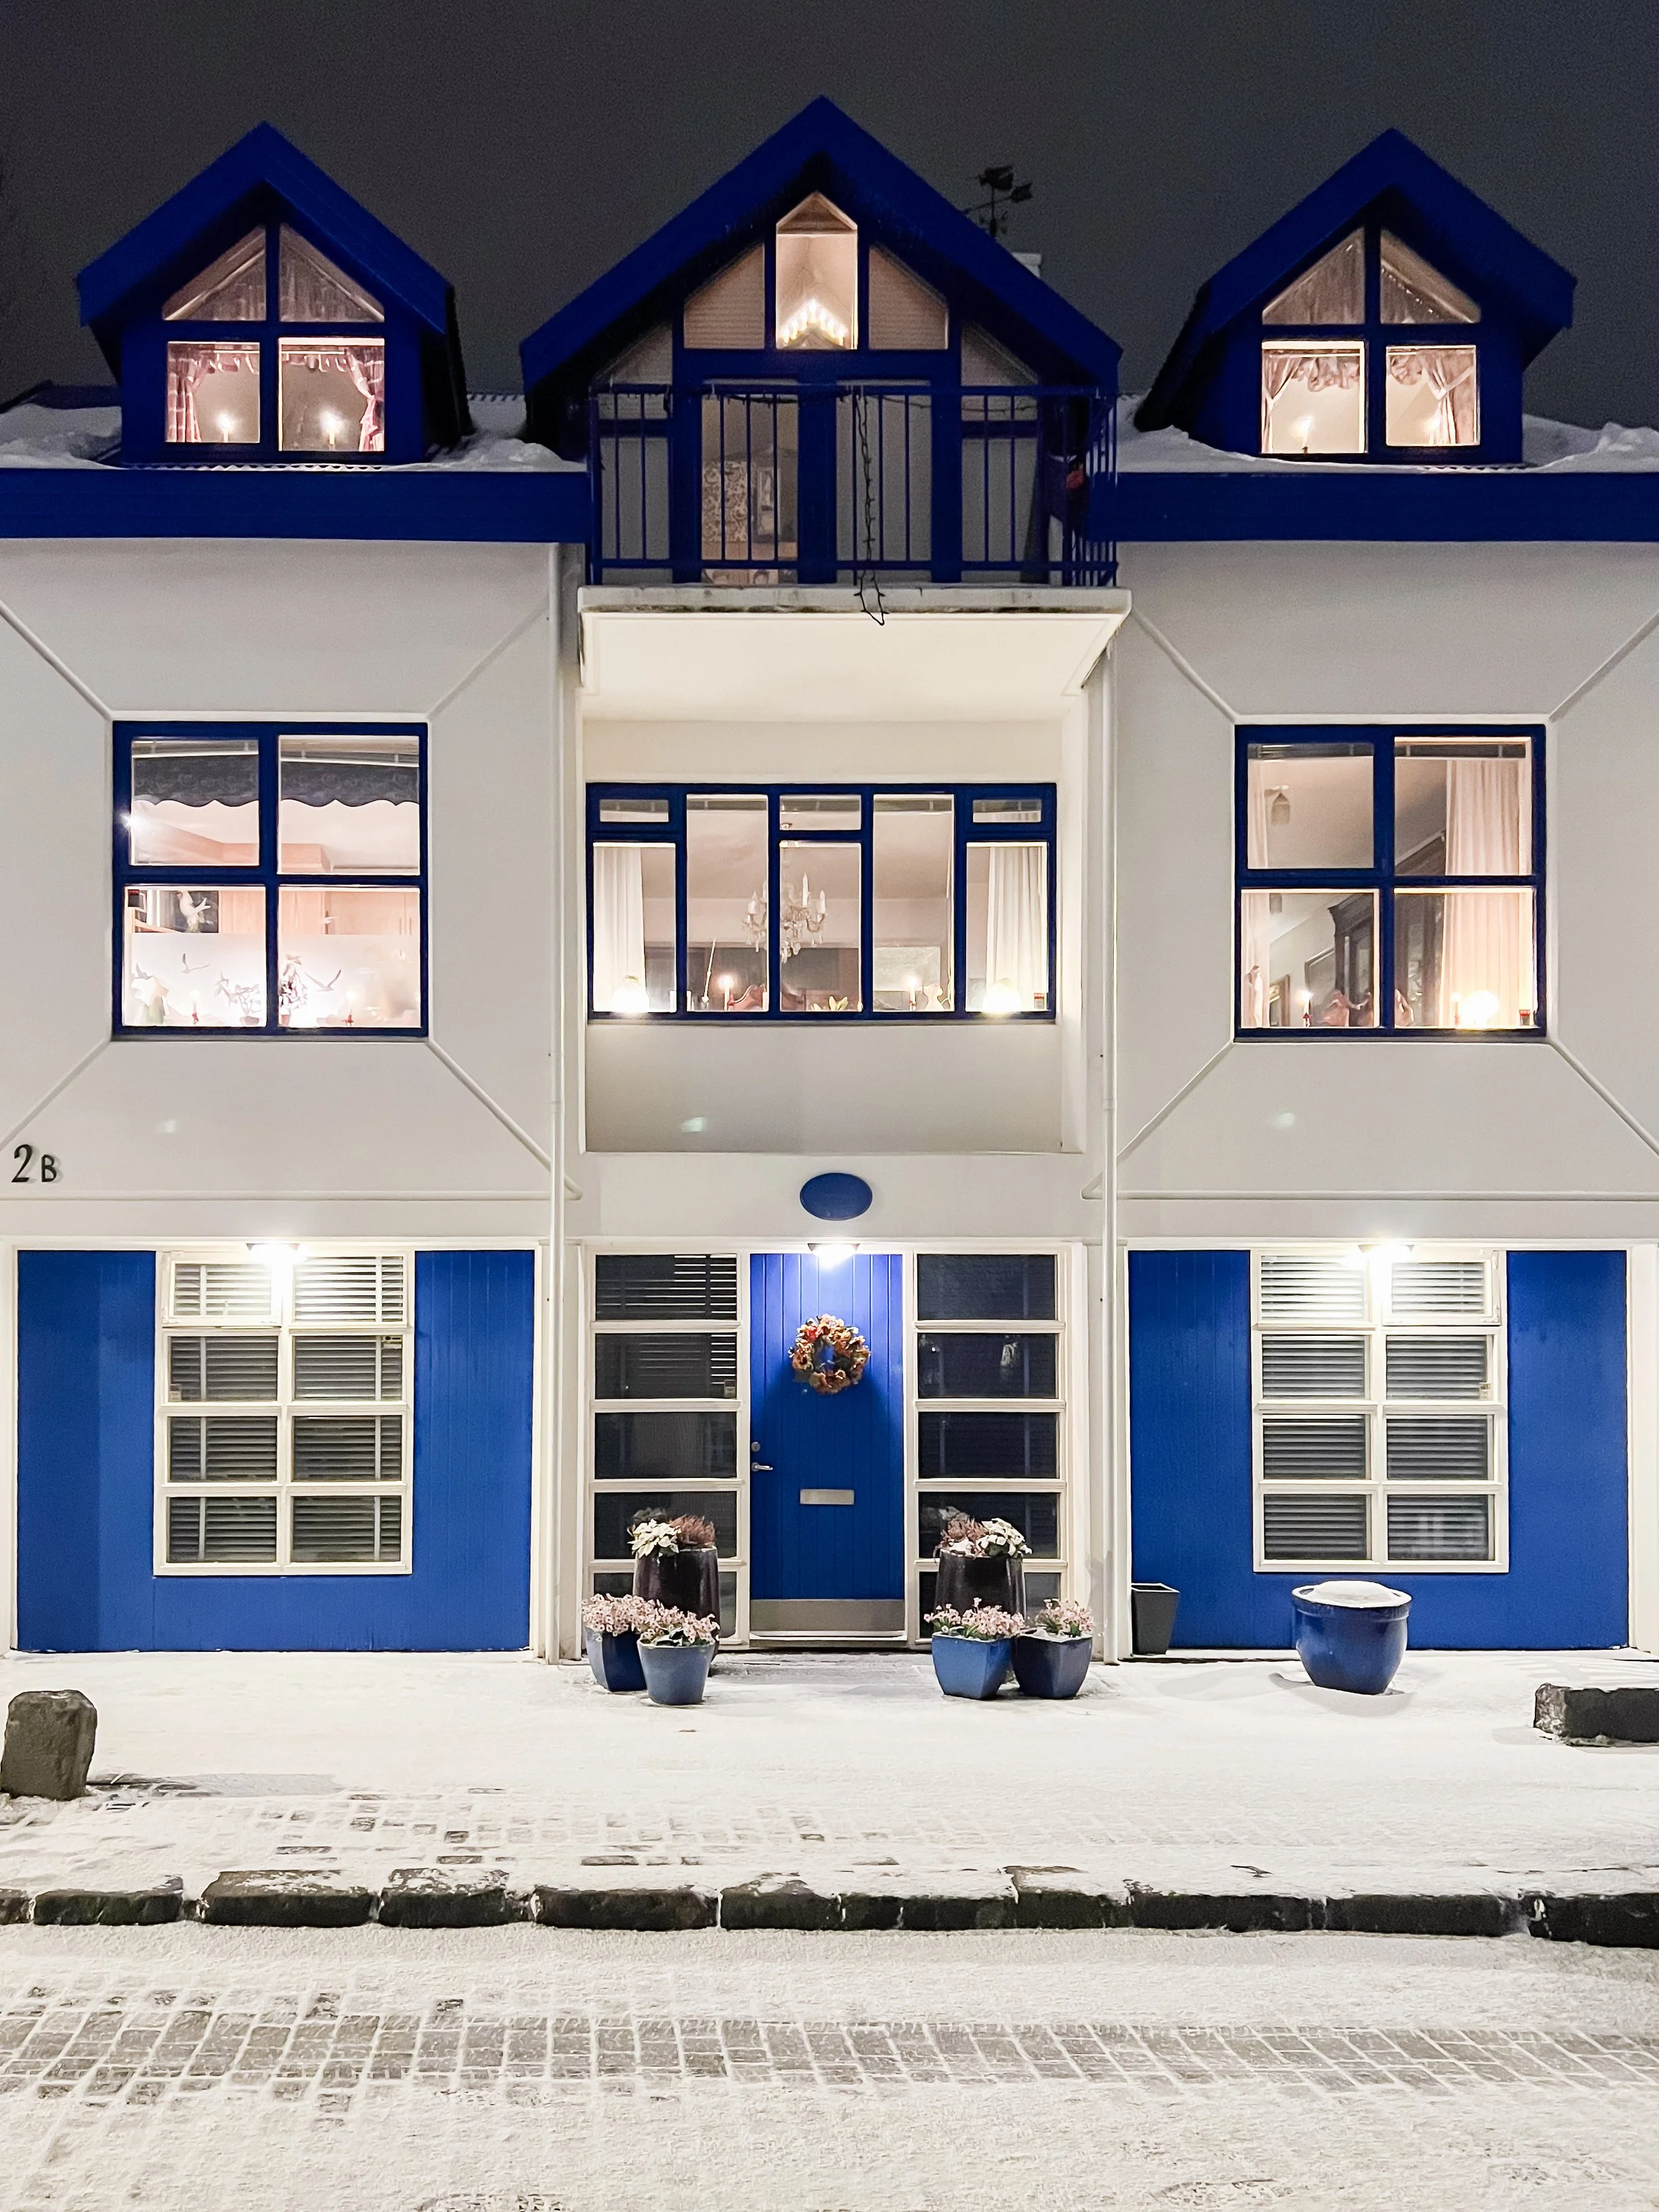
Make sure your hotel is close to one of the city bus stops!! Reykjavik only allows buses to go to the bus stops within the city. So, make your life easy and get a hotel close to a bus stop and also close to the city center so in the small amount of time that you have, you can easily wander and explore the city. There were lots of very cool hotels and honestly, the city looks bigger on the map than it is in person. Bookmark this interactive online bus stop map, it’s super useful!
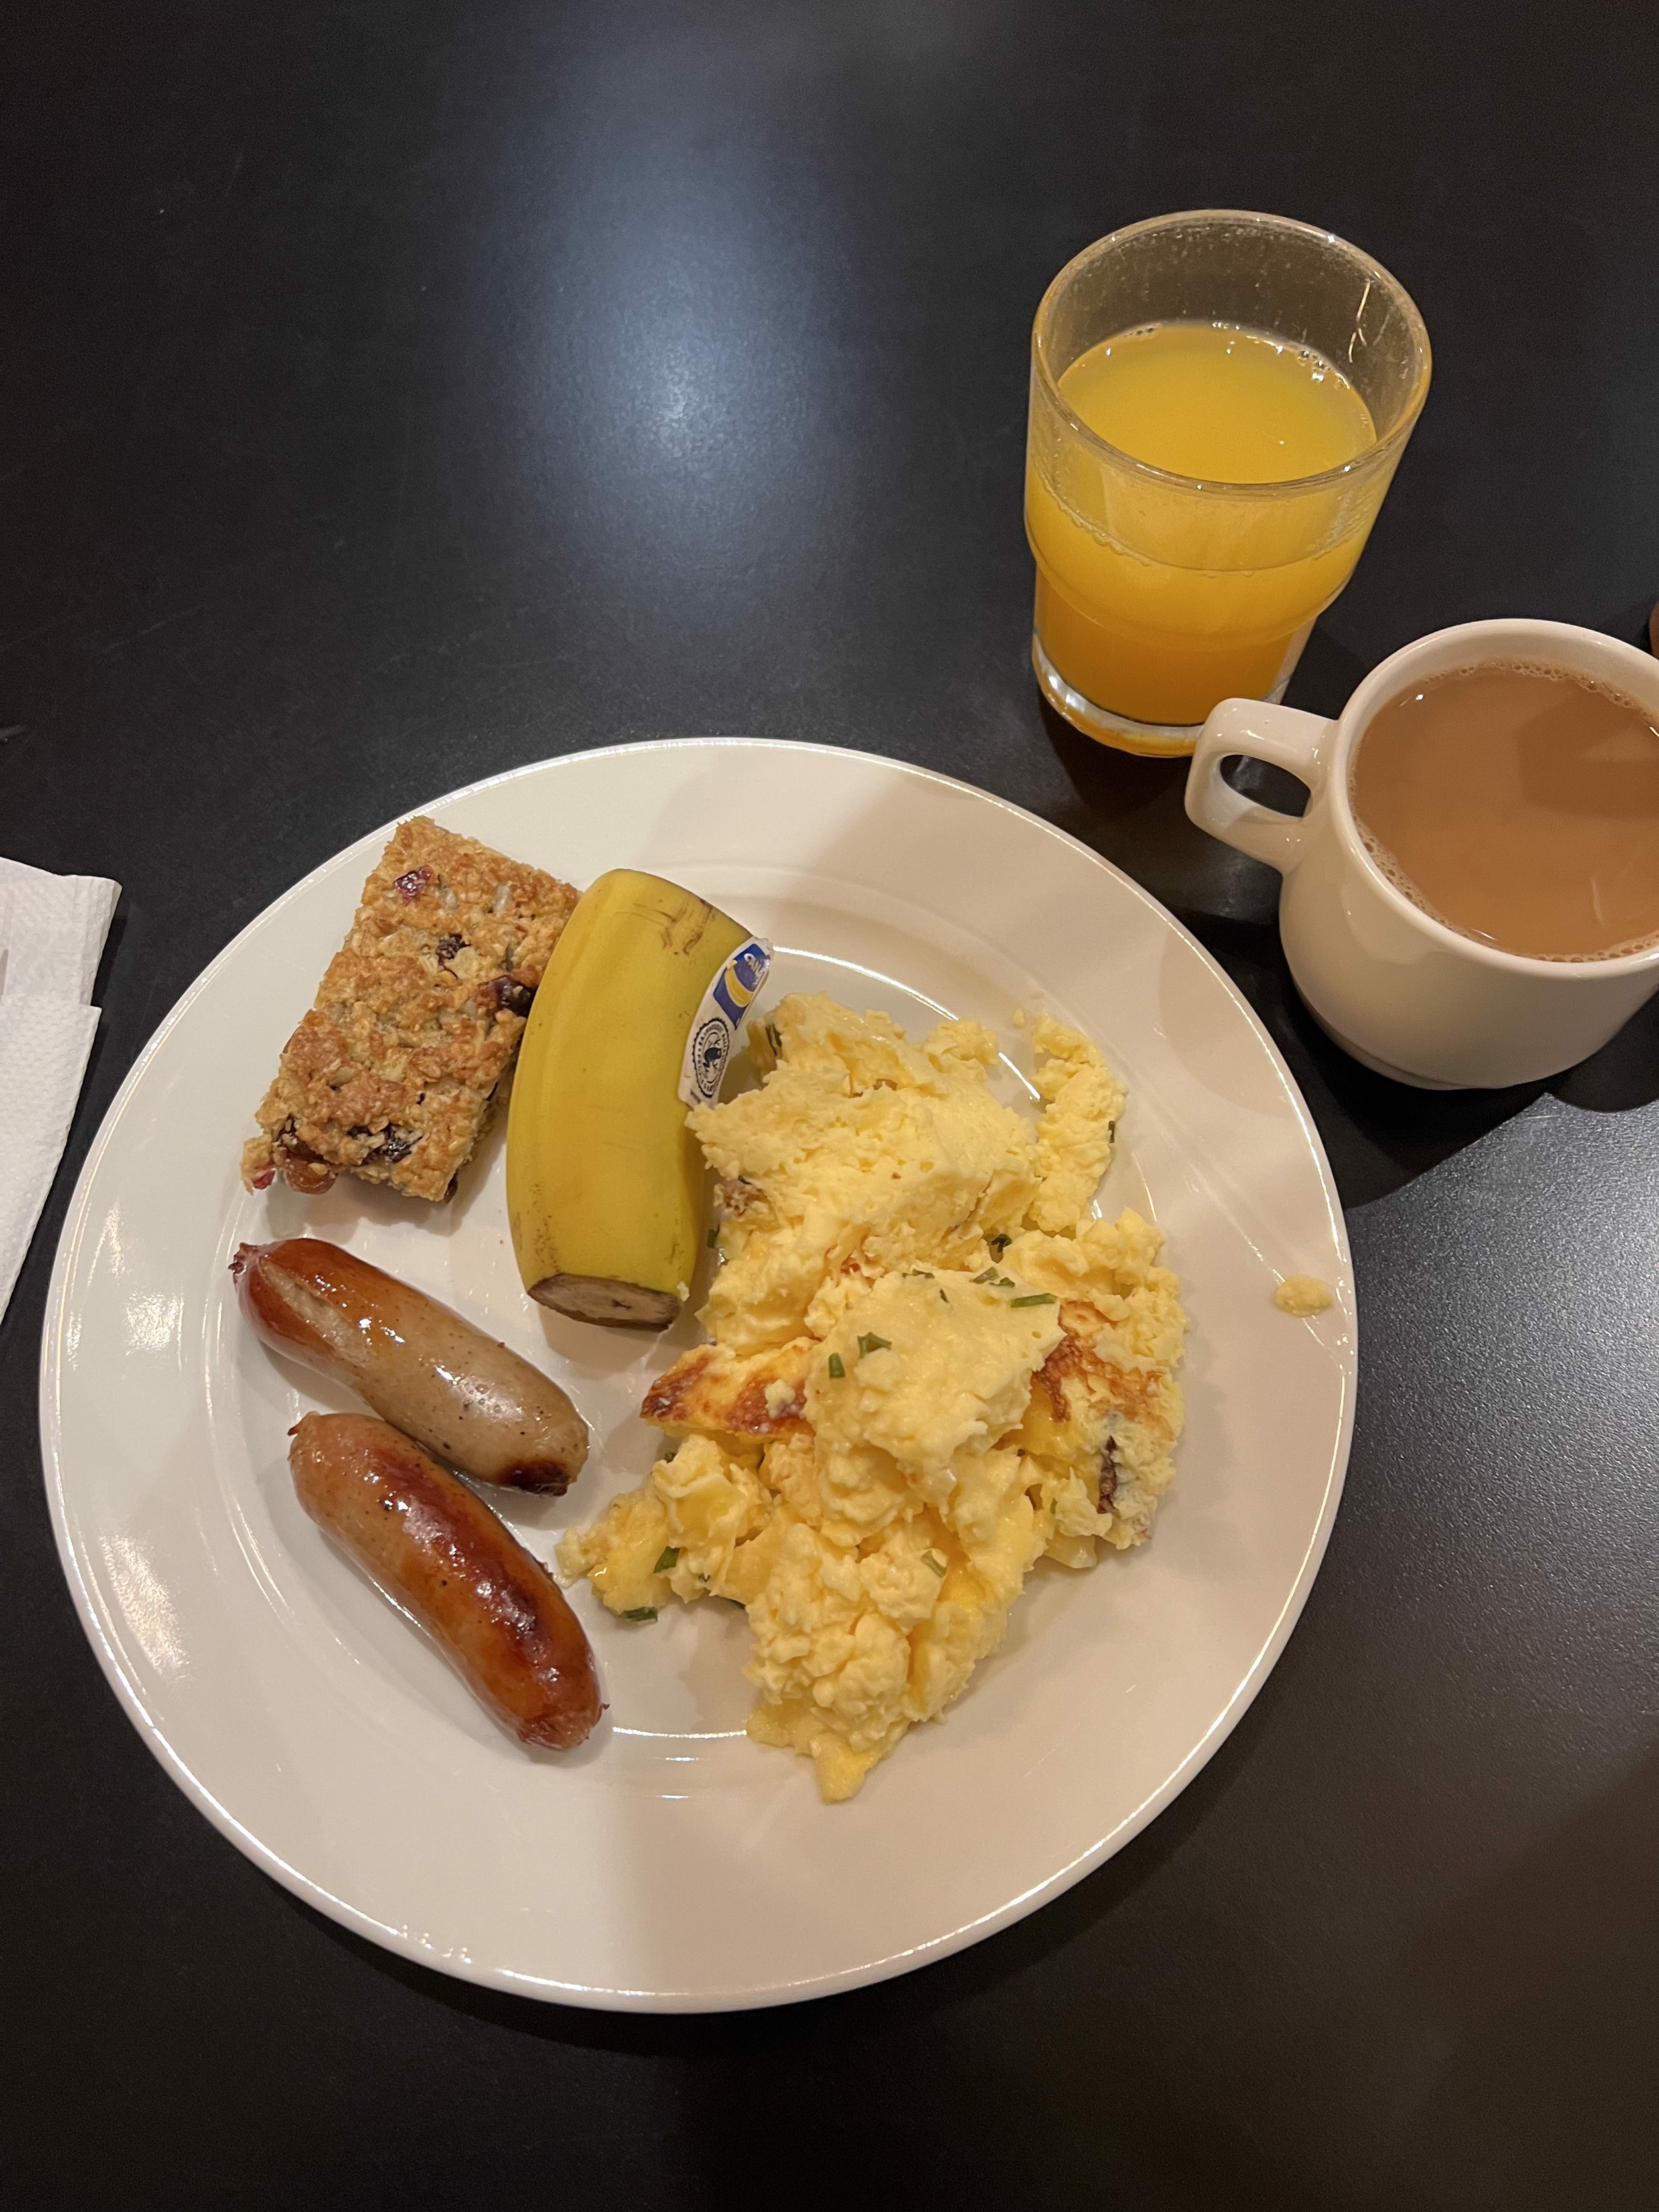
Make sure they offer free breakfast starting at 7 AM! This is because when you get there, you’ll want to kill a little time and stuff your face for the long journey ahead. And what better way than to show up with free eggs, sausage, and tea at your fingertips? It’s just easy and again, you don’t have to pay extra for a meal or find a place to eat breakfast. Lots of cafes do not open that early, and it’s dark, you’re sleepy, etc., etc.
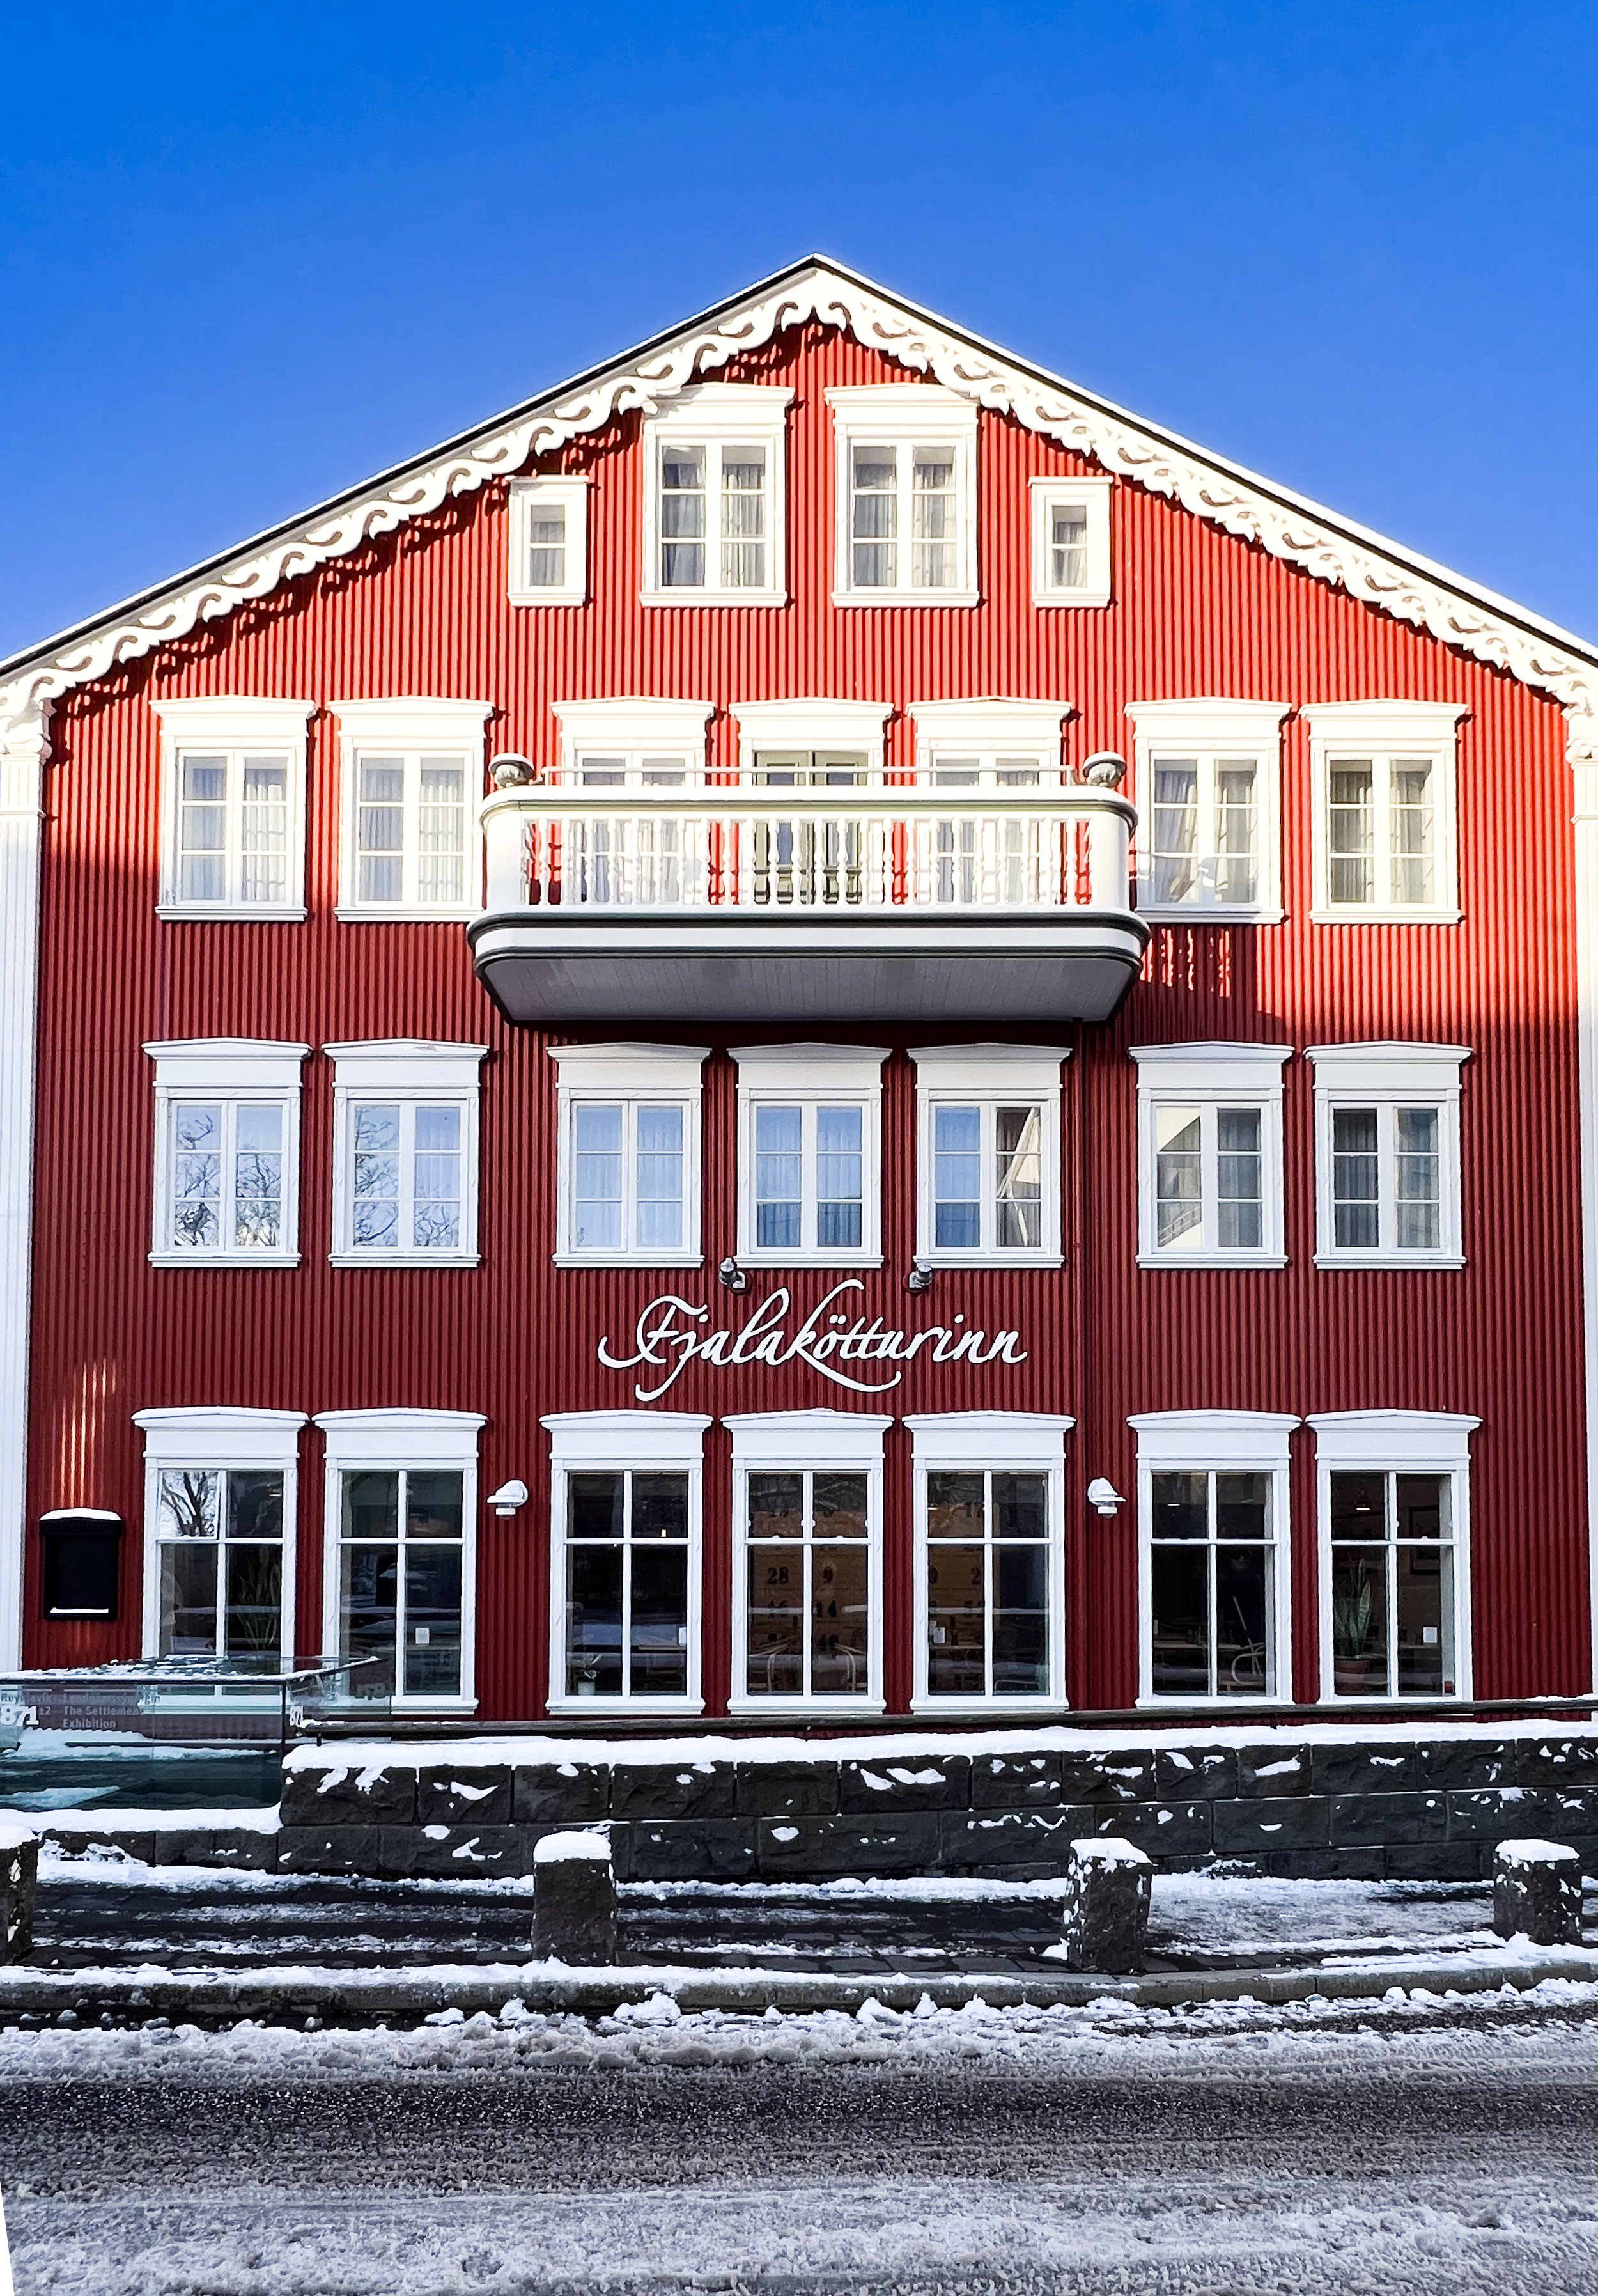
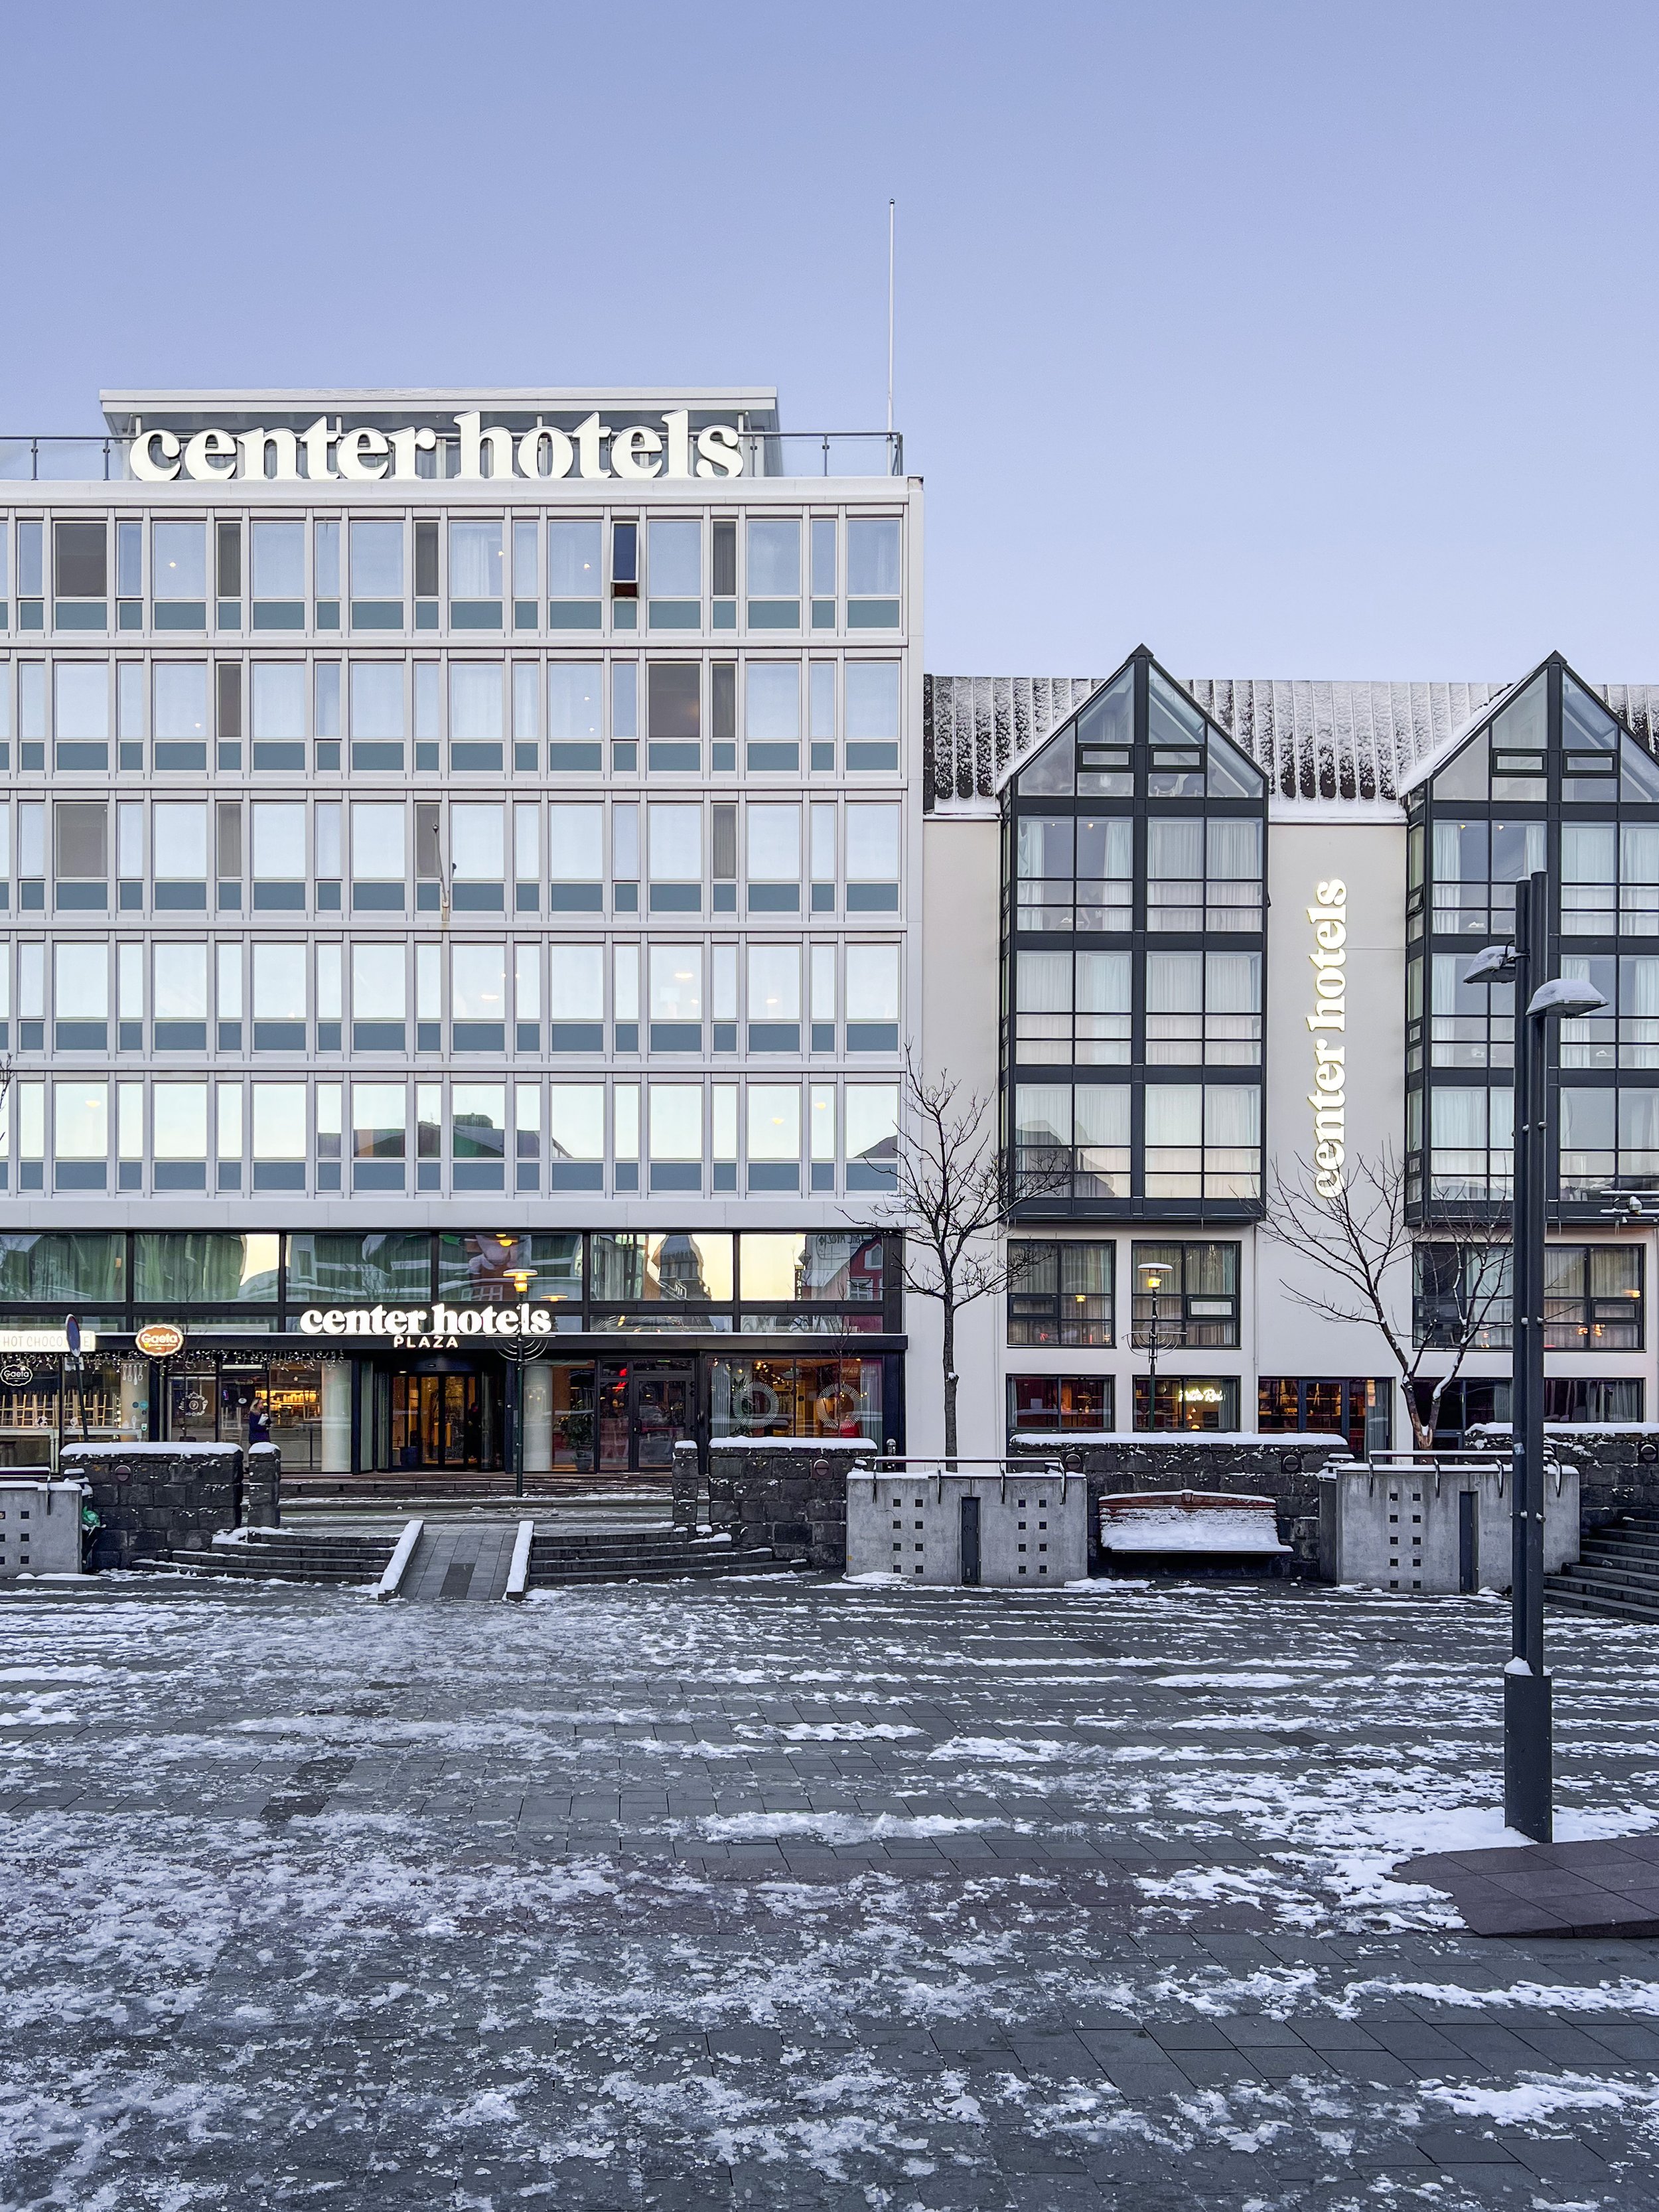
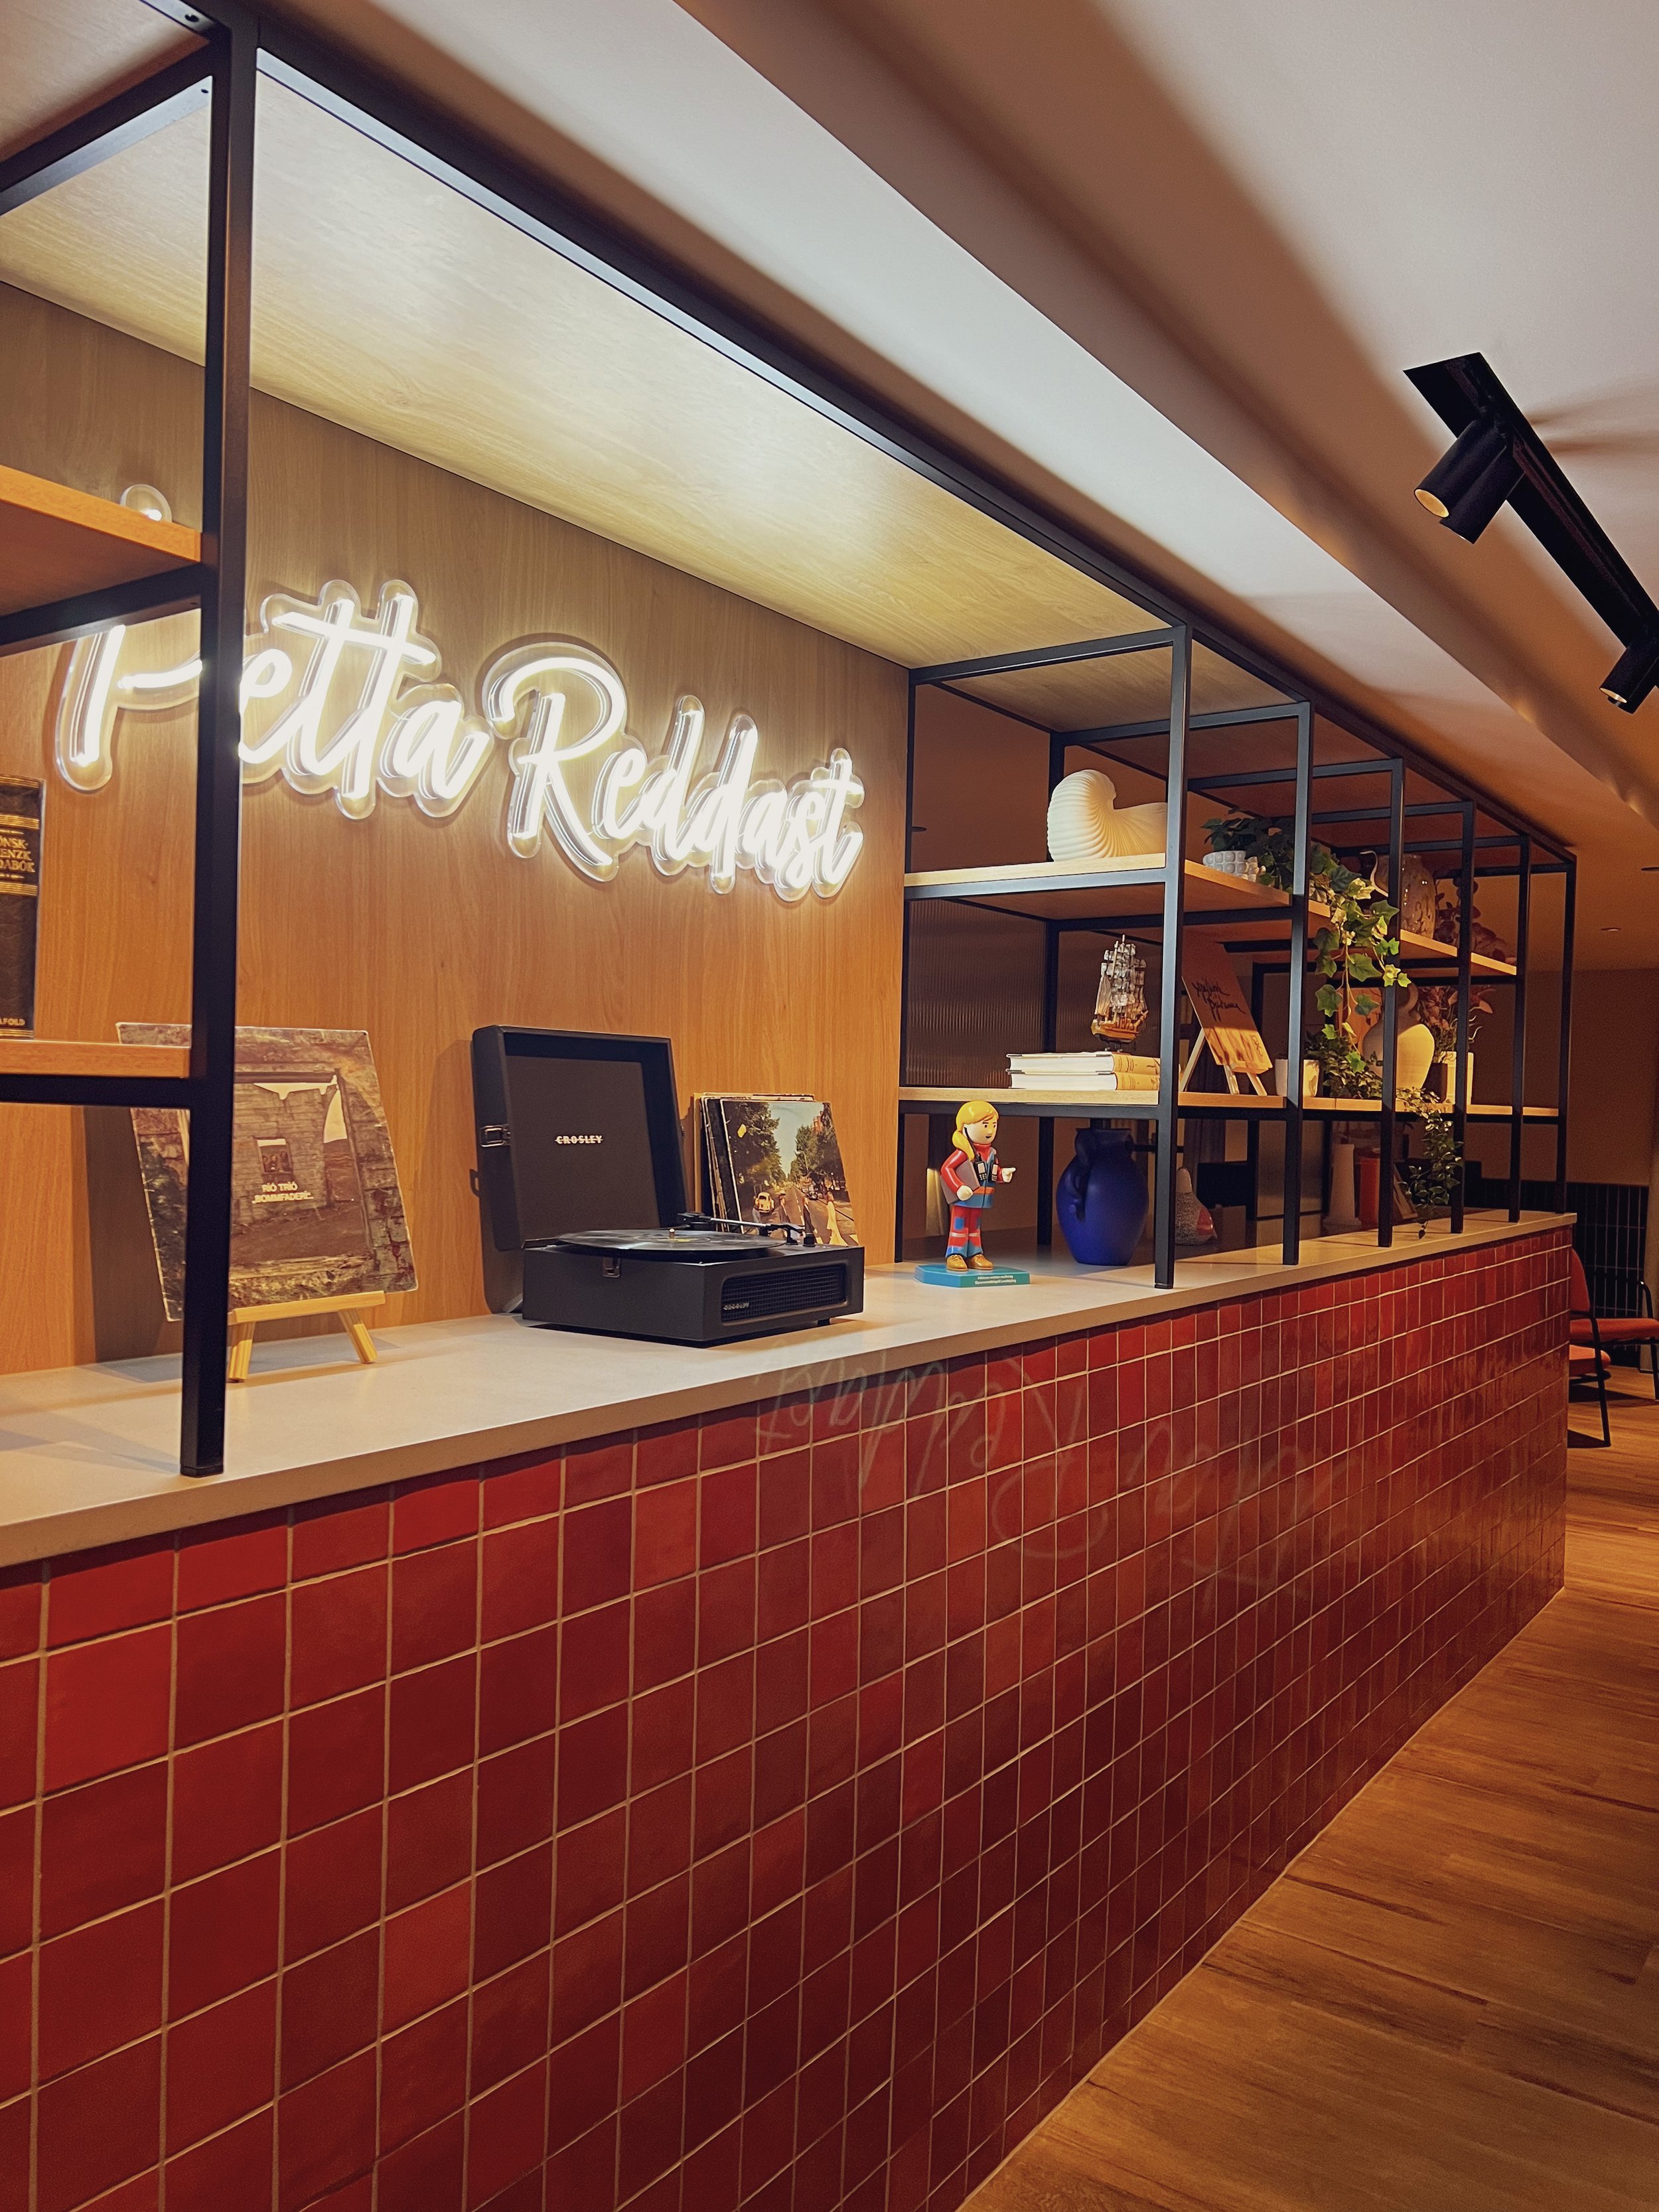
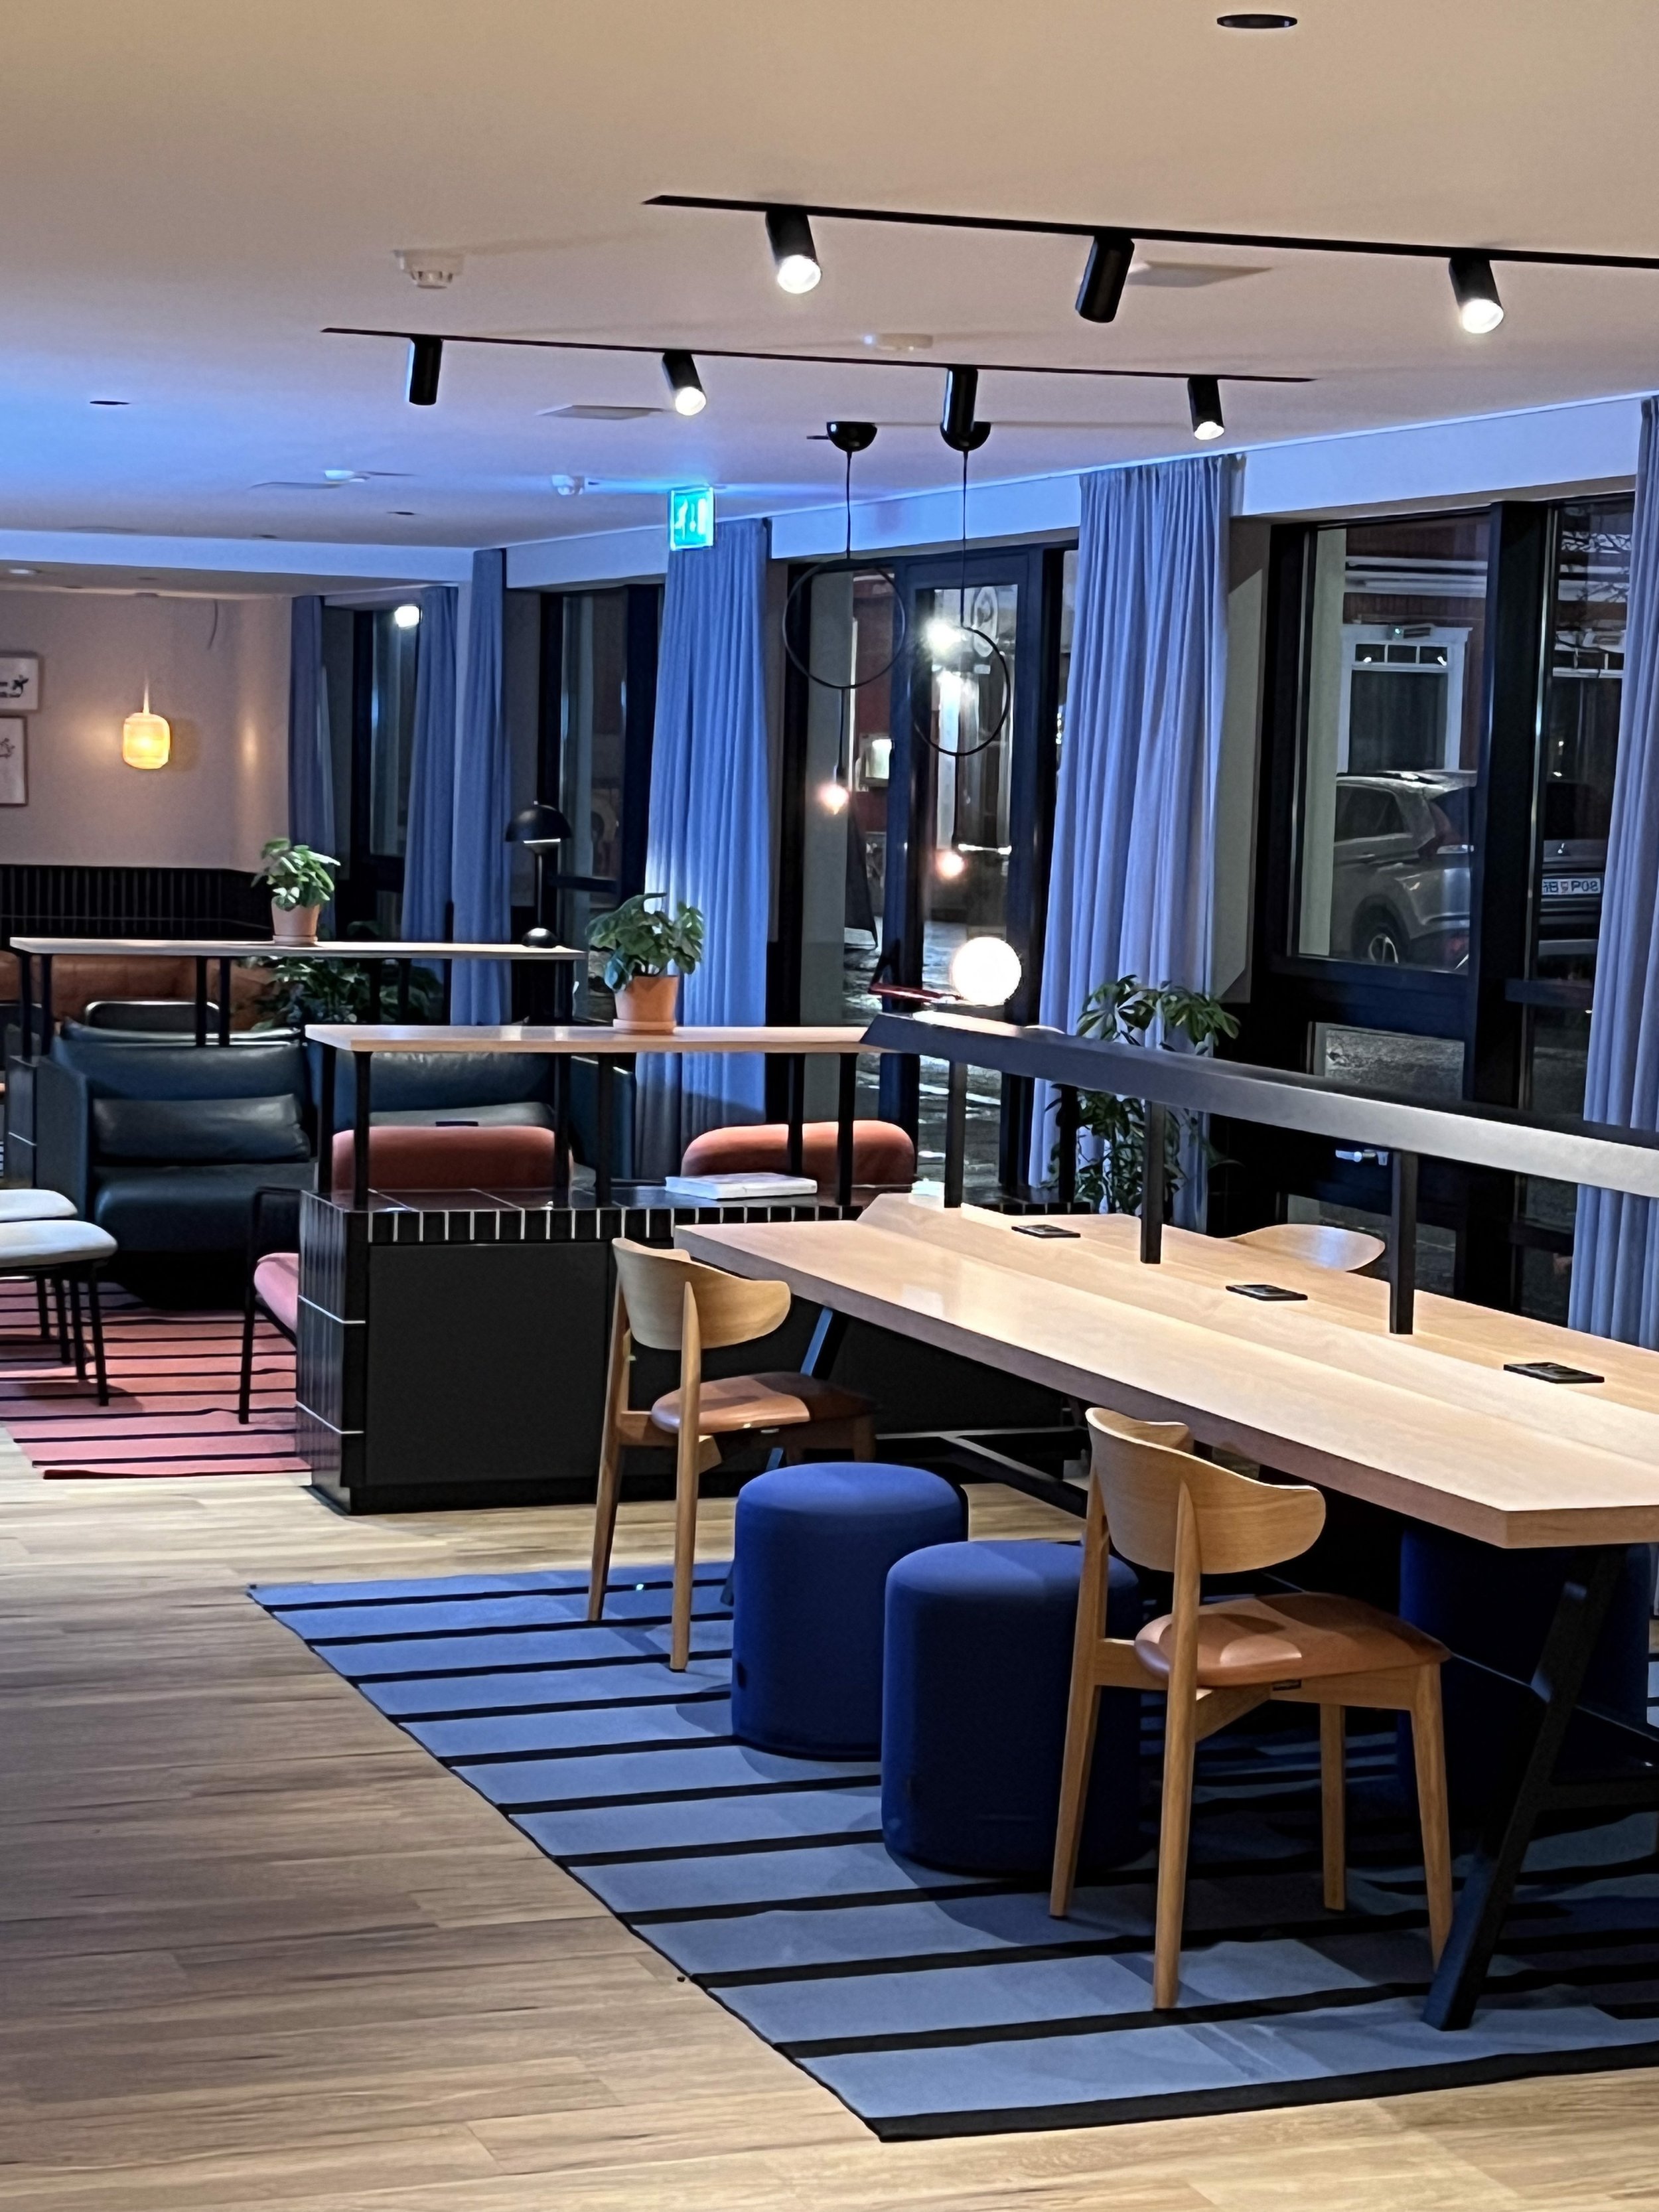
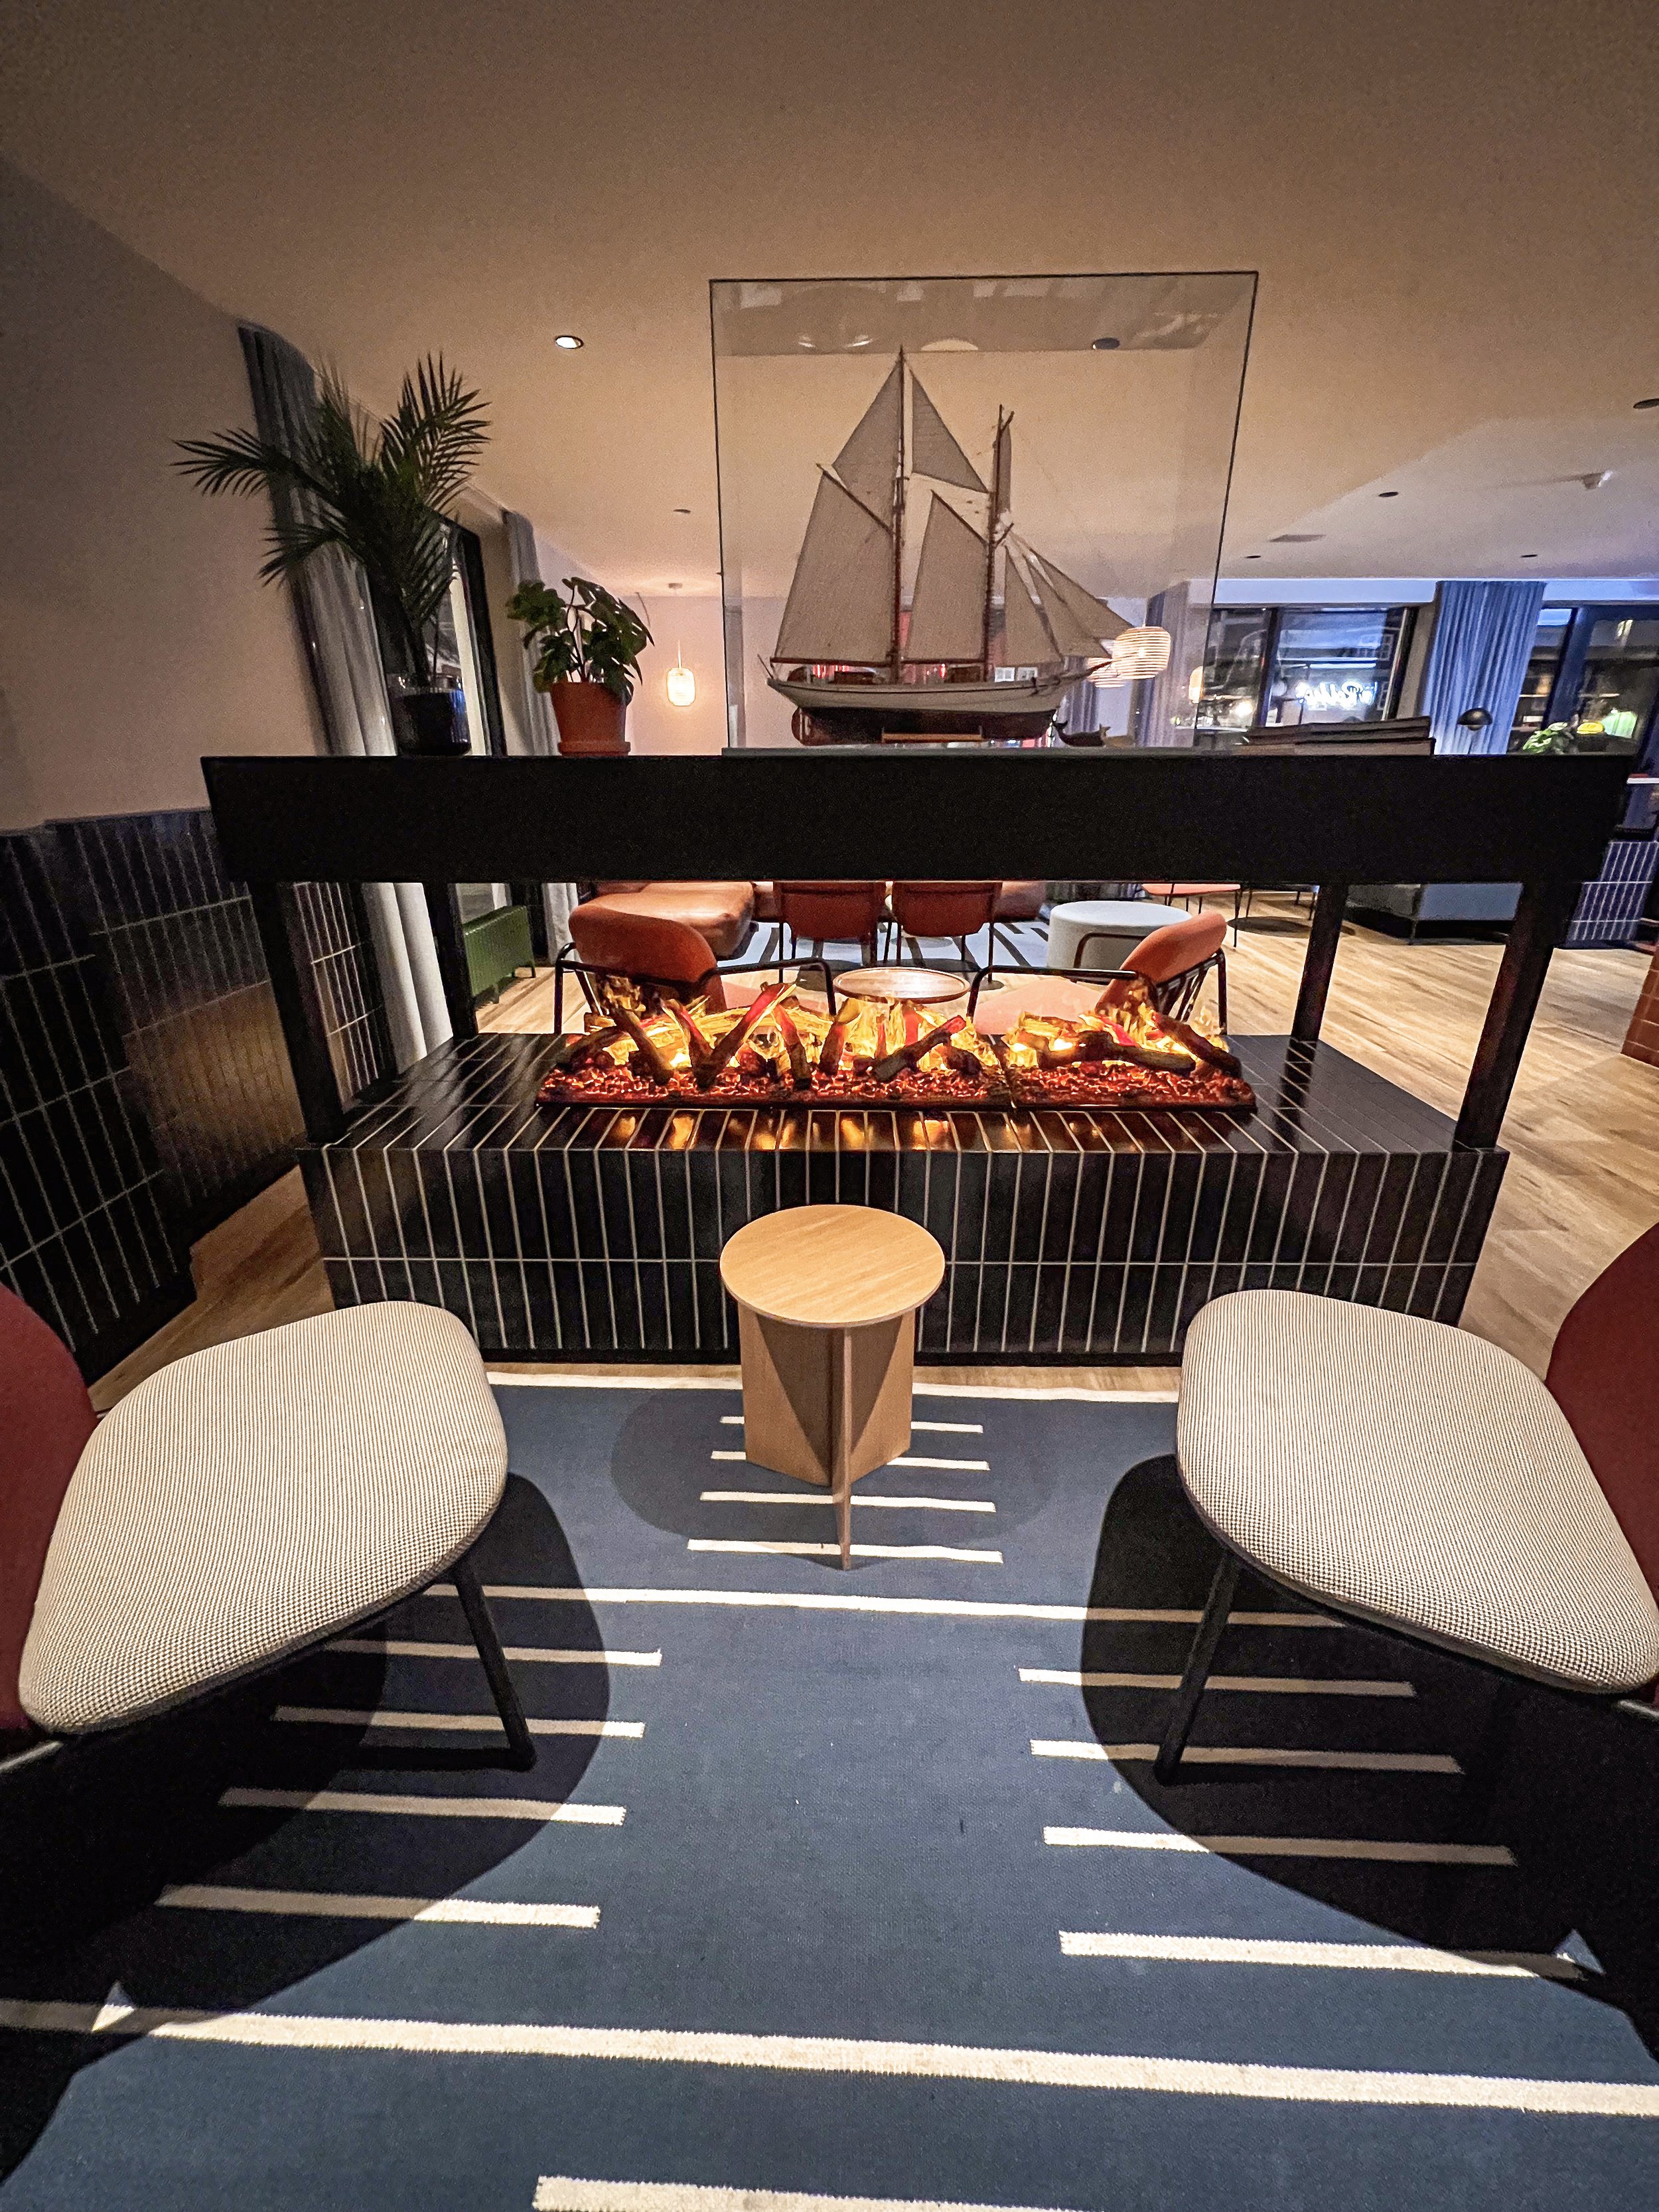
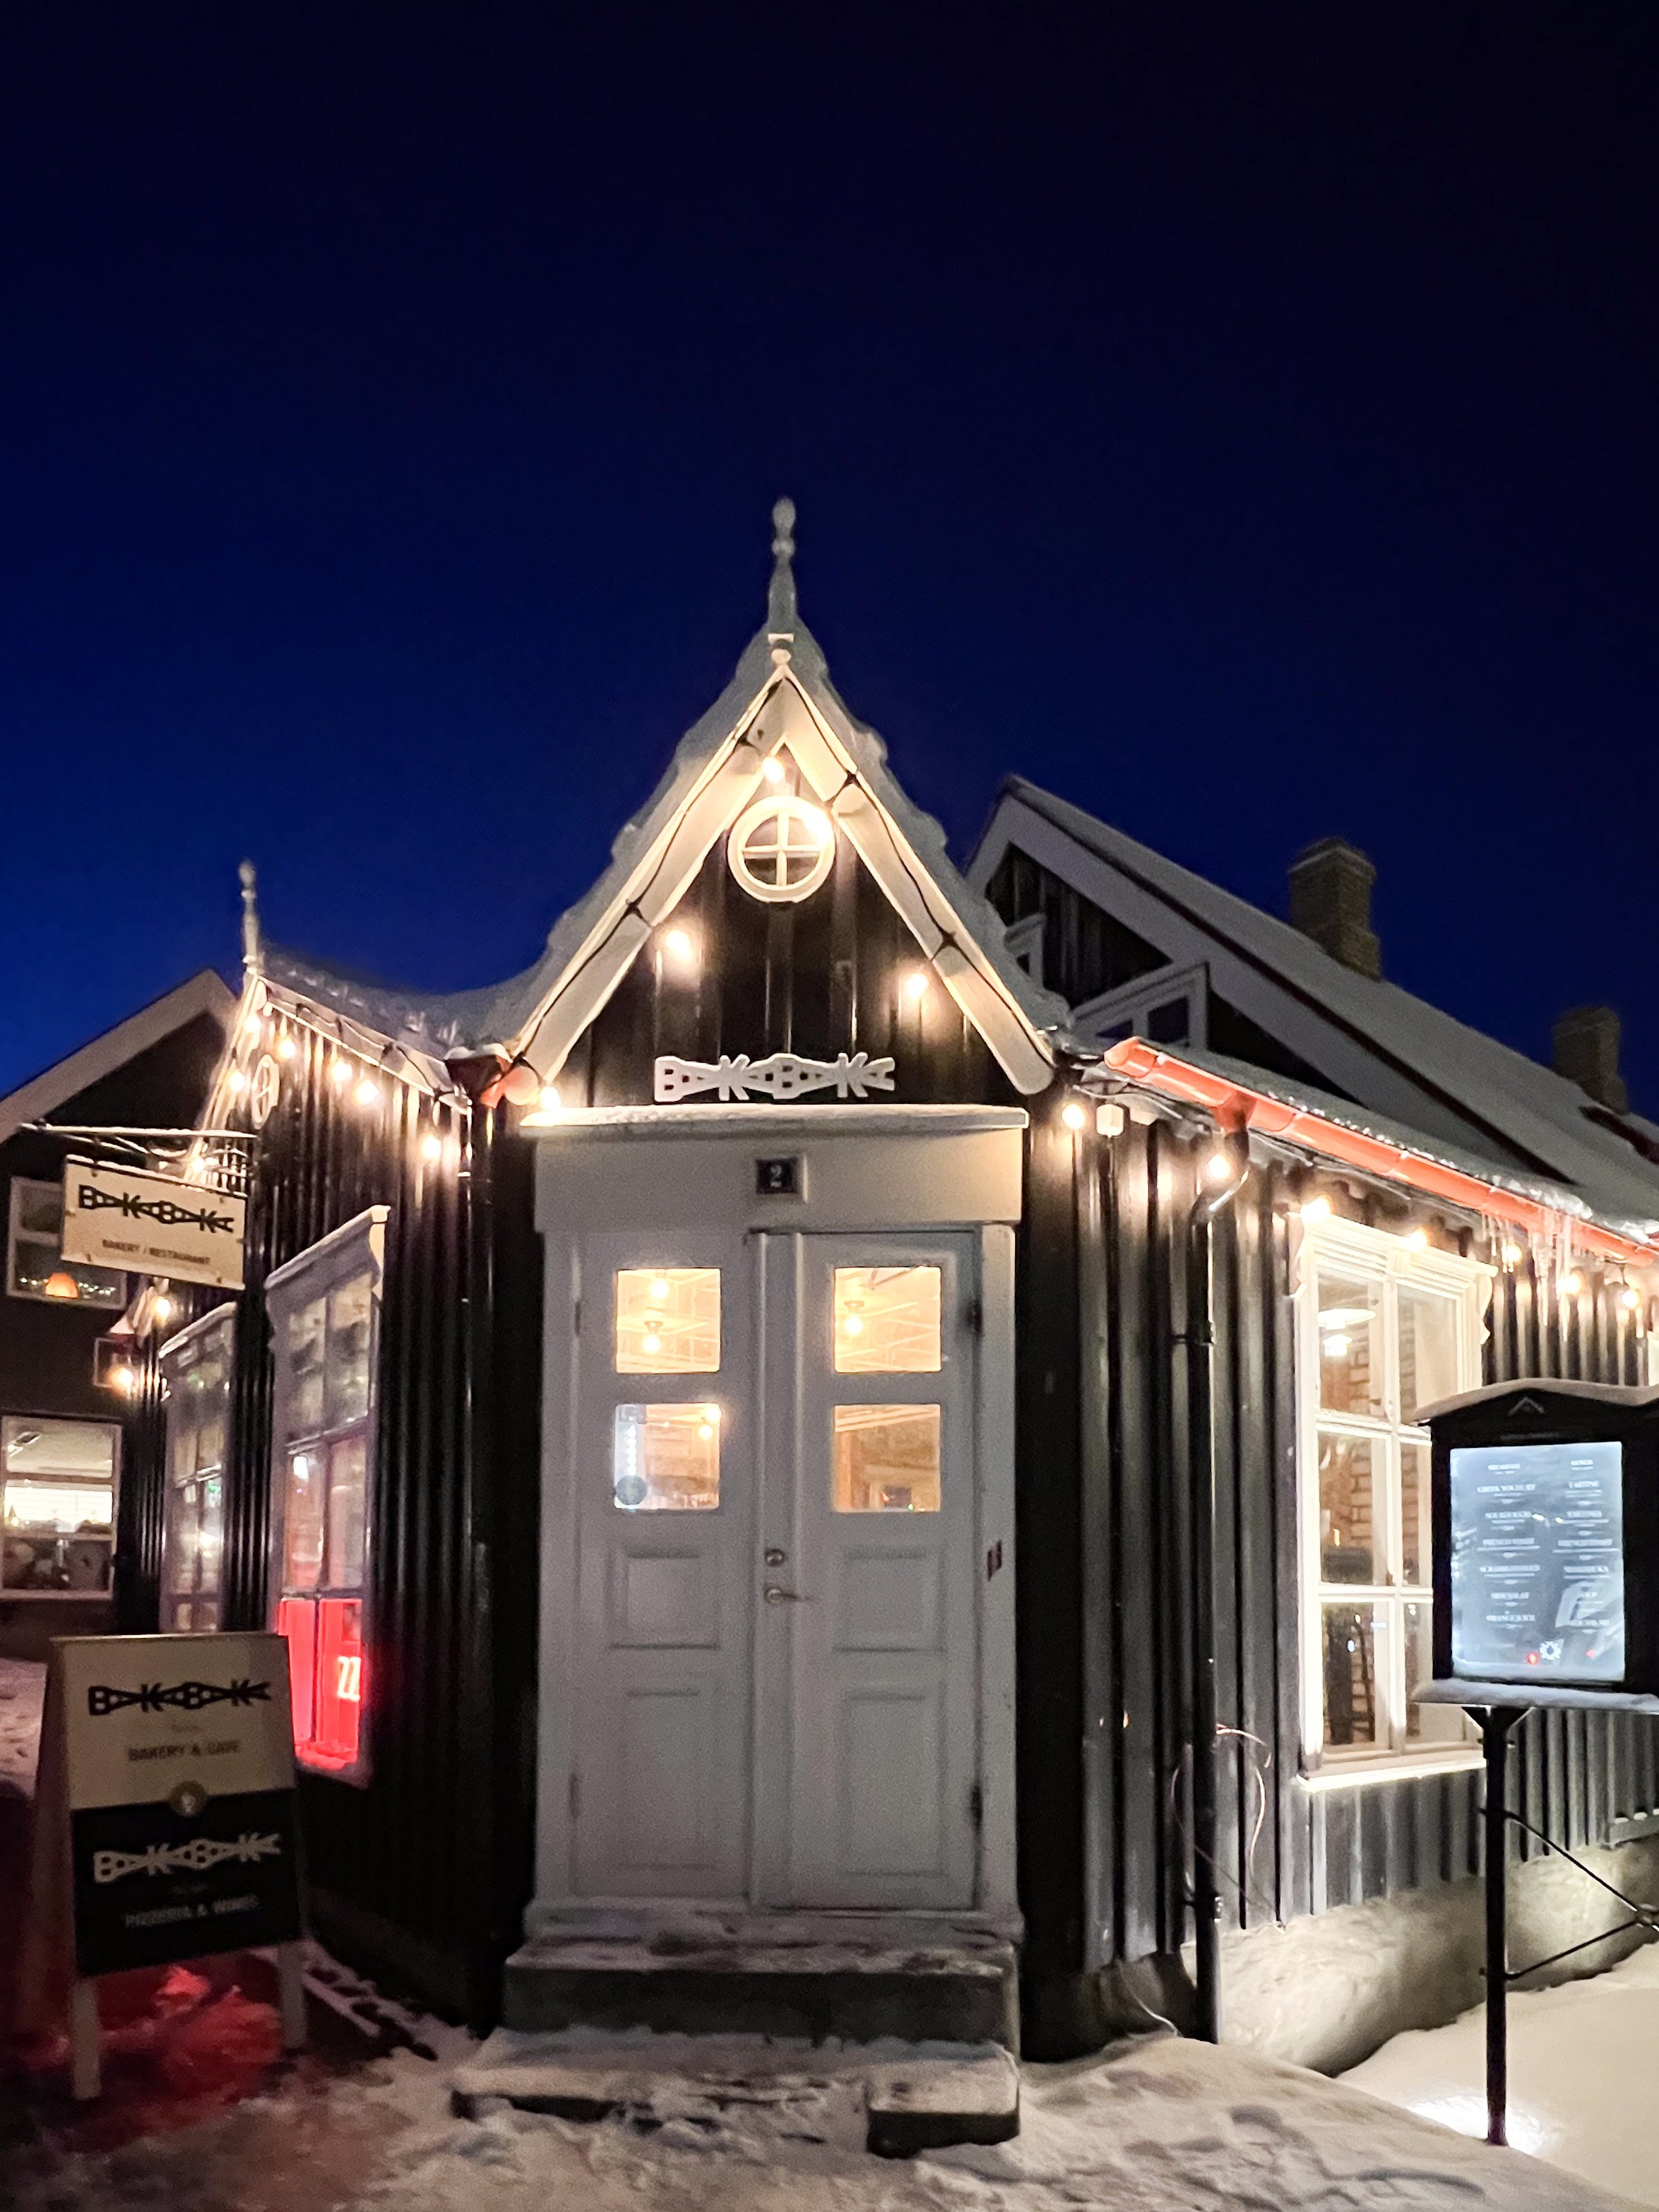
For all of the reasons listed above as well as the fact that this hotel was well rated and well priced, I stayed at Center Hotels Plaza. It was super central and close to Bus Stop 1. I also stayed in a single occupancy room which was perfect for me and the rate was one of the cheapest I could find. I was barely there and just needed a safe, cozy, and central place to sleep. This does the trick! Book Friday to Sunday.

Bookings & Itinerary
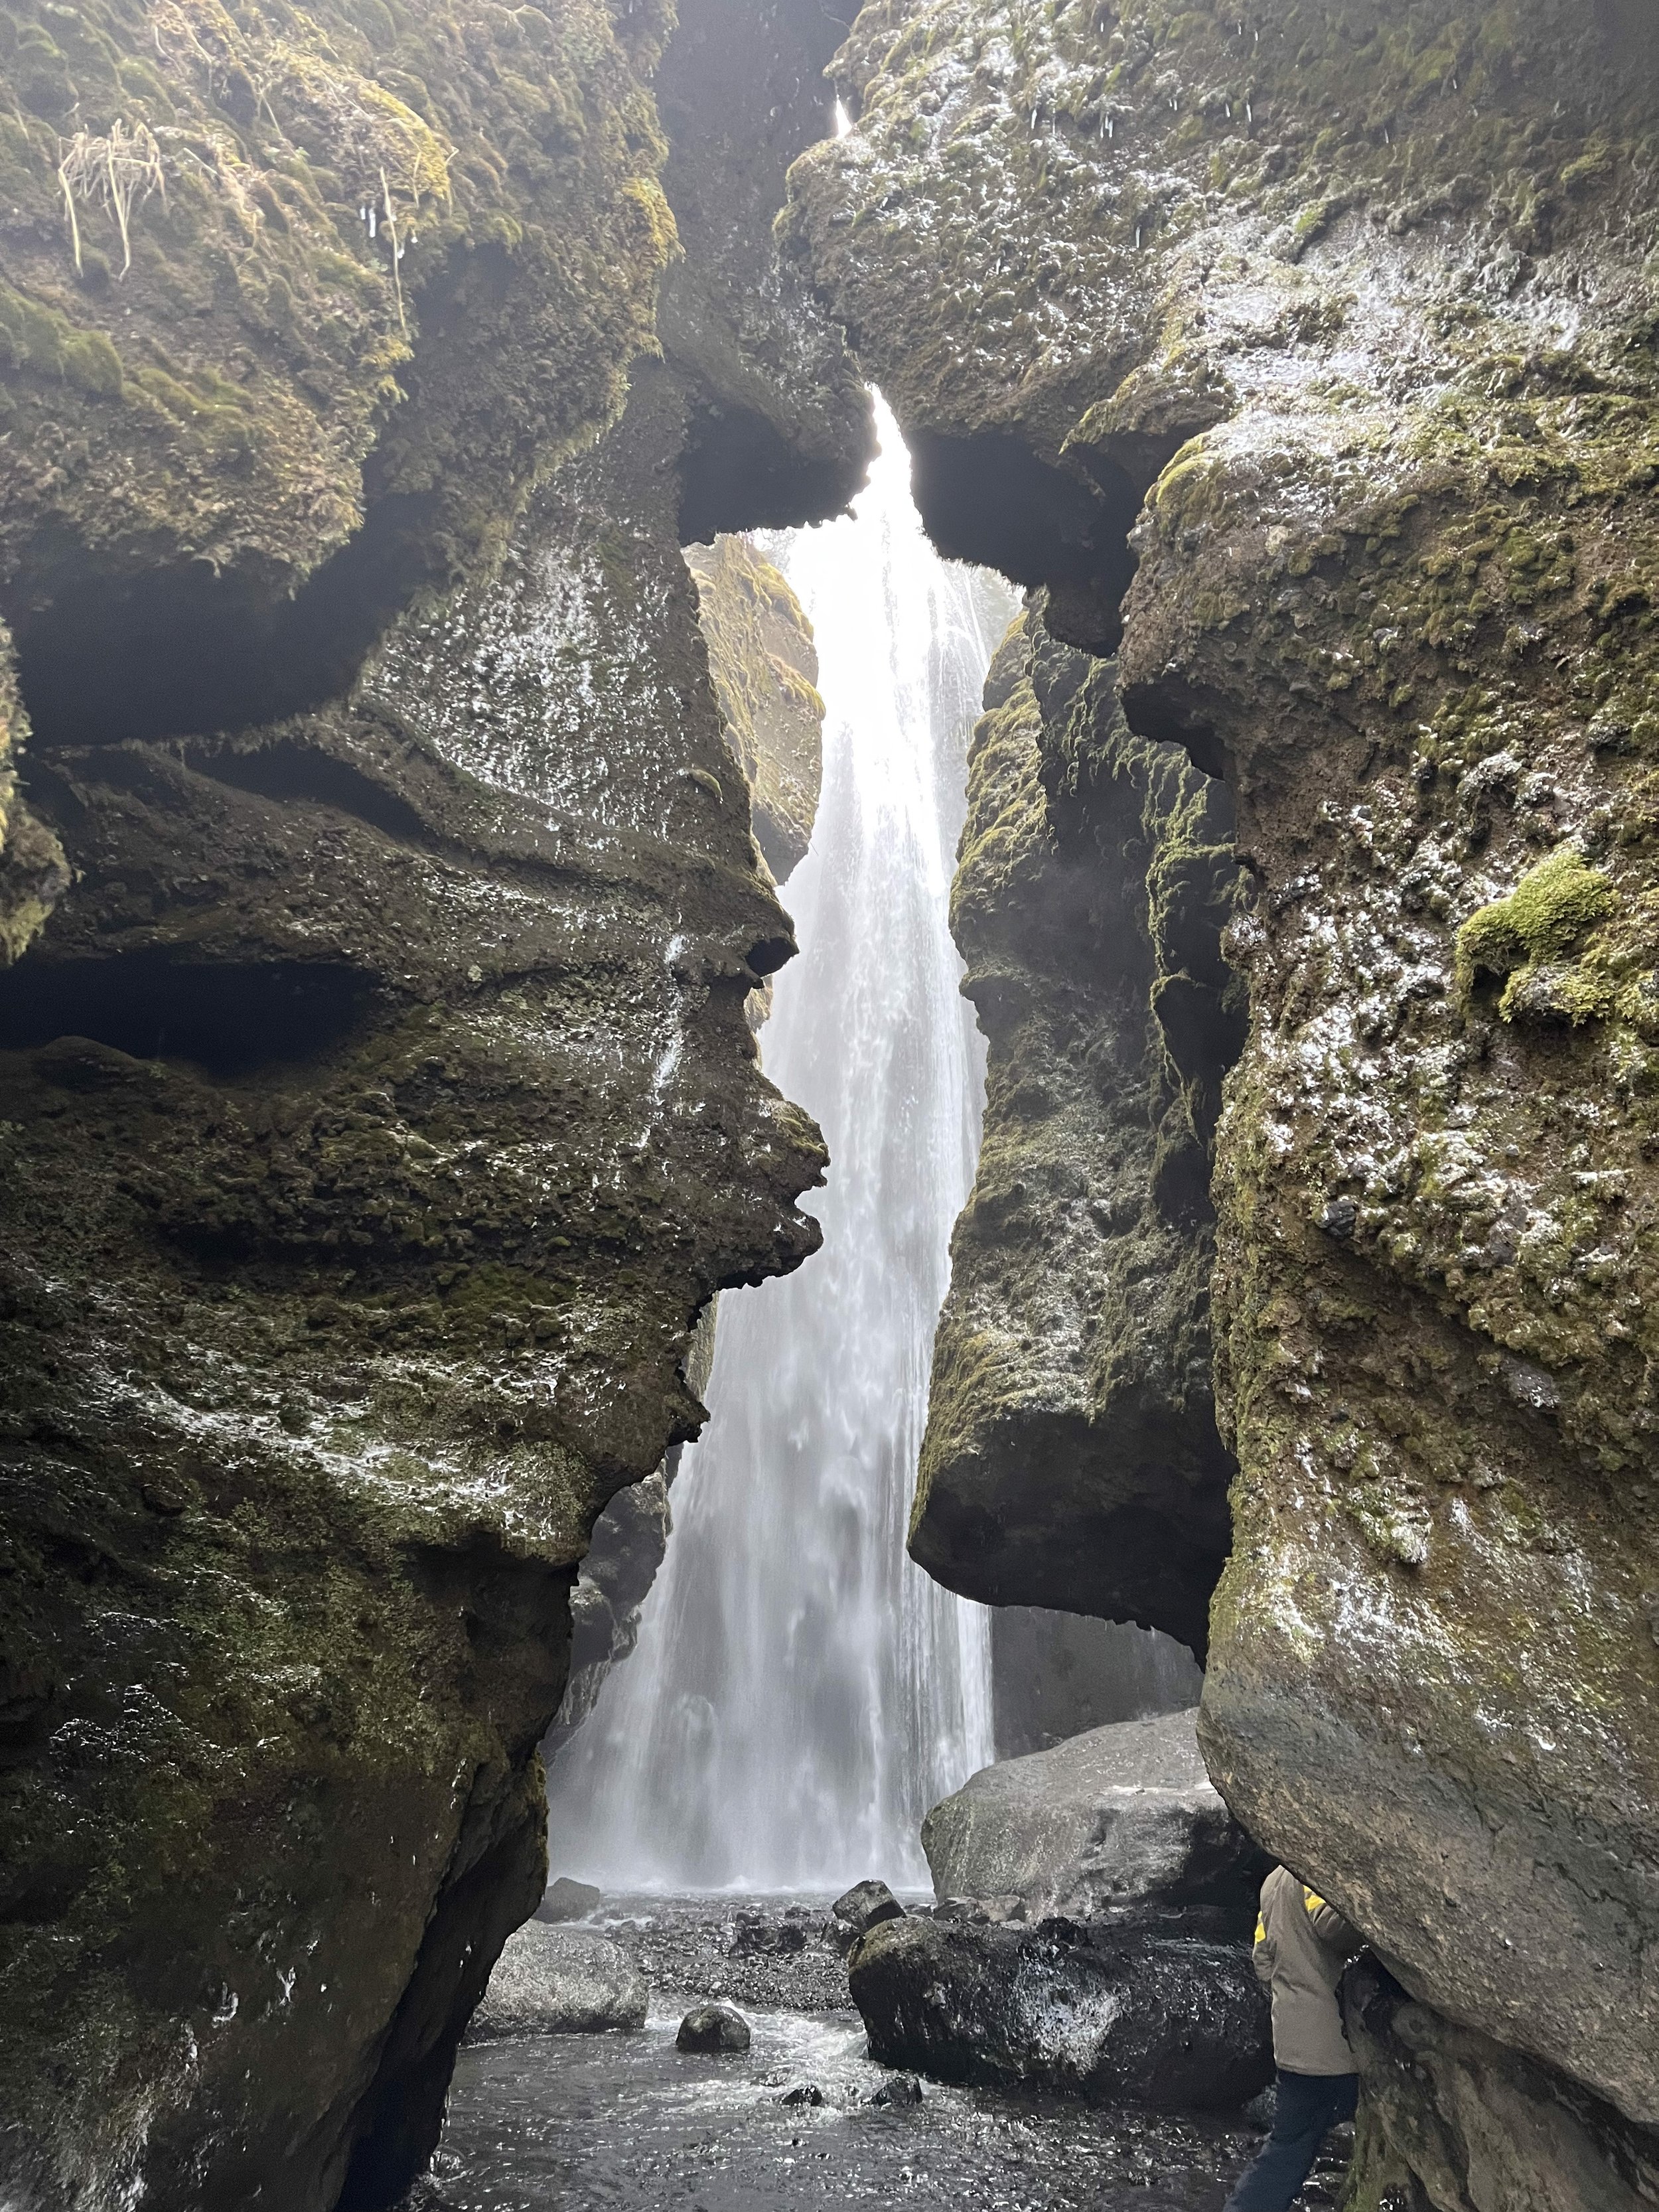
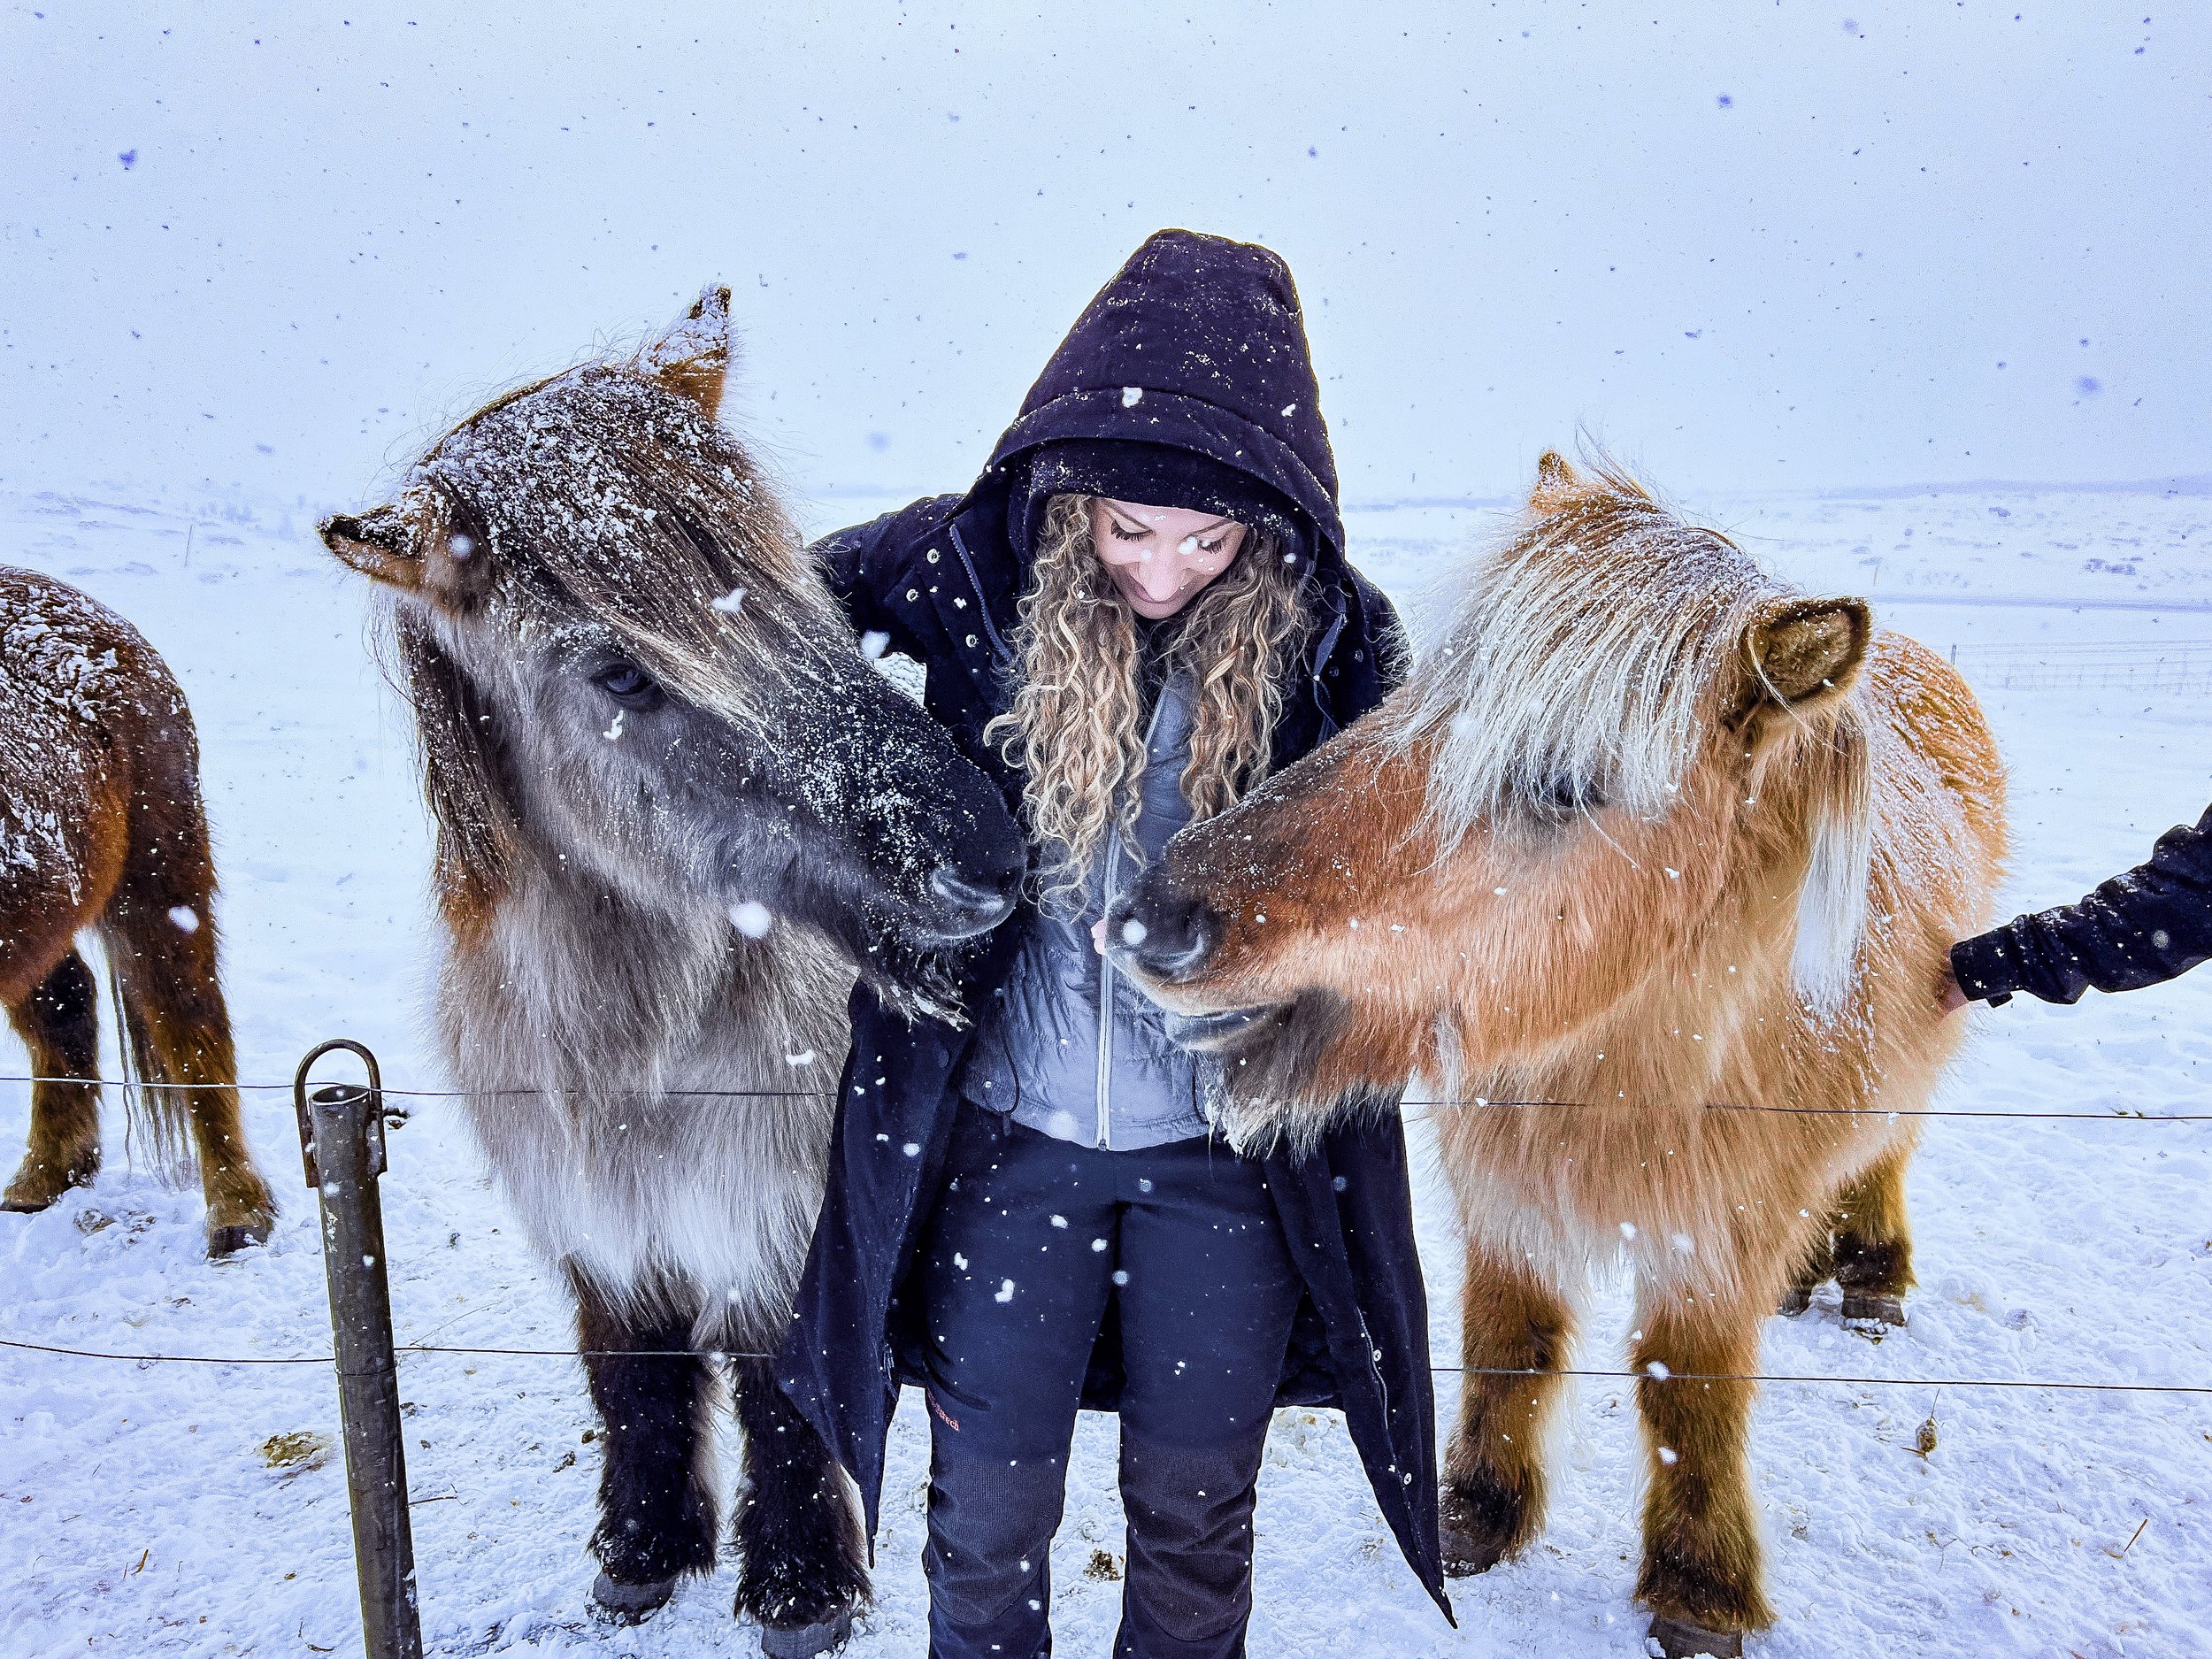
There are a lot of options when choosing your itinerary. There were two specific winter activities that I did not do due to time restrictions: snowmobiling over the glaciers and hiking through the ice caves. I’ll just have to do them next time! Also, it’s worth mentioning that all of my tour guides were incredible. Mostly everyone speaks very good English and they truly do love giving the gift of ‘experience’ to their guests!
Bus Transfer from the Airport
Flybus Reykjavik Excursions - You’ll need a transfer from the airport to the bus stop closest to your hotel. If you book my hotel recommendation, you’ll get dropped at BS1. I know this part might seem intimidating. It’s not. They are SO organized and the airport is so small. You may be a walking zombie but you’ll still know exactly what’s going on. When you walk outside the airport (don’t rush, there’s plenty of time) you will see the bus. When you get off at the transfer station, they give you colored paper, and you just find the bus that matches the color of your paper. They make it that easy. Then you take the local bus to your stop and walk to your hotel.
Friday Itinerary
Check-in at the hotel and see if you’re able to get an early check-in. If you do, you’re going to unpack all the extra clothes, toiletries, and bathing suits so that your pack is lighter, then go eat a free breakfast starting at 7 AM.
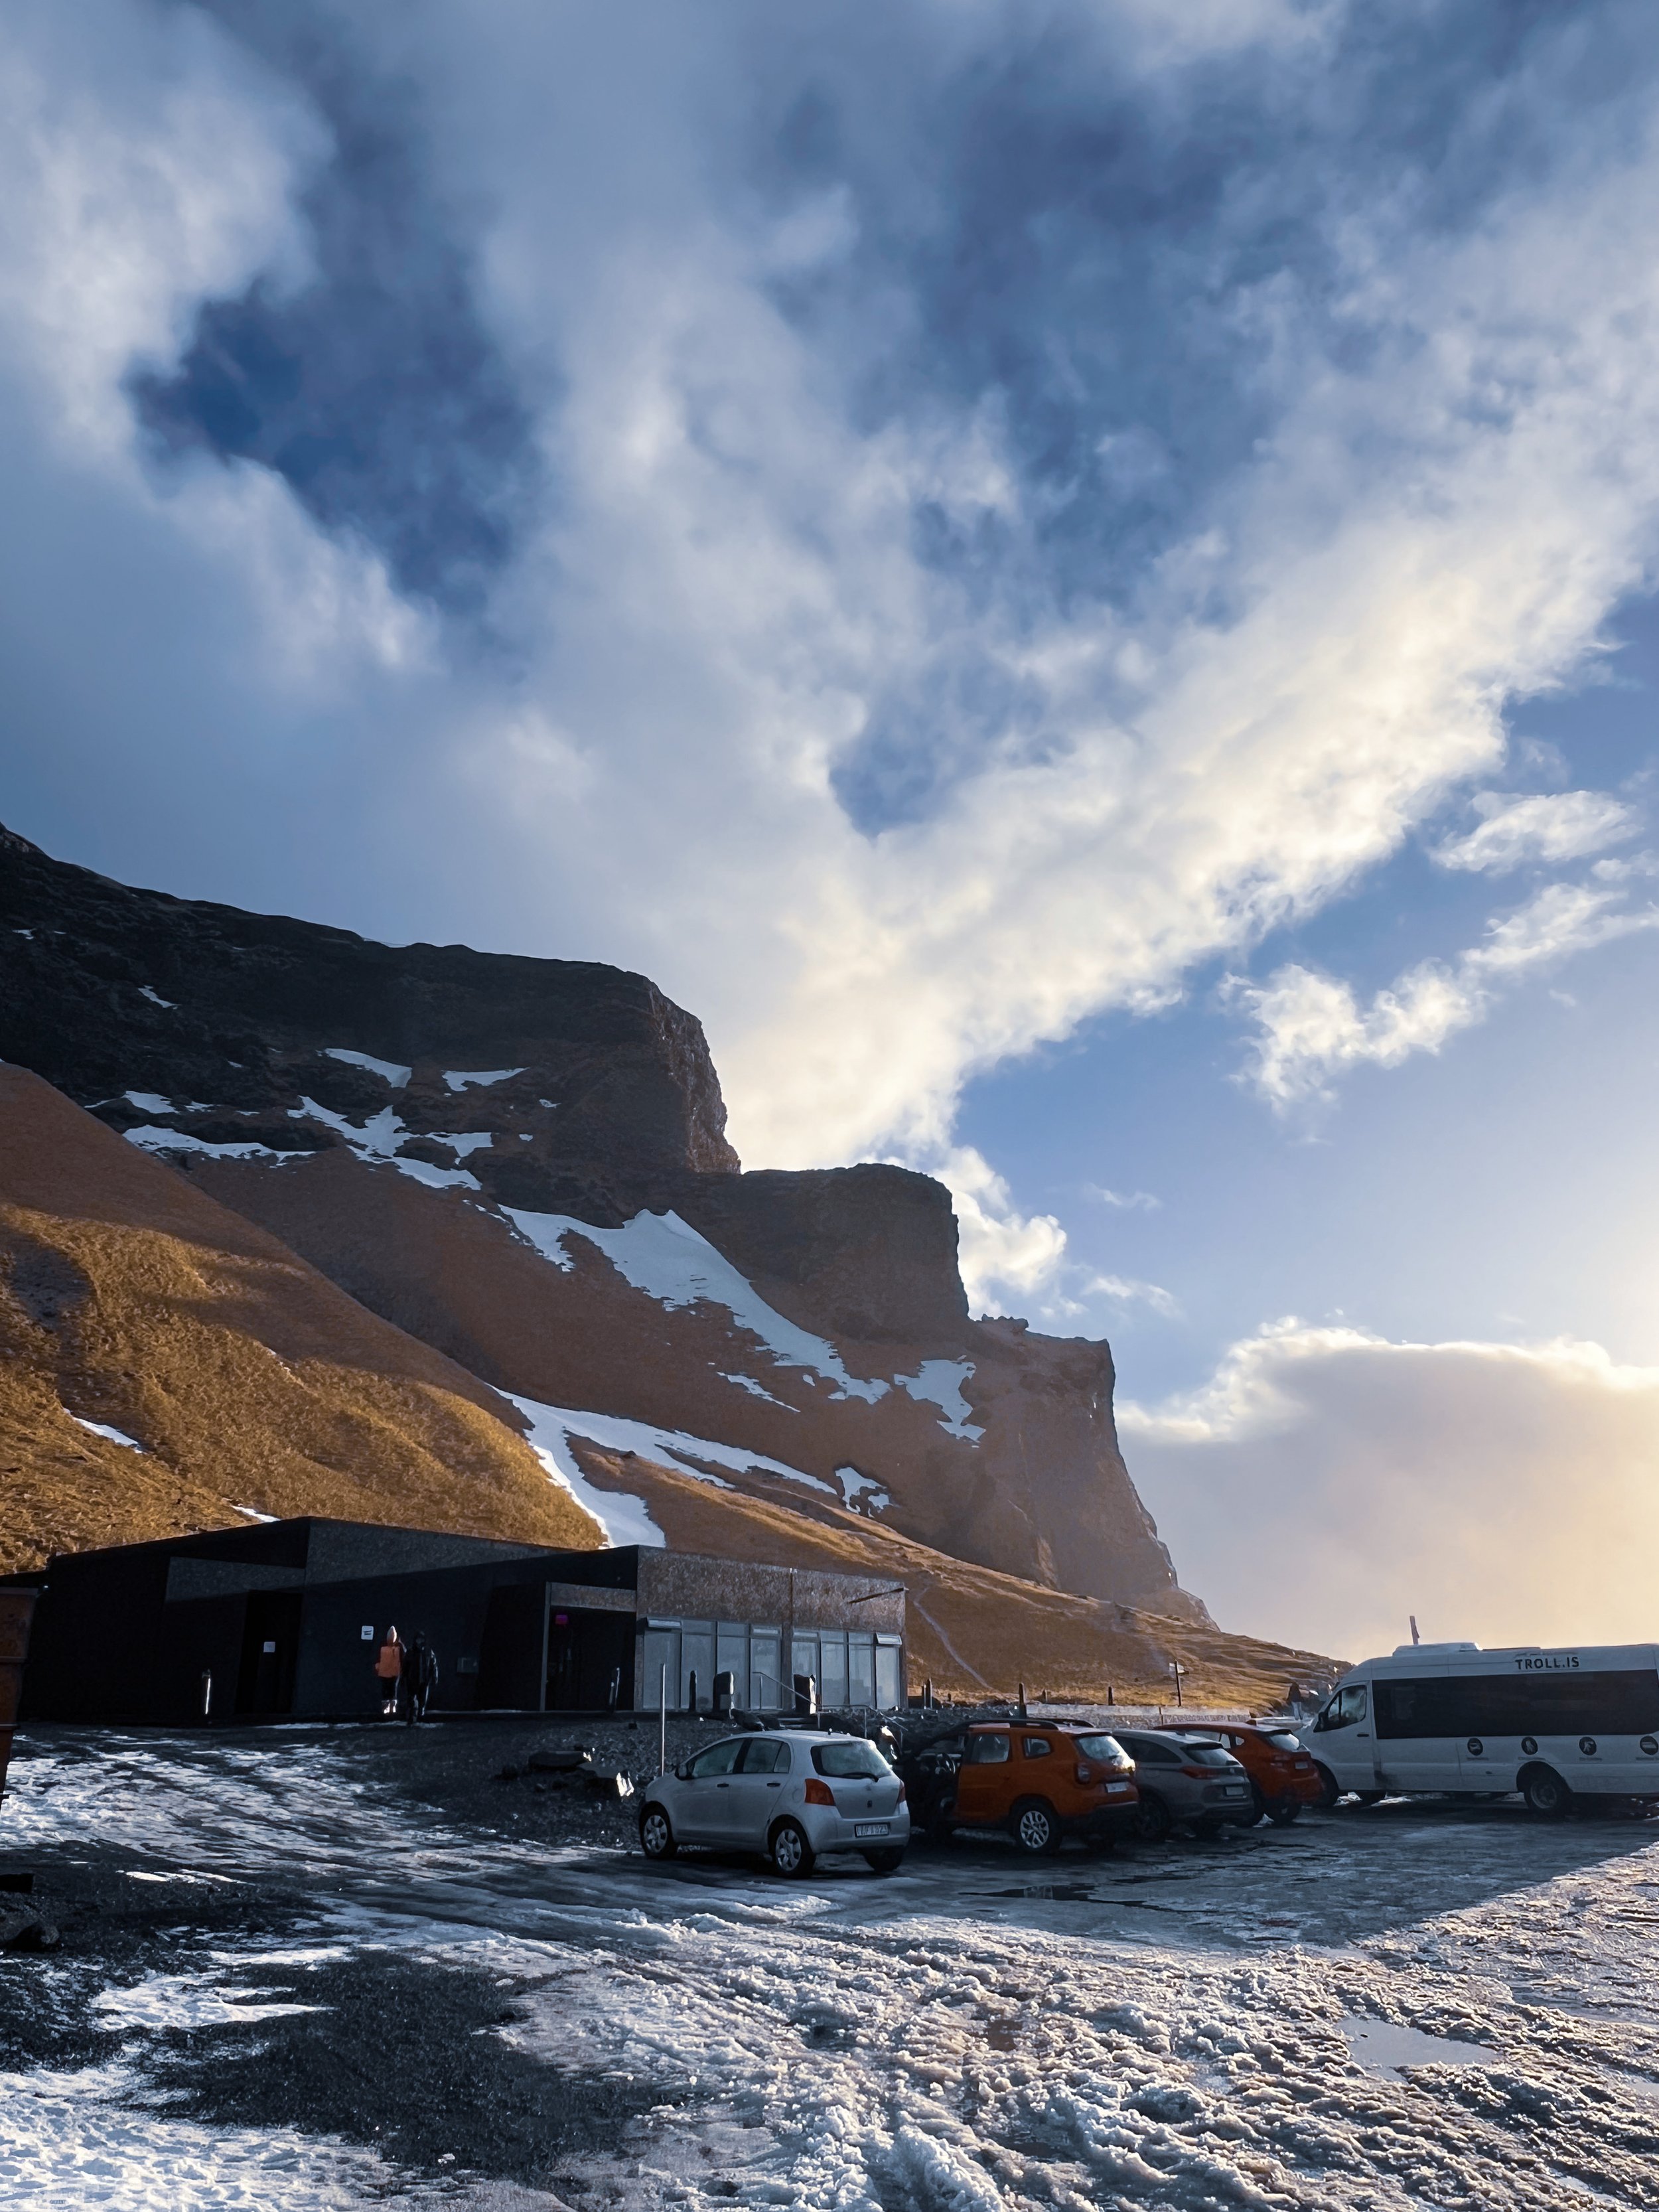
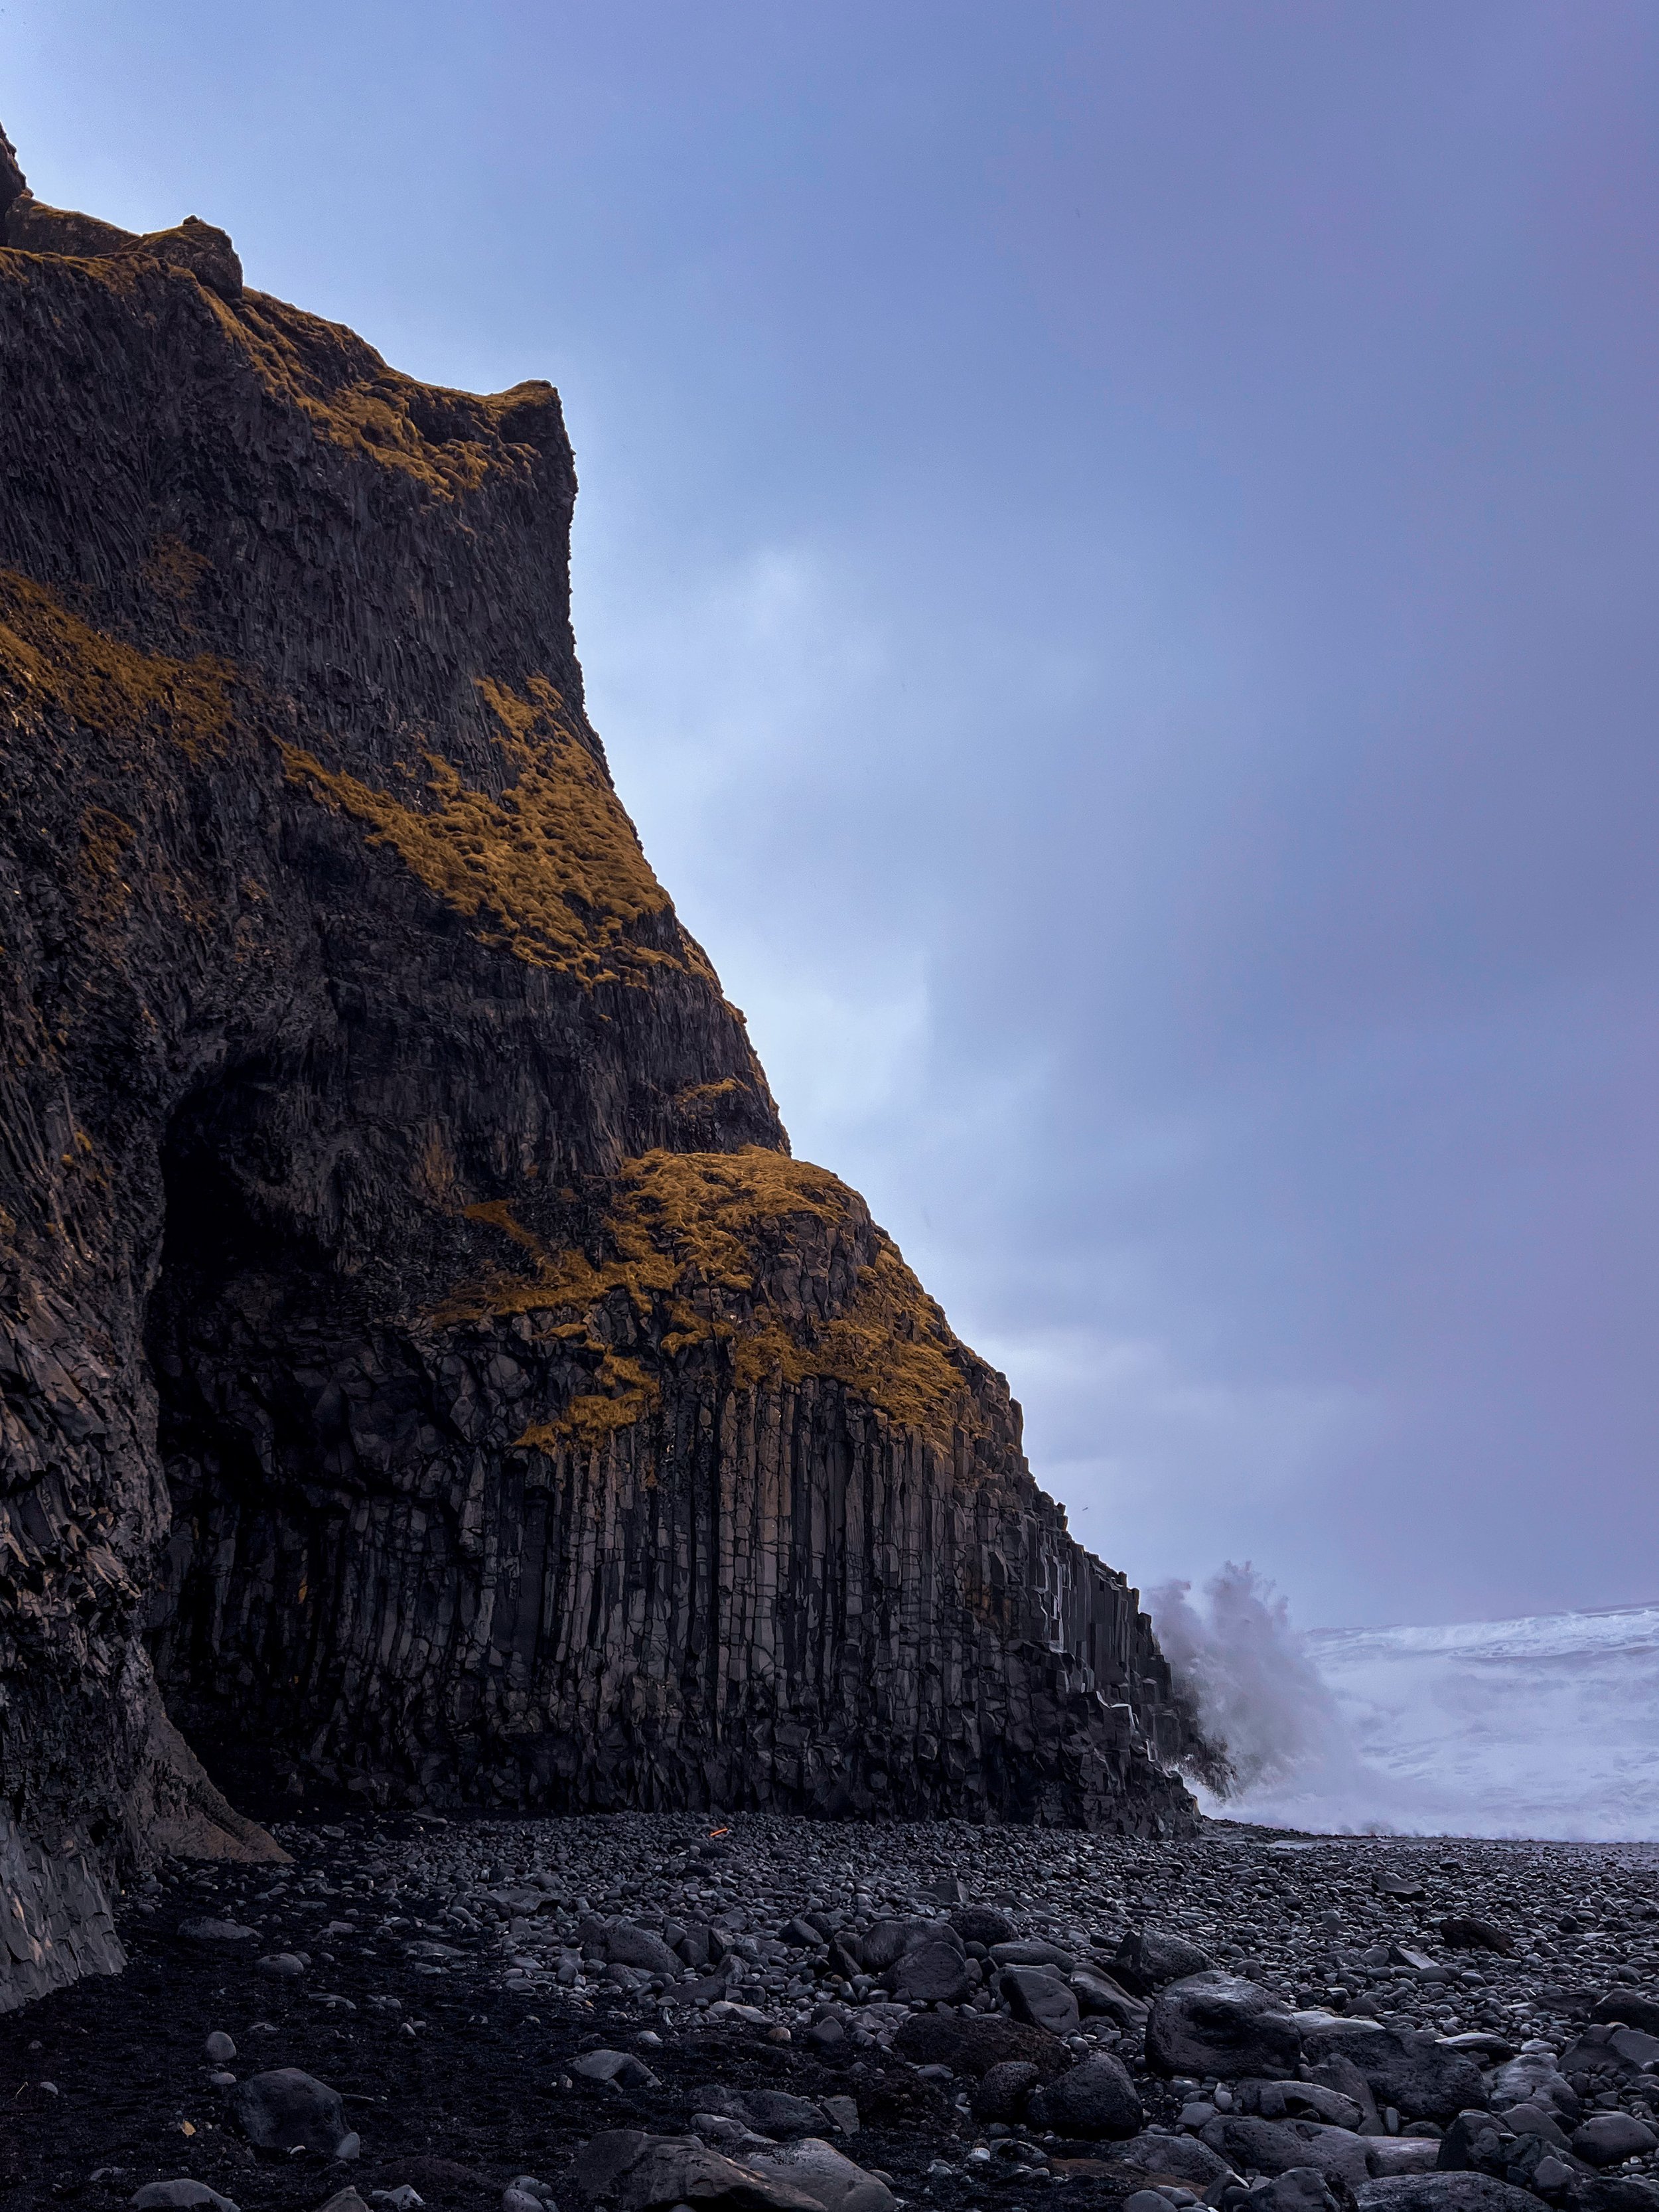
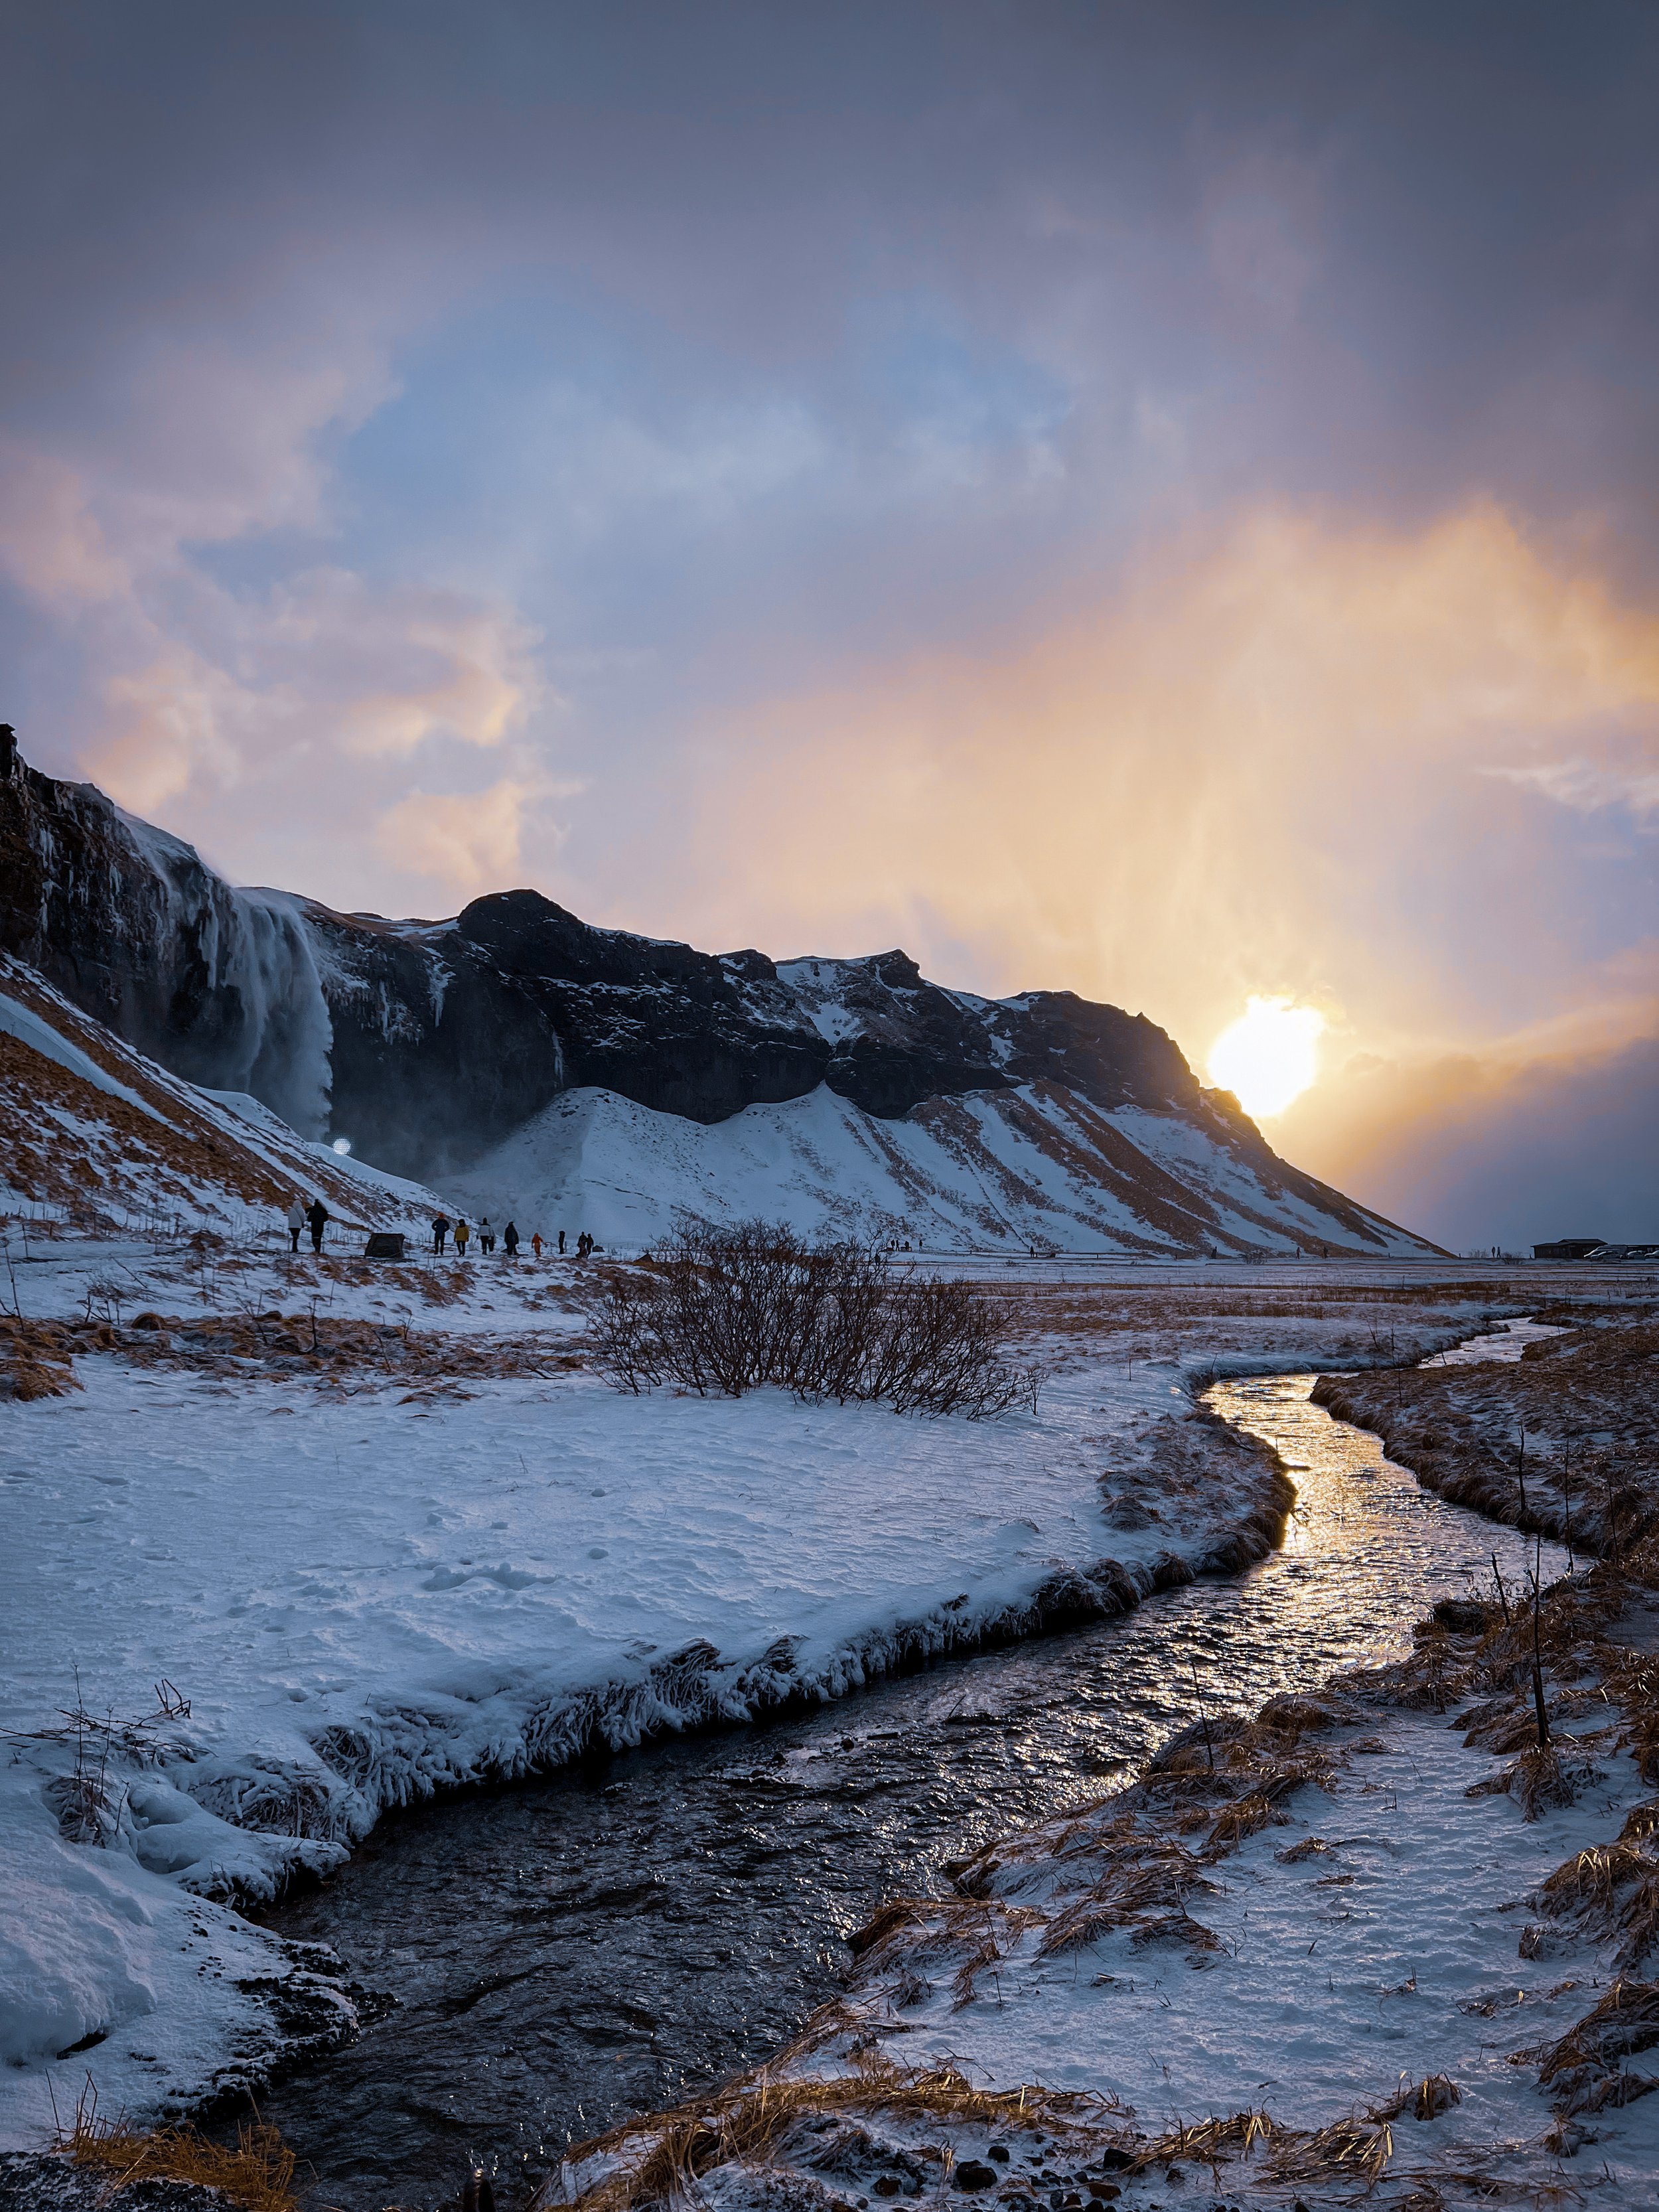
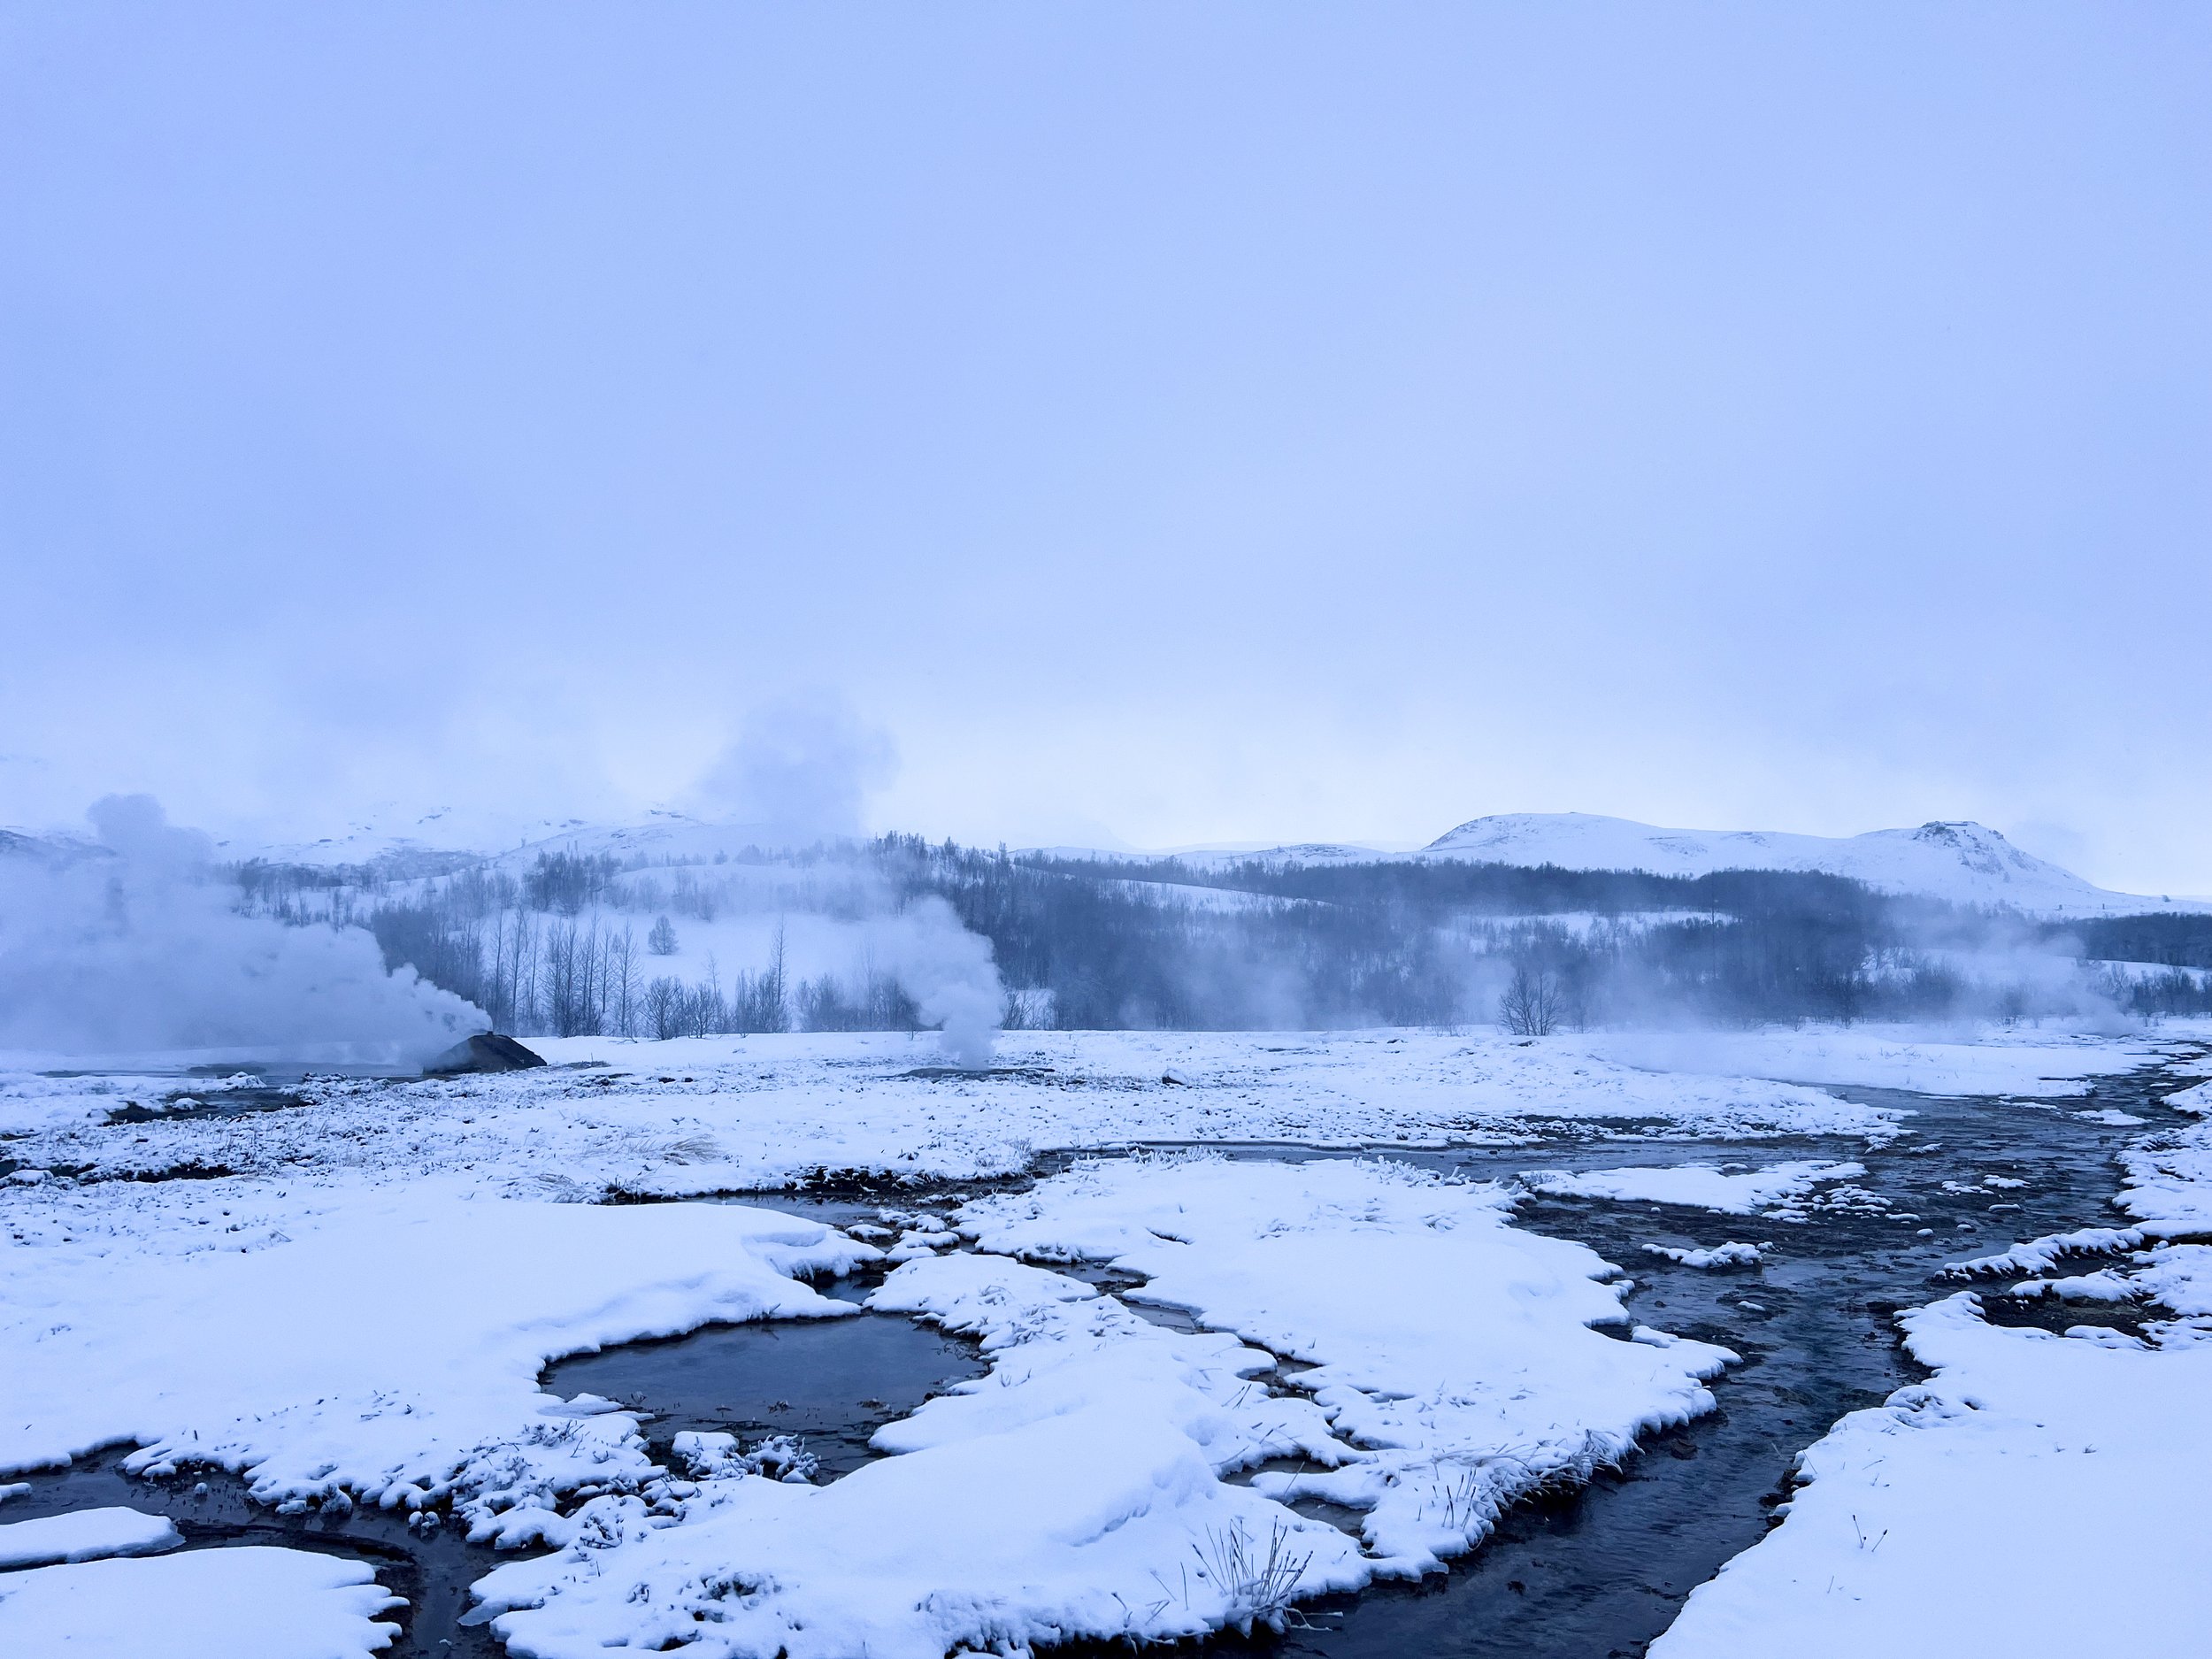
South of Iceland Tour pickup at 8 AM at Tour Bus Stop 1. Drop off back at Bus Stop 1 at 6 PM.
When you get back to your hotel, go freshen up quickly and grab some dinner. I ate dinner at Tapas Barinn and holy cow, it was SO GOOD. I ordered “A Journey into the Unknown”, 7 chef-selected tapas. It was way too much food for just me, but so good!
Northern Lights Tour pickup at Bus Stop 1 8:30 PM to 12-1 AM. OK so this is aggressive, I know. Like when can we sleep? Well, you should have napped on the tour bus (comfortably with your neck pillow!), and here’s the thing. The weather is so unpredictable that you want to book this tour for your first night because if the weather turns to shit, the tour will let you reschedule for free! So, if the weather doesn’t work in your favor like what happened to me, you’re going to rebook for Saturday night and try again.
Tip: Tours cancel when the weather calls for consistent precipitation throughout the night. However, they will attempt to take you out when there is cloud coverage in the chance there is a break in the clouds AND that the northern lights are on display. So you have a choice: you can take a chance, spend the money, and lower your sleep bank, or you can call it off and either hit the sack early or go explore the city nightlife. I found the Icelandic Meteorologist Office Aurora Forecast site to be extremely helpful in making my decision.

Saturday Itinerary
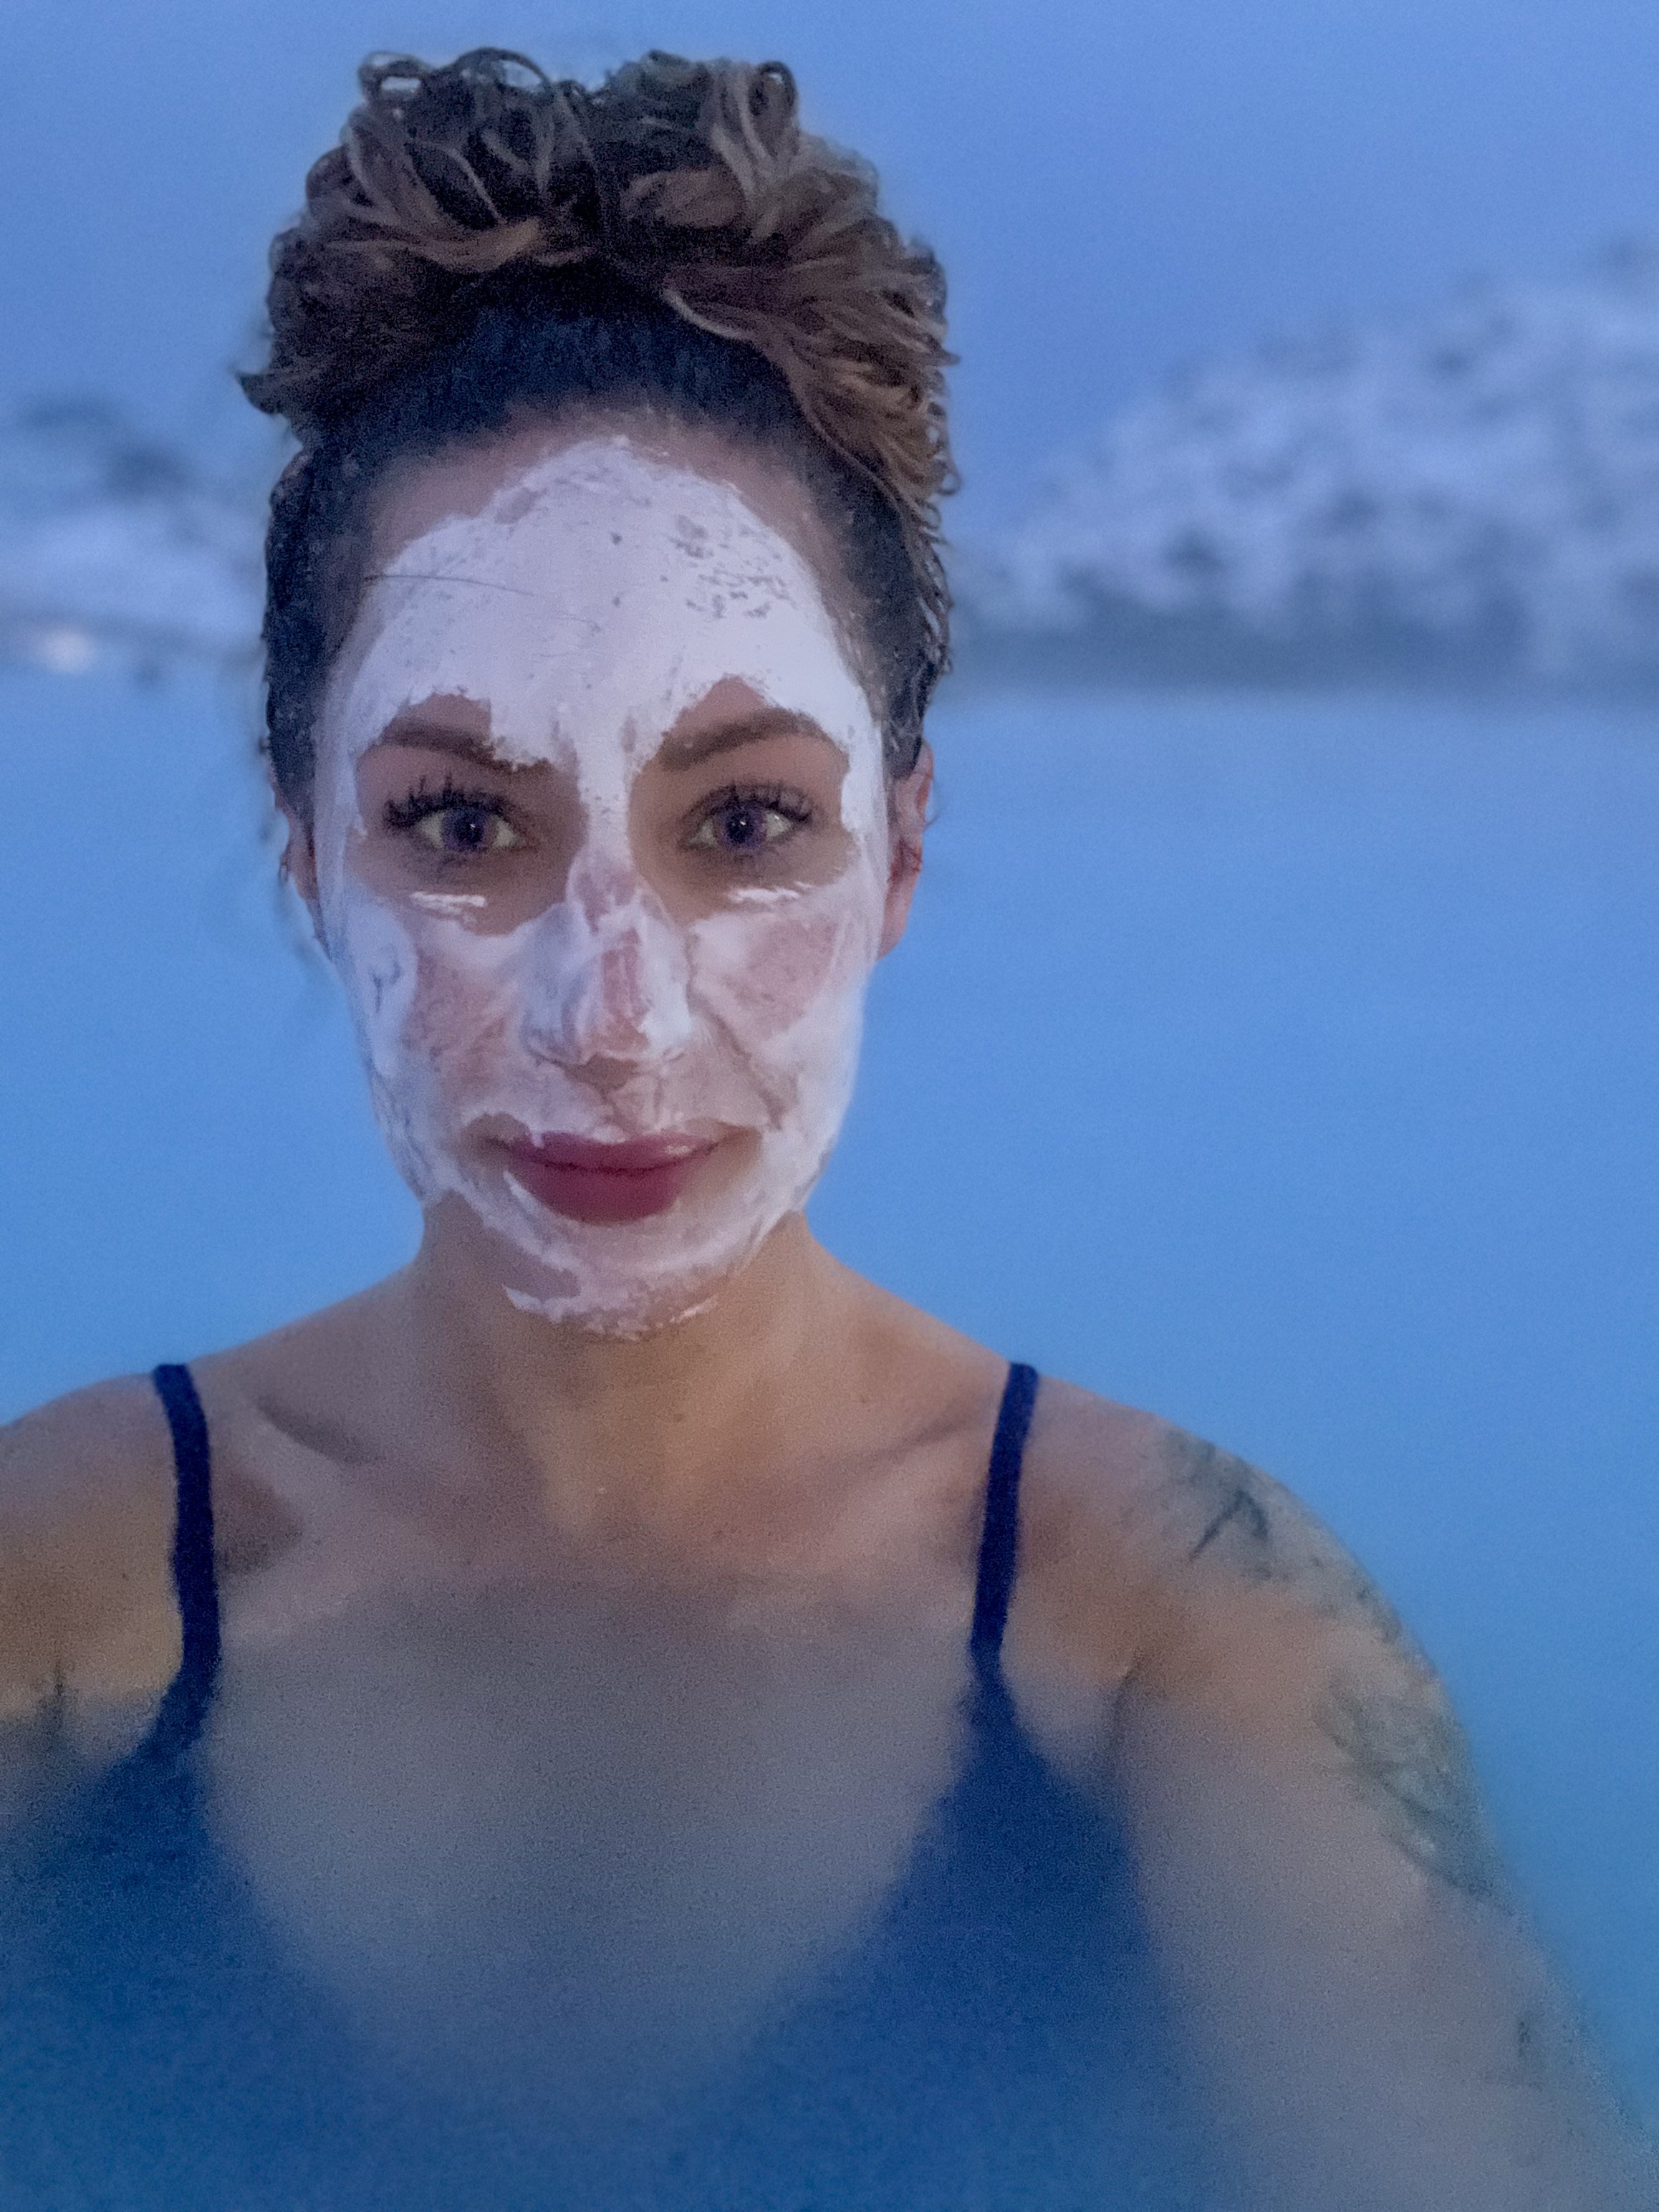
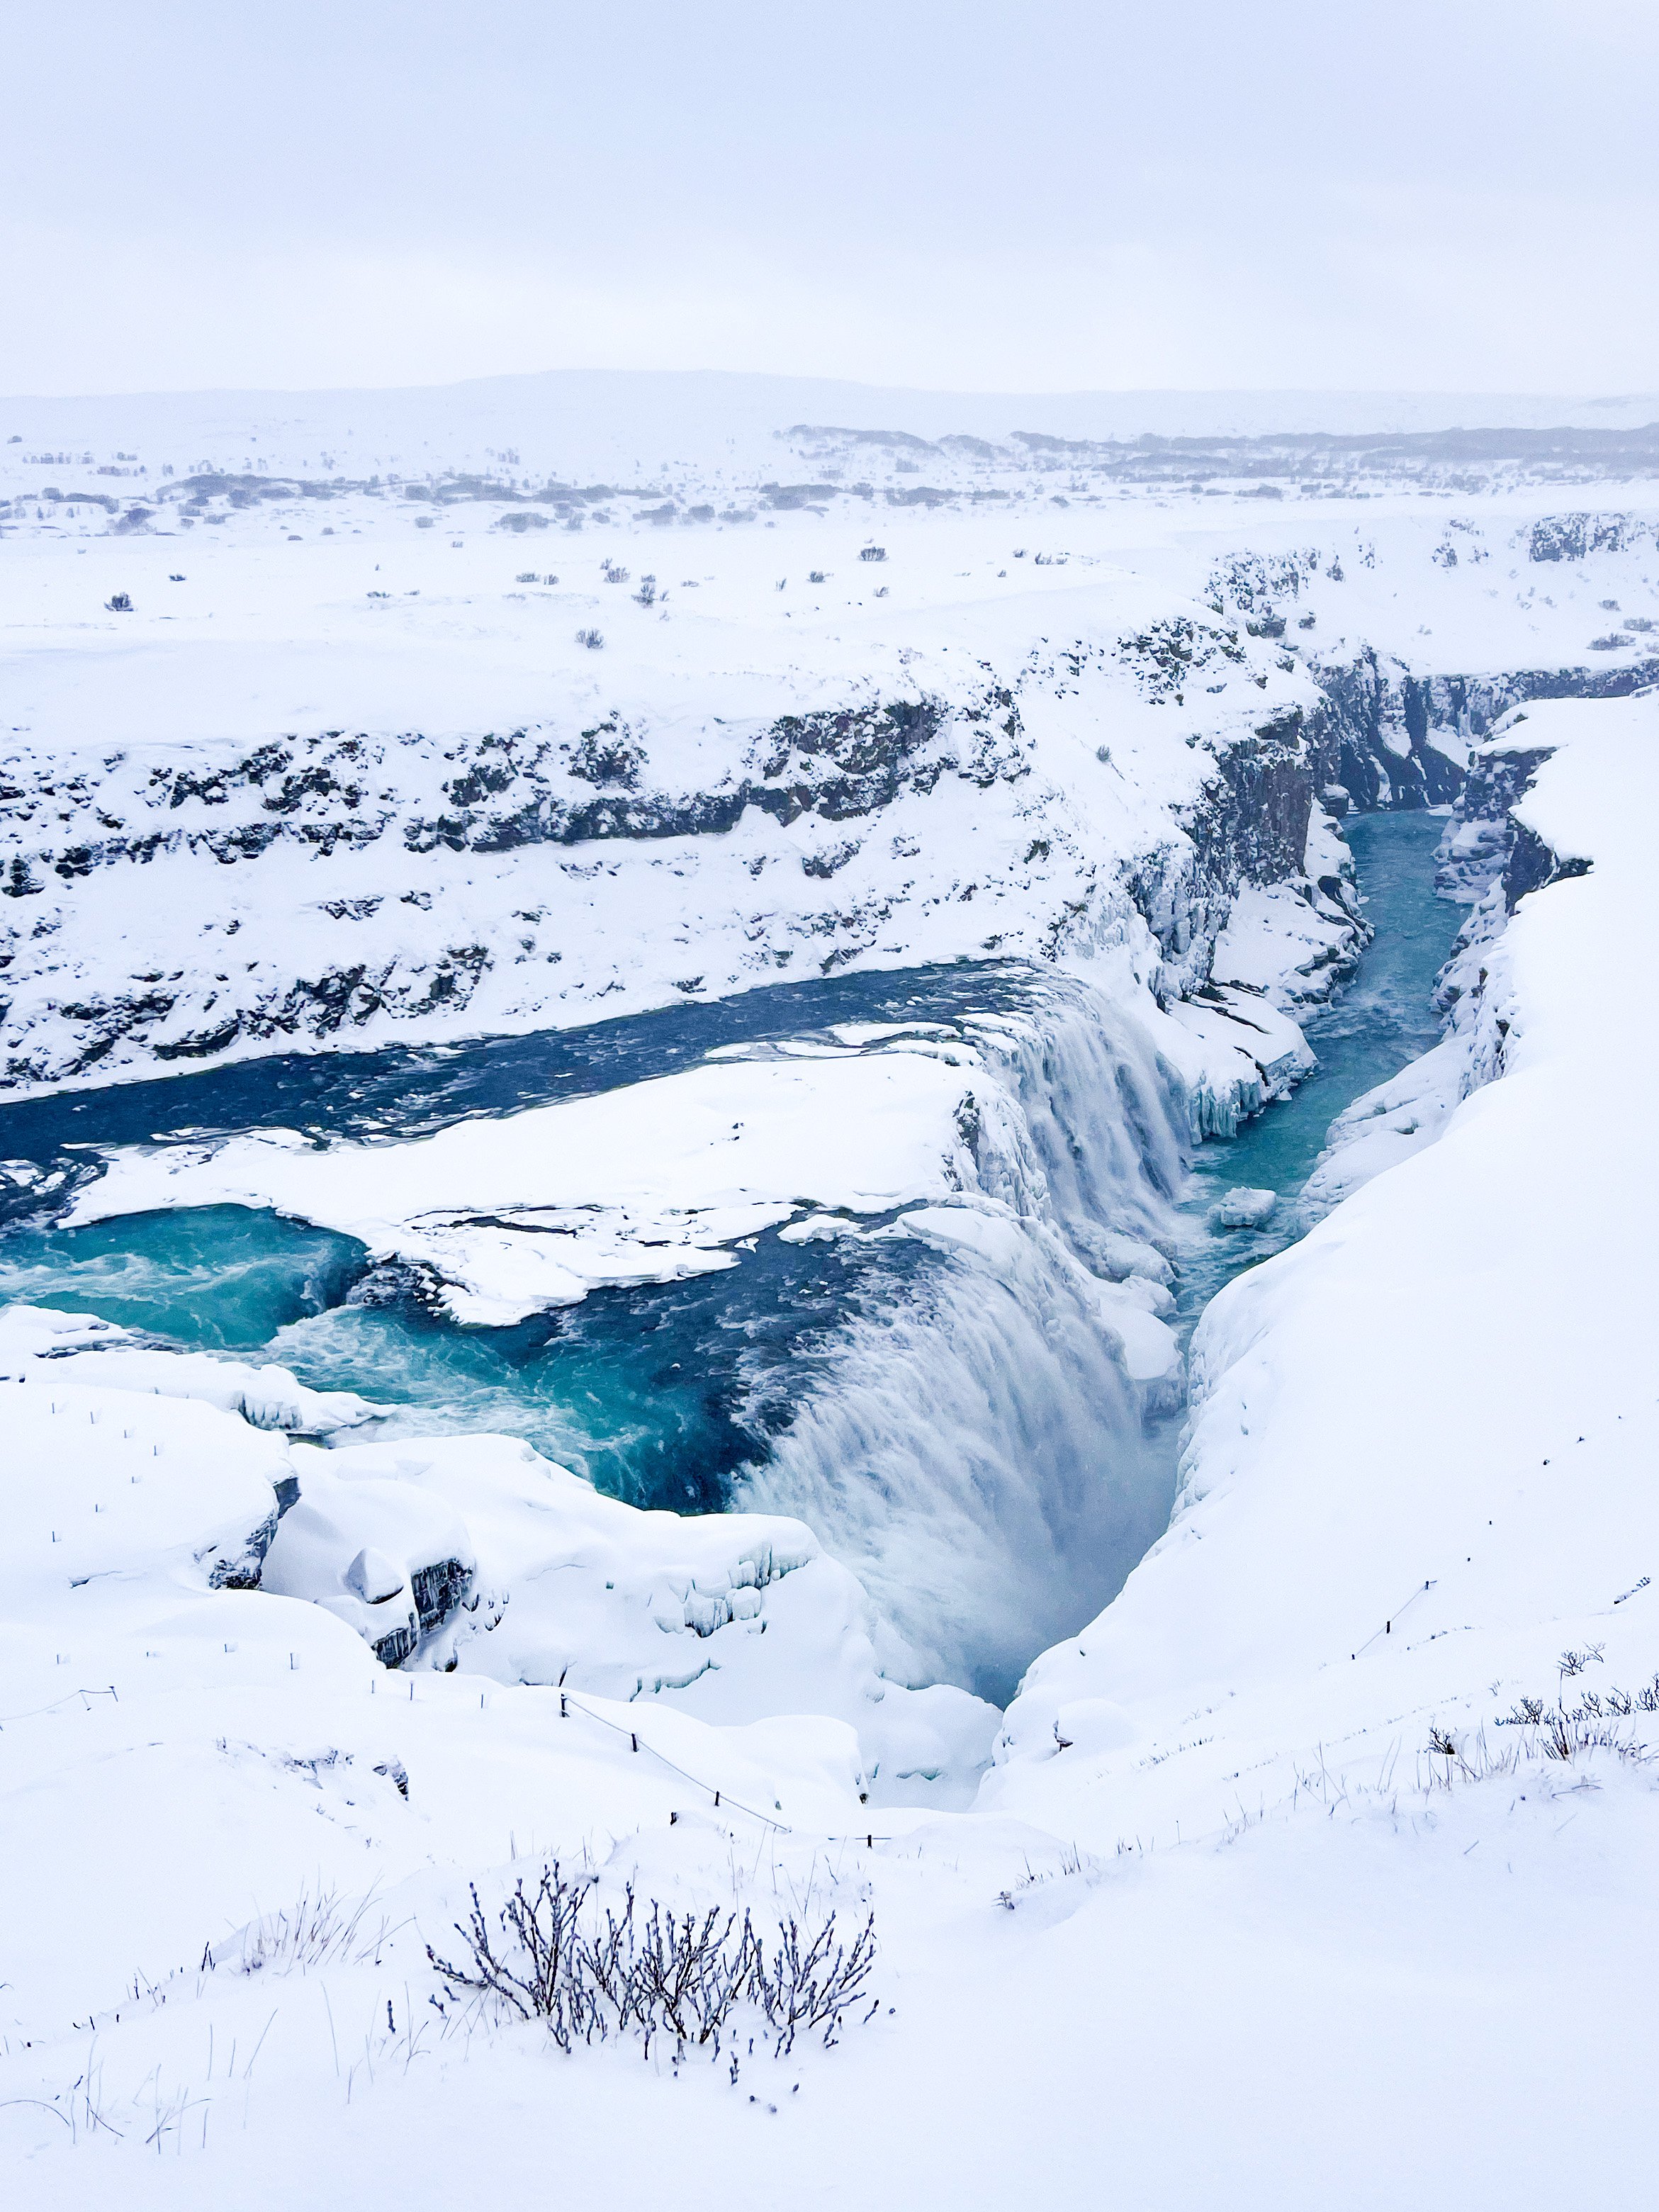
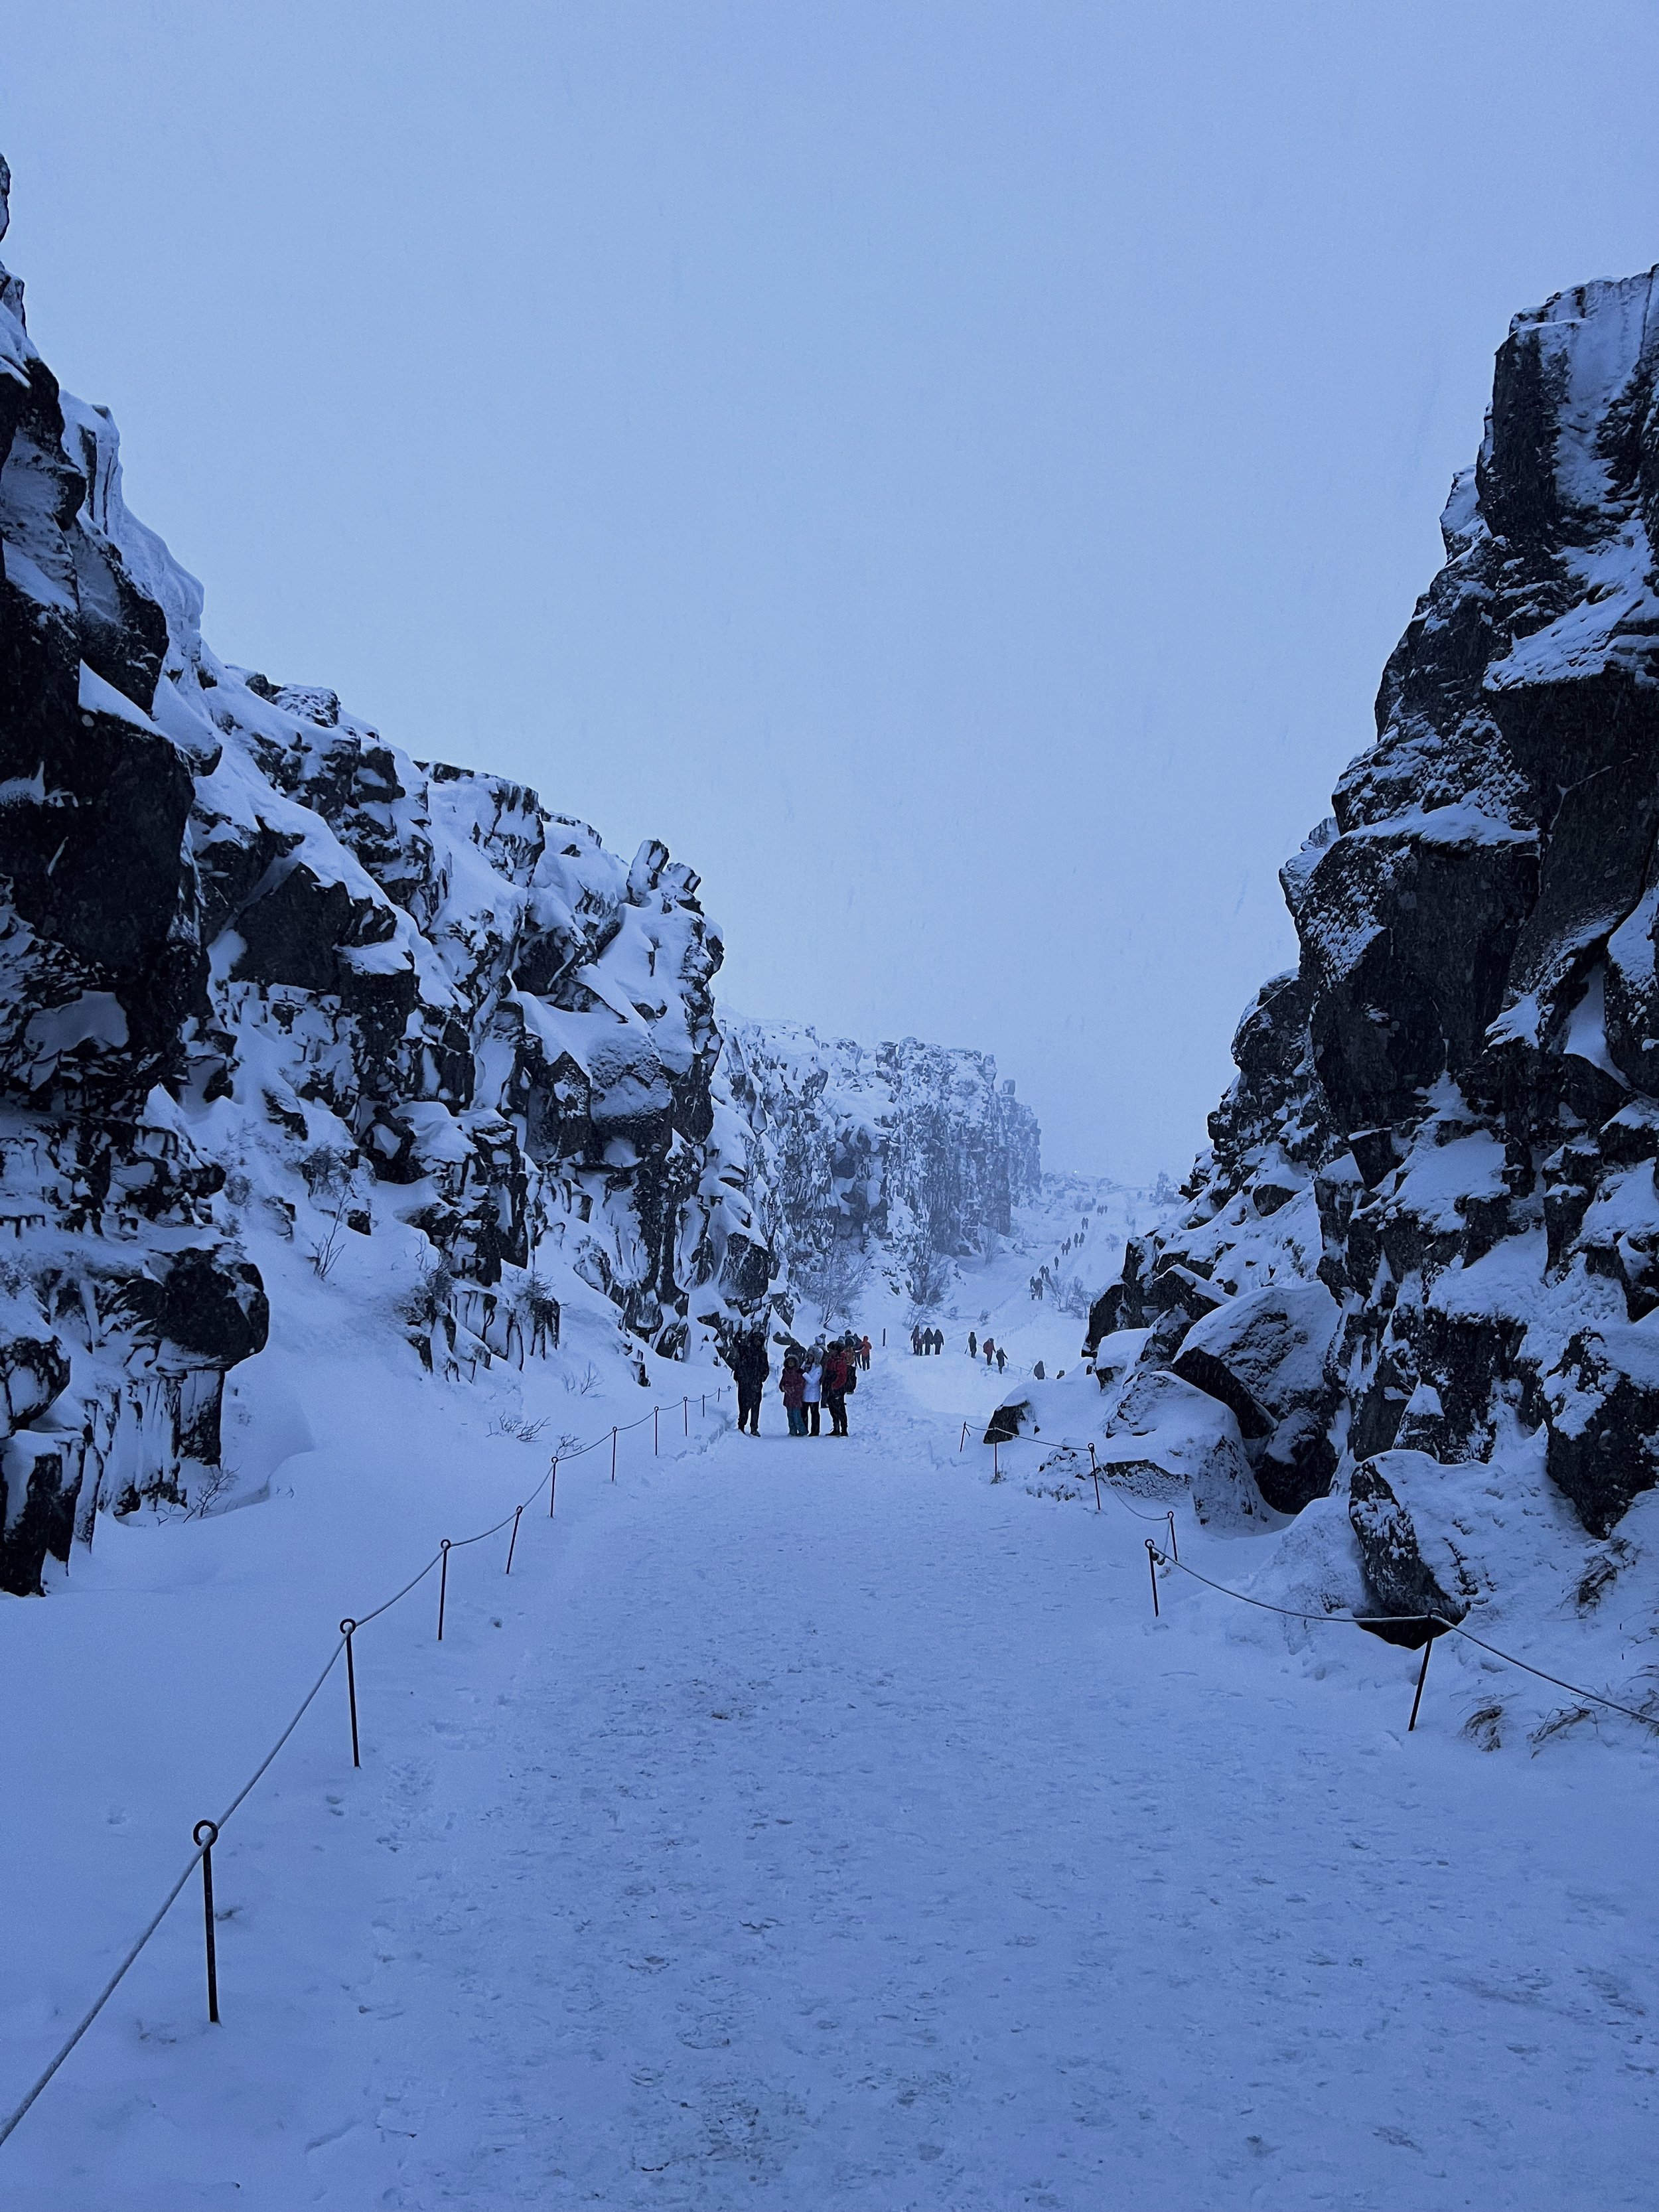
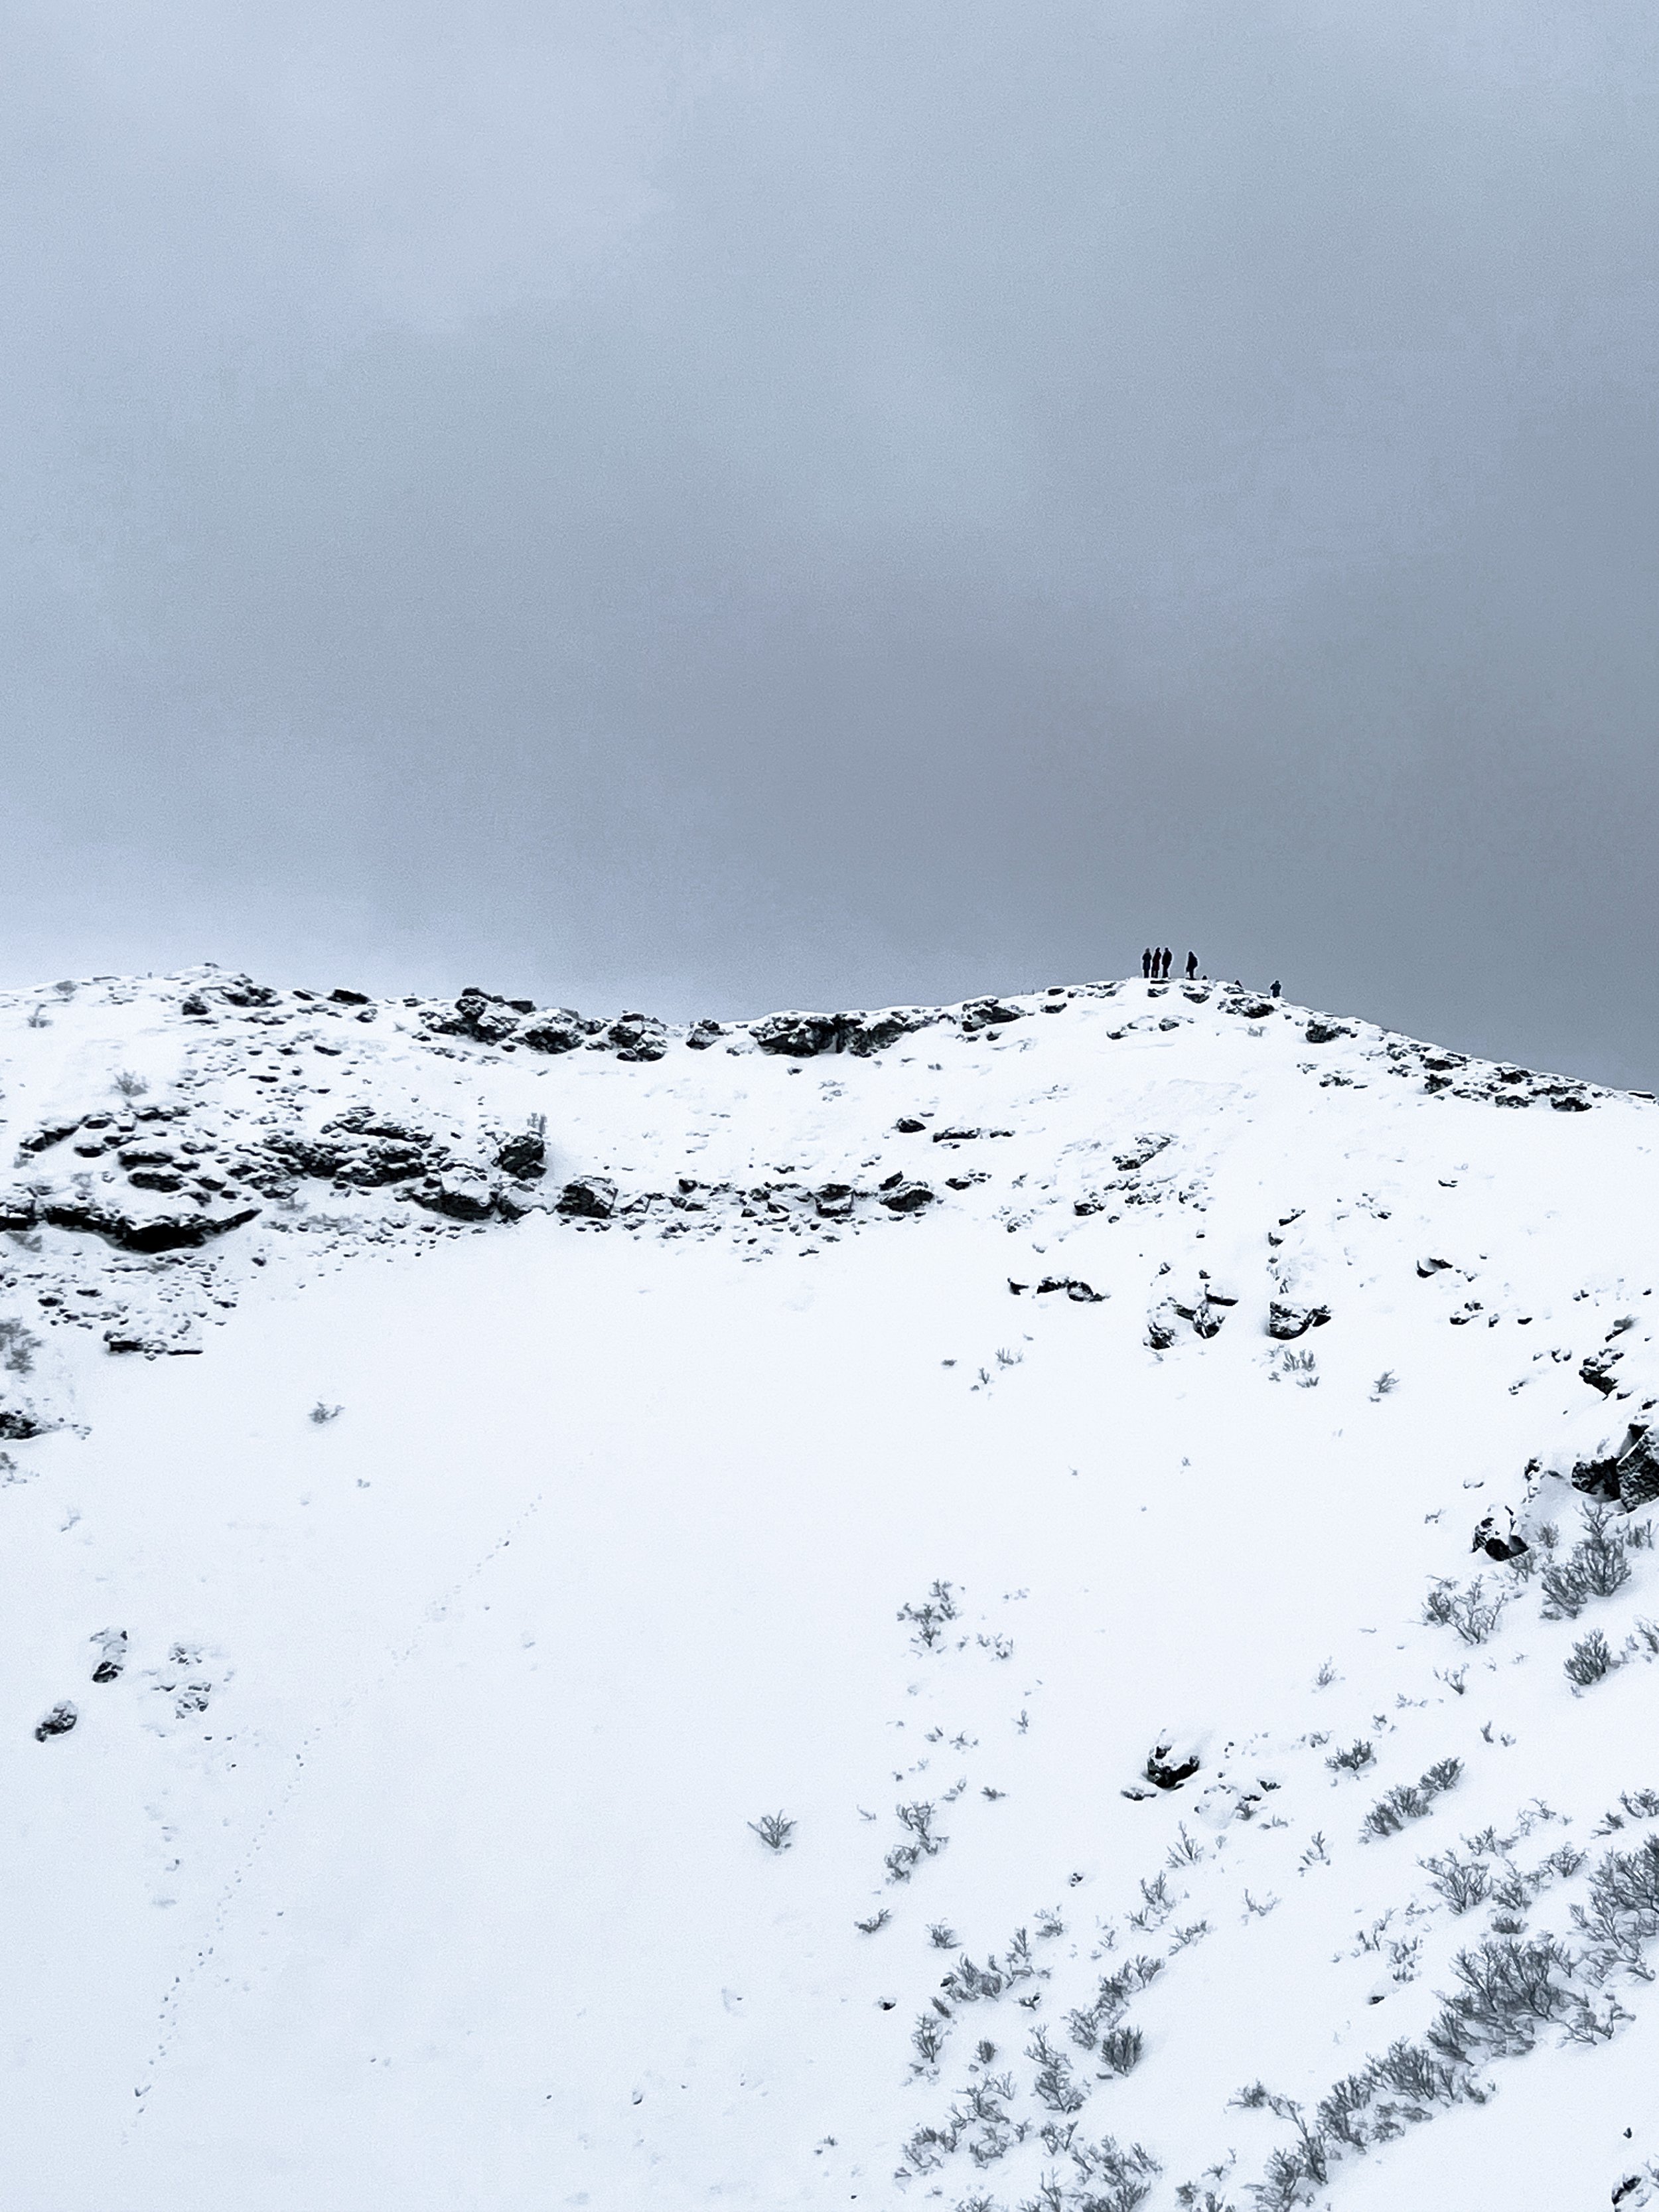
Golden Circle, Kerid Crater, and Blue Lagoon Tour pick at Bus Stop 1 at 8:30 AM, Blue Lagoon at 5 PM, and return at 8 PM.
Pack bathing suit #1, dry bag, waterproof phone case, and hair tie/clip! When you go to the Blue Lagoon, do not get your hair wet with lagoon water! They will make you shower before you go in, so the tip is to slather your hair in conditioner. The minerals in the water will turn your hair into straw and you will look like a troll (according to my guide, ha!). I saw girls dunking their heads and was like “NOOOOOO"!!! Poor you.” Don’t be those people. The tour comes with the comfort ticket which includes a free silica face mask and a free beverage from the swim-up bars. The mask was so good I bought a tube to bring home. There are cafes and a swanky restaurant here. Save some time to grab a bite to eat because if you end up doing the Northern Lights Tour, you won’t have time to go get food elsewhere.
Northern Lights Tour attempt #2! Same deal, pickup at Bus Stop 1 8:30 PM to 12-1 AM.
Sunday Itinerary
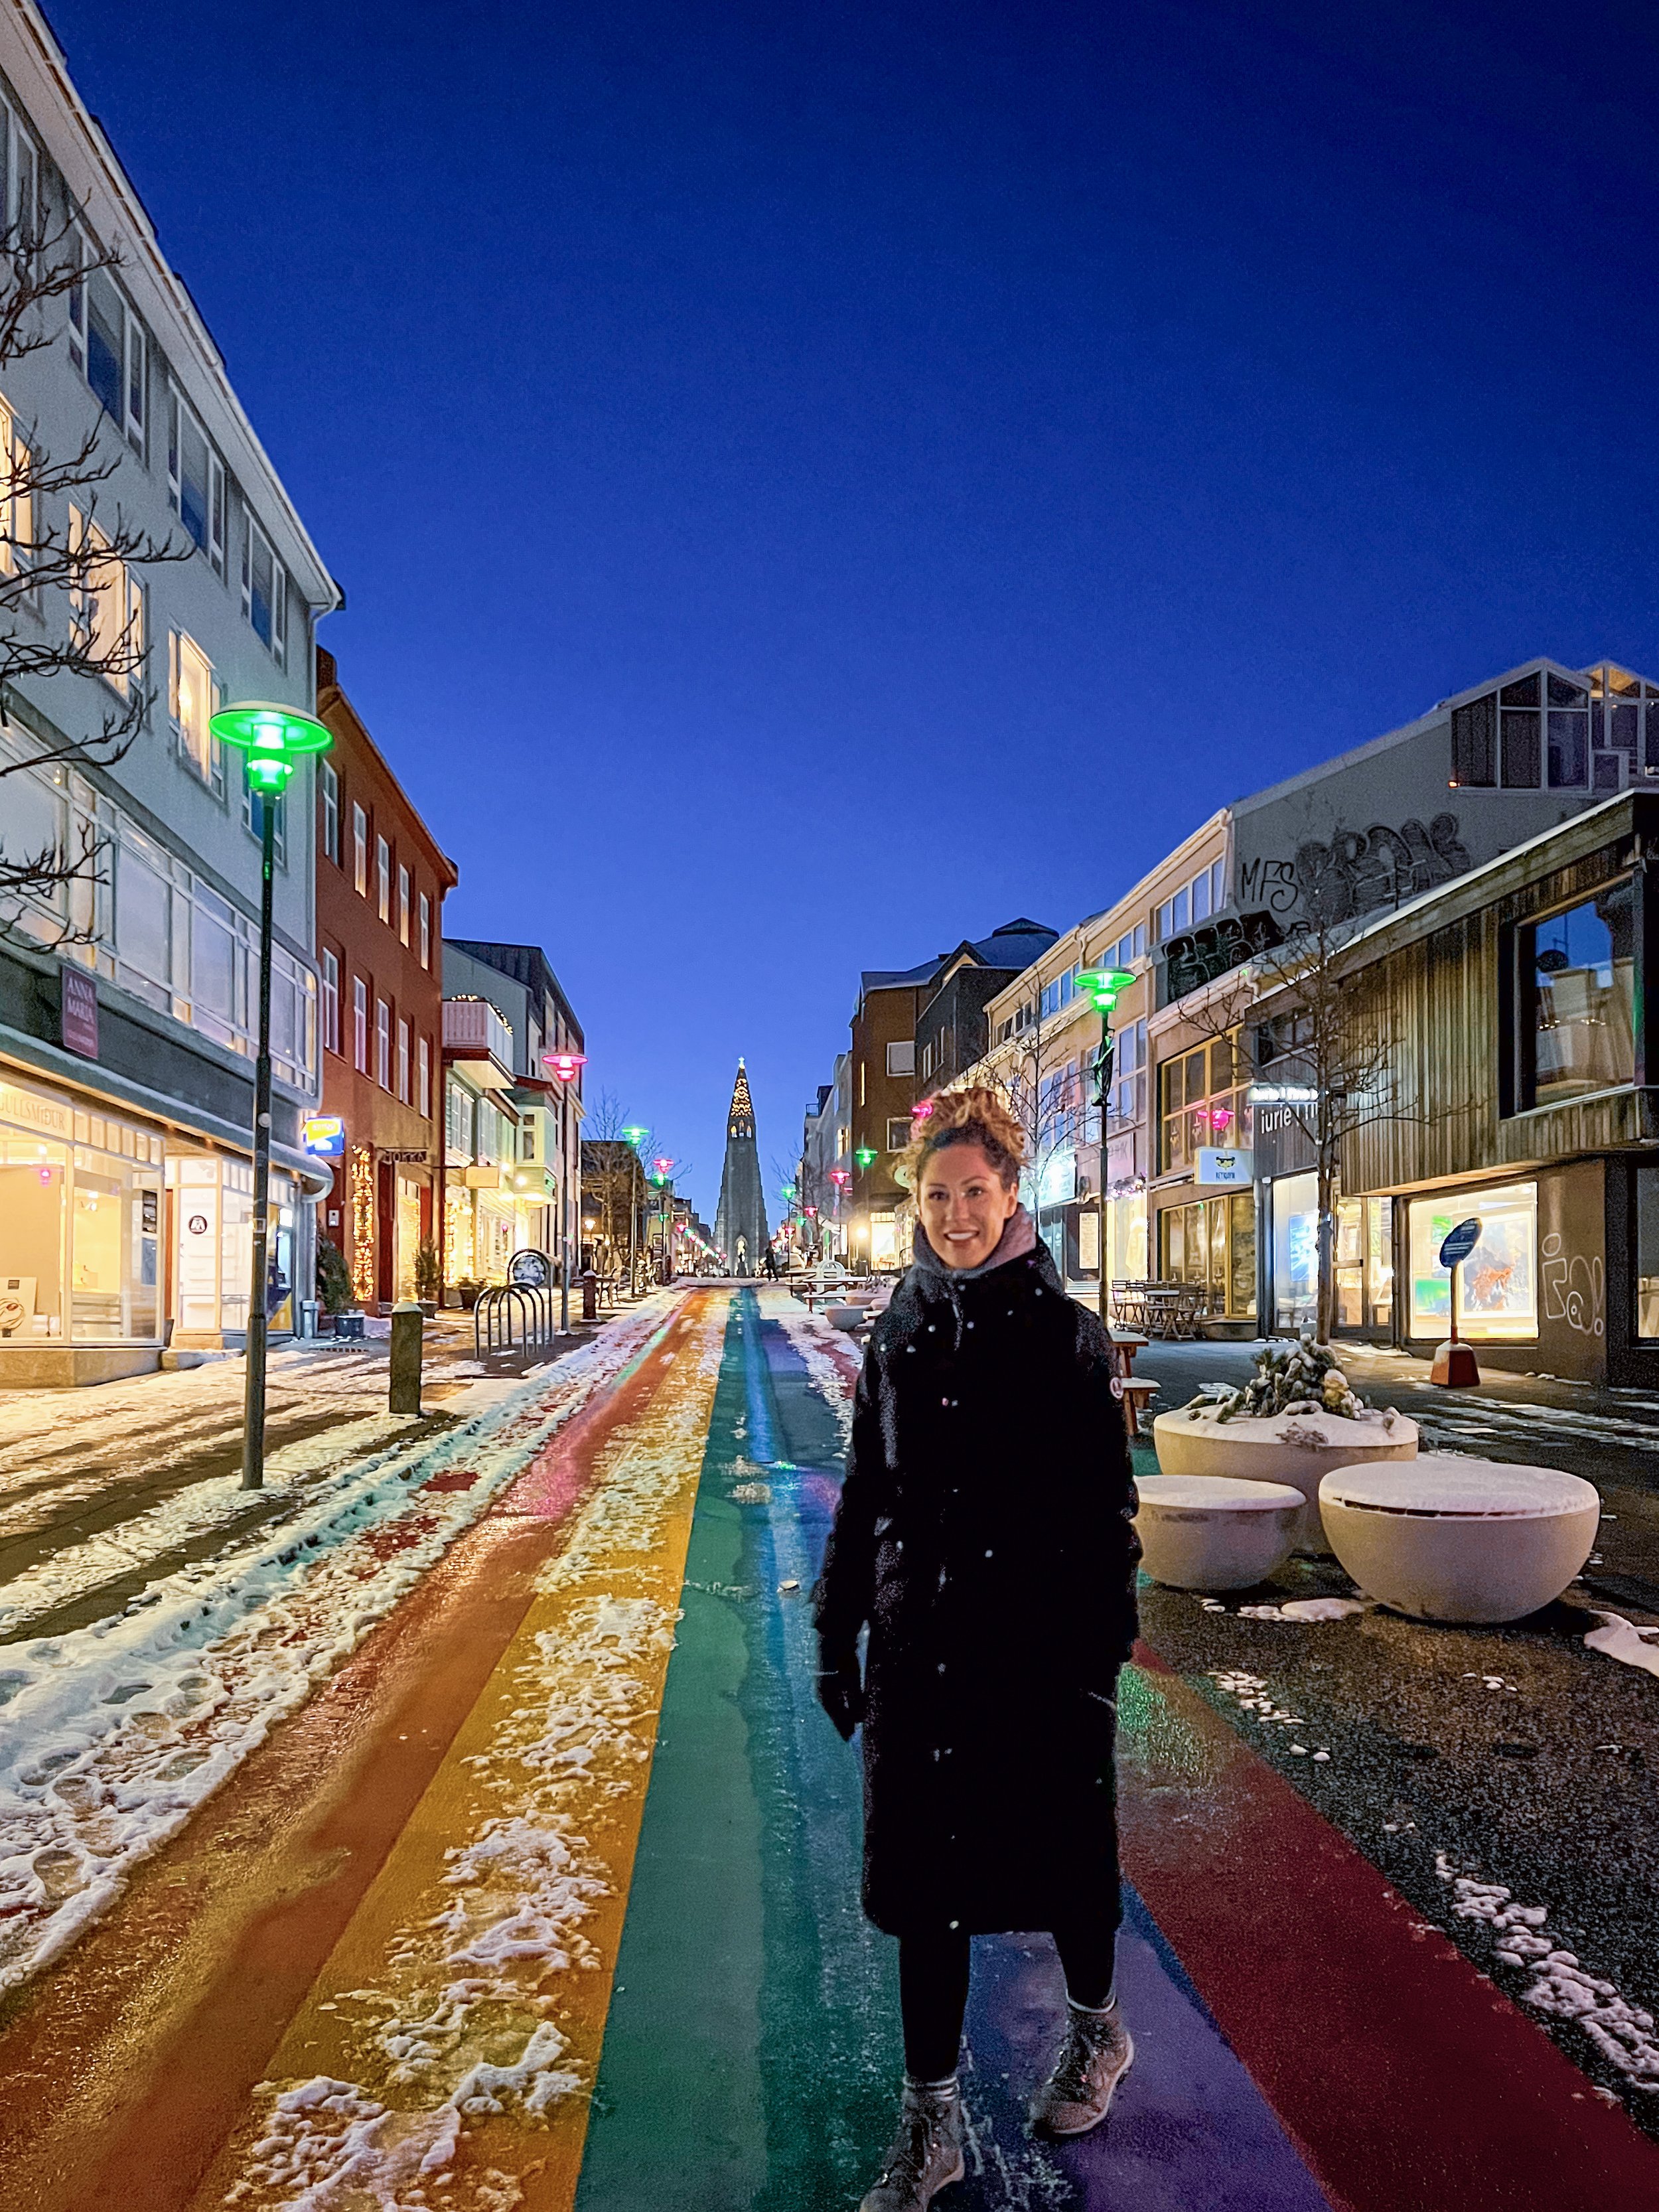
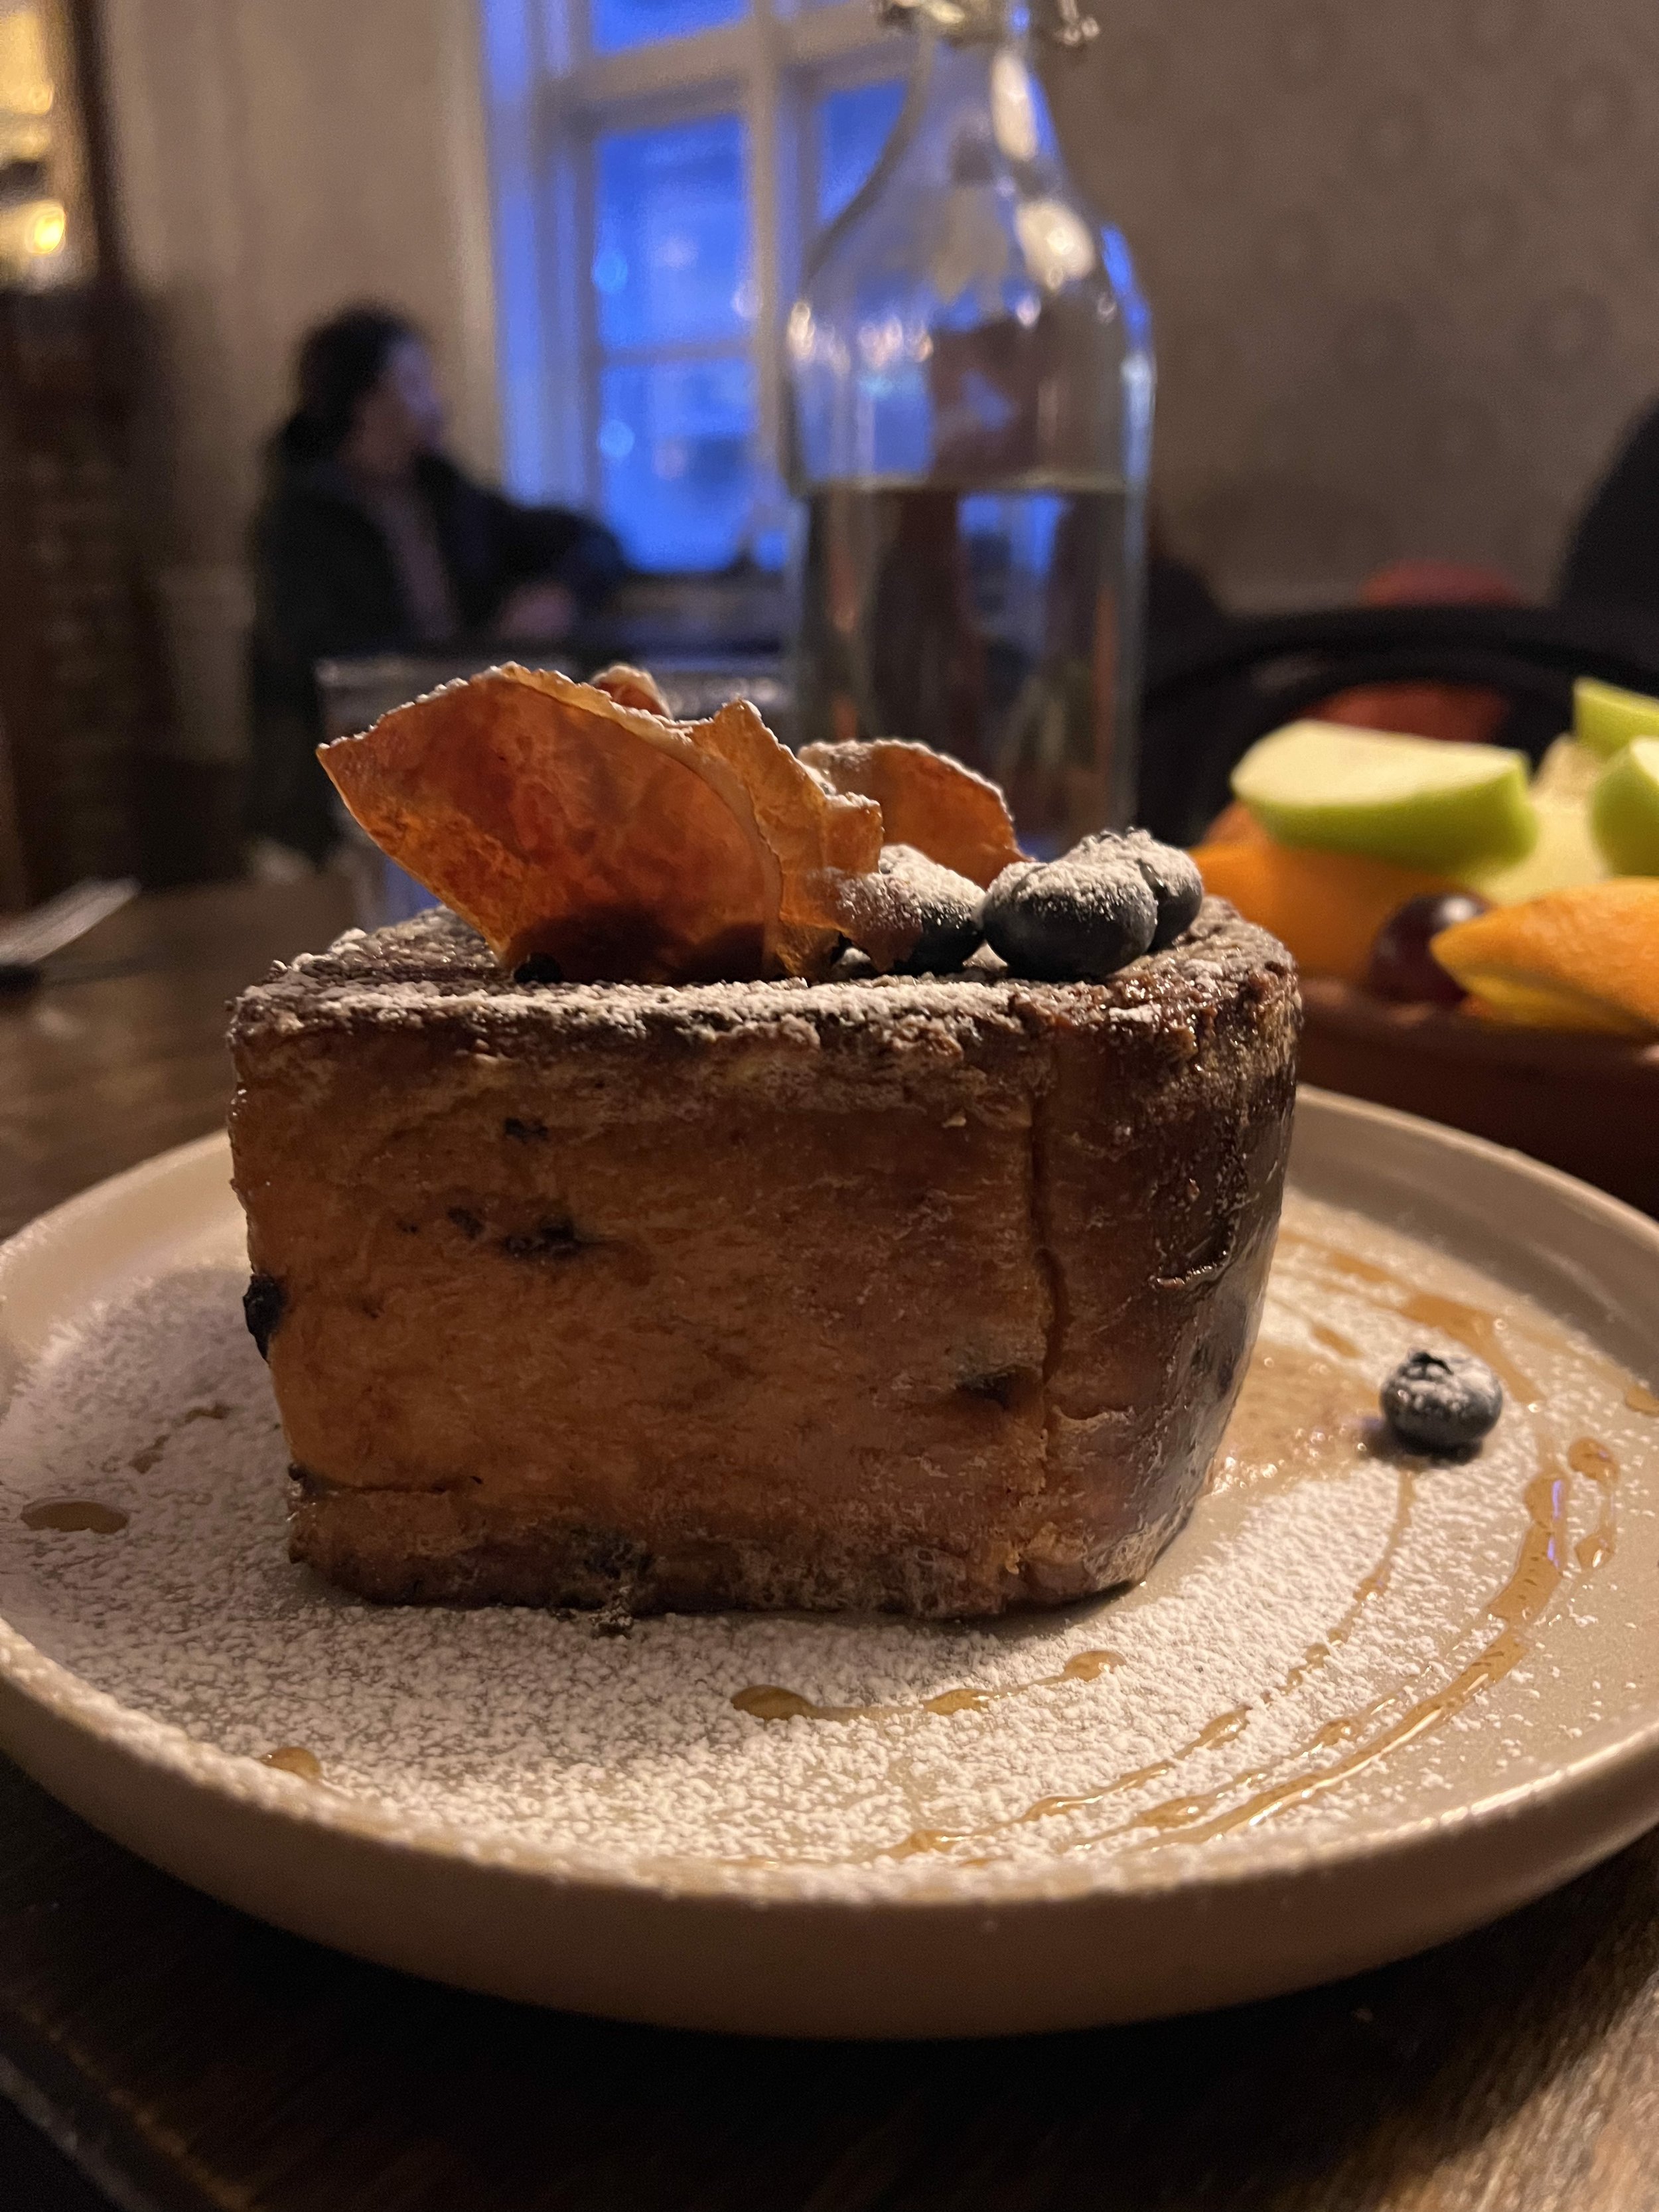
Explore Reykjavik at 8 AM. Walk to Rainbow Street and snap a photo with Hallgrímskirkja (try to say that!), get breakfast at this incredible cafe, then head back to the hotel to pack. See the pic below of the cafe along with the insane French Toast they have!! Their cappuccino was probably the most delicious I’ve ever had.
Hotel Check-out at 10 AM.
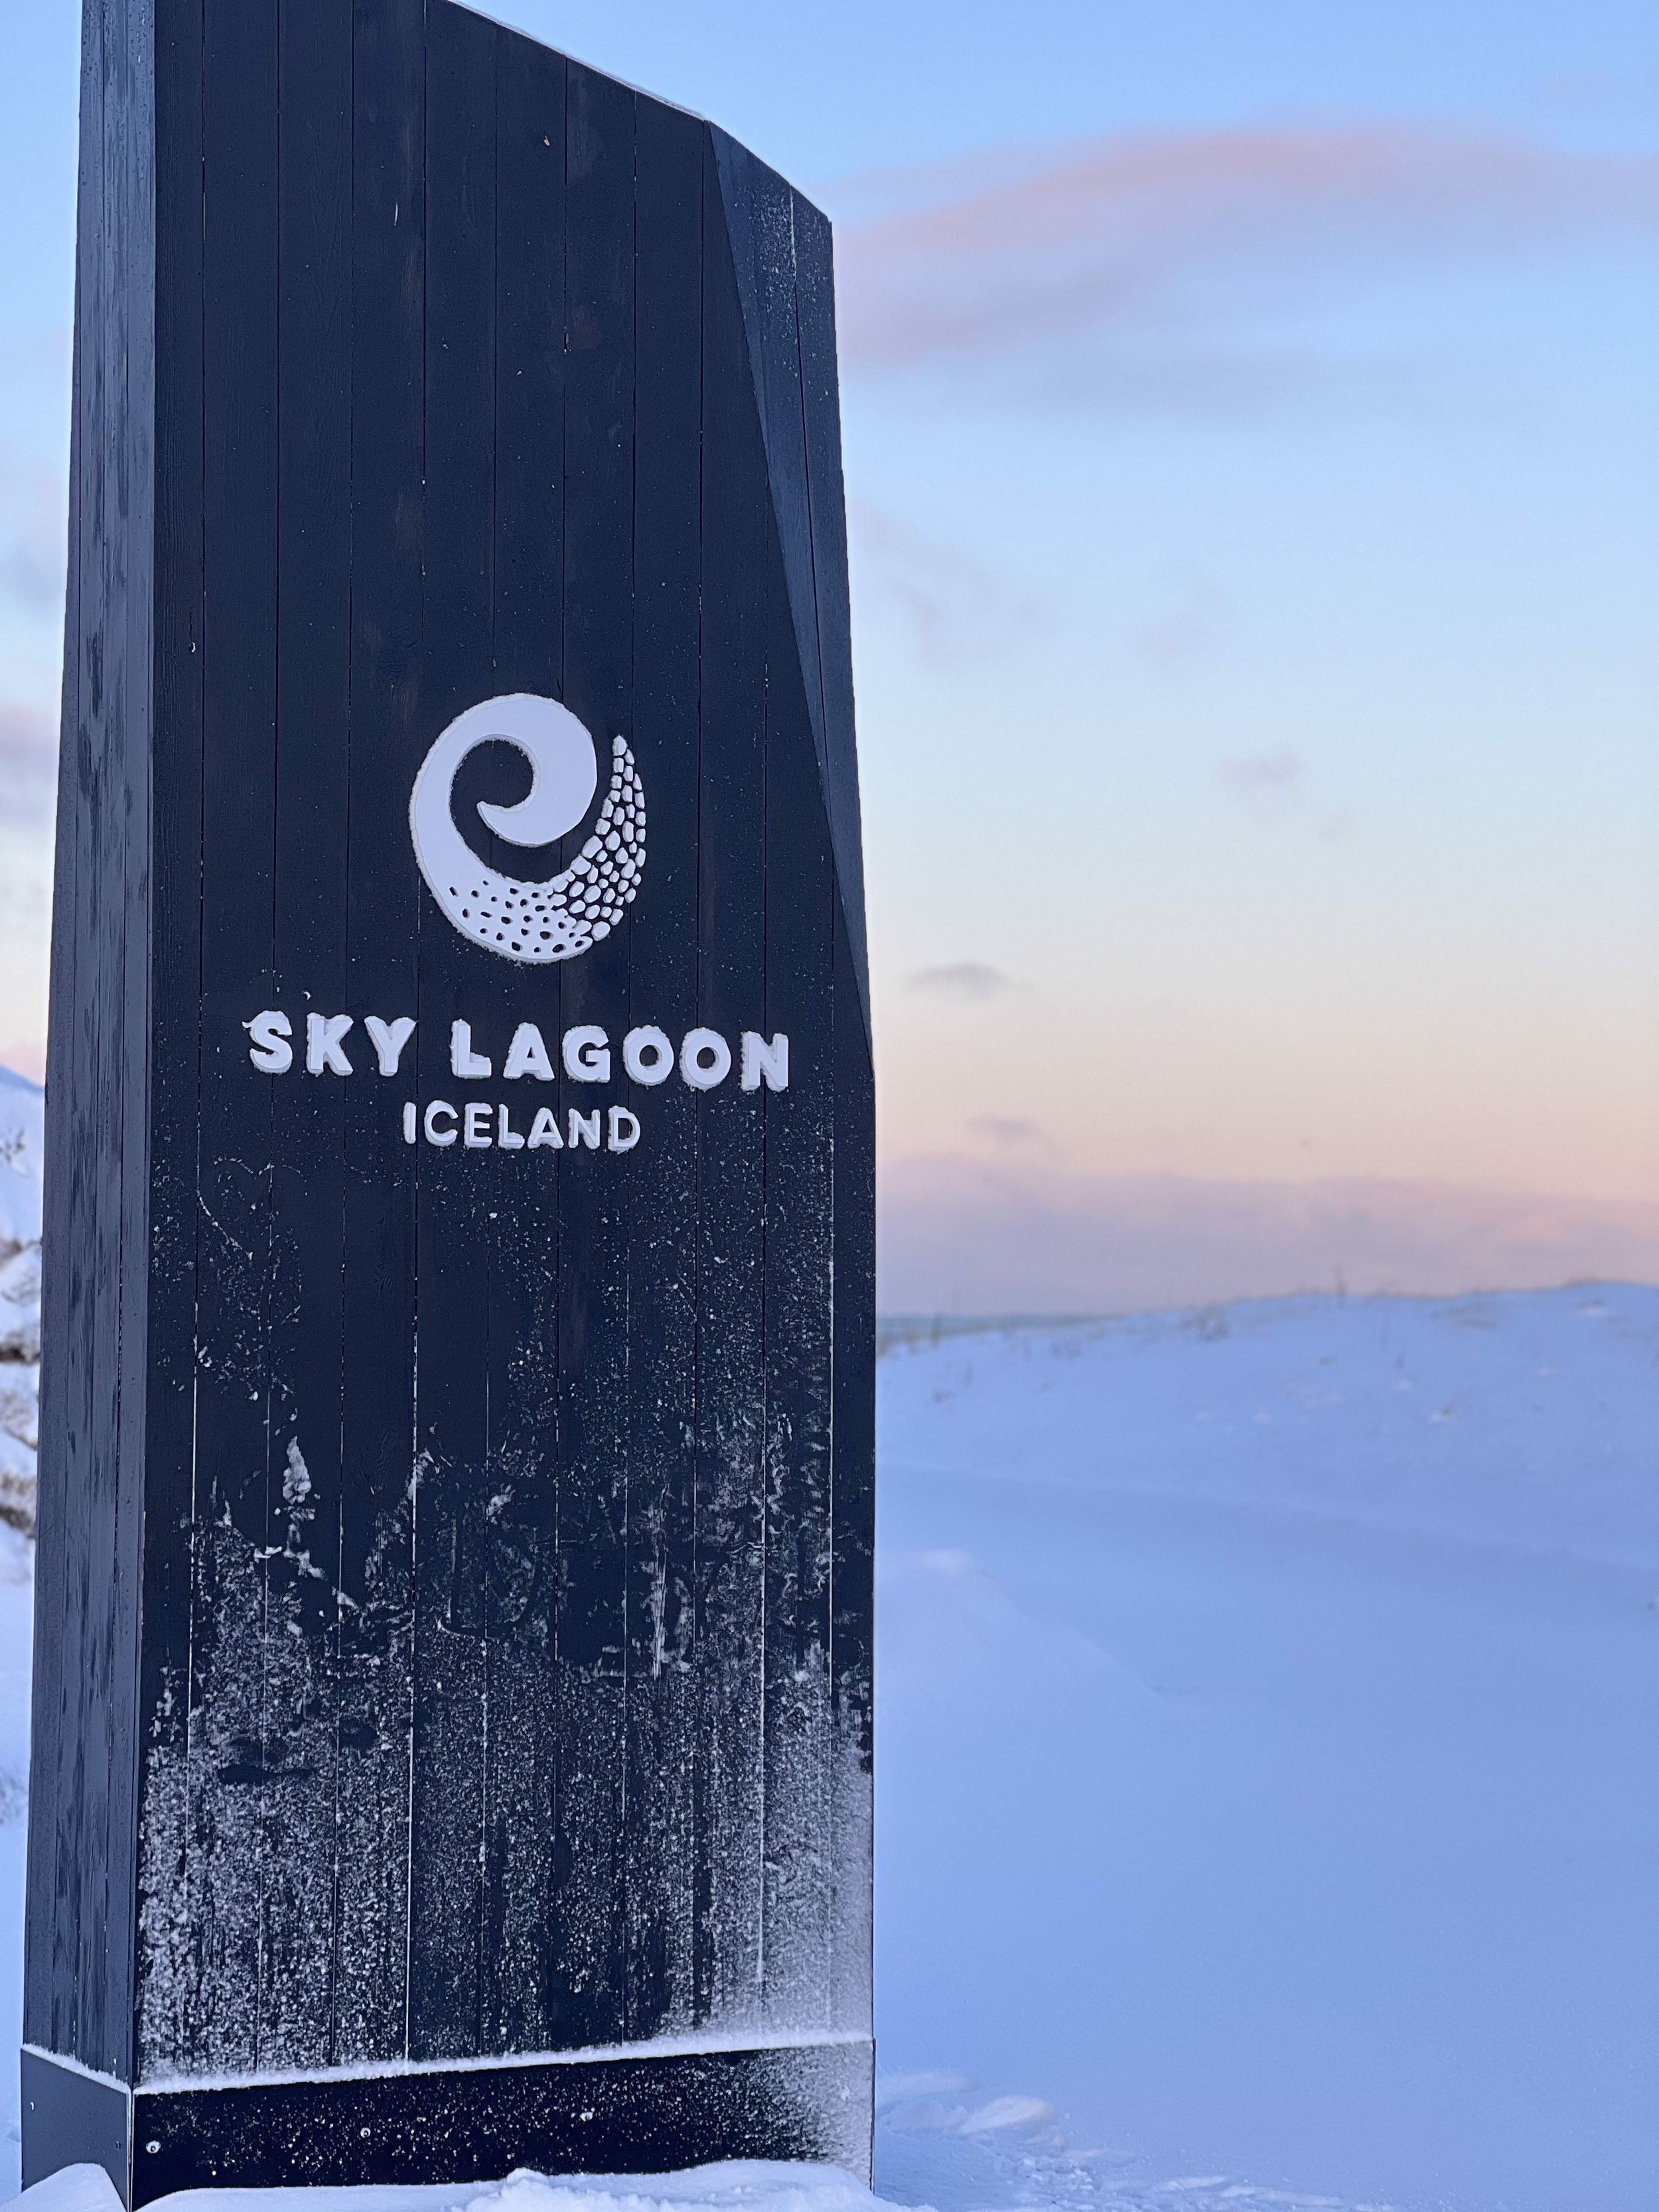
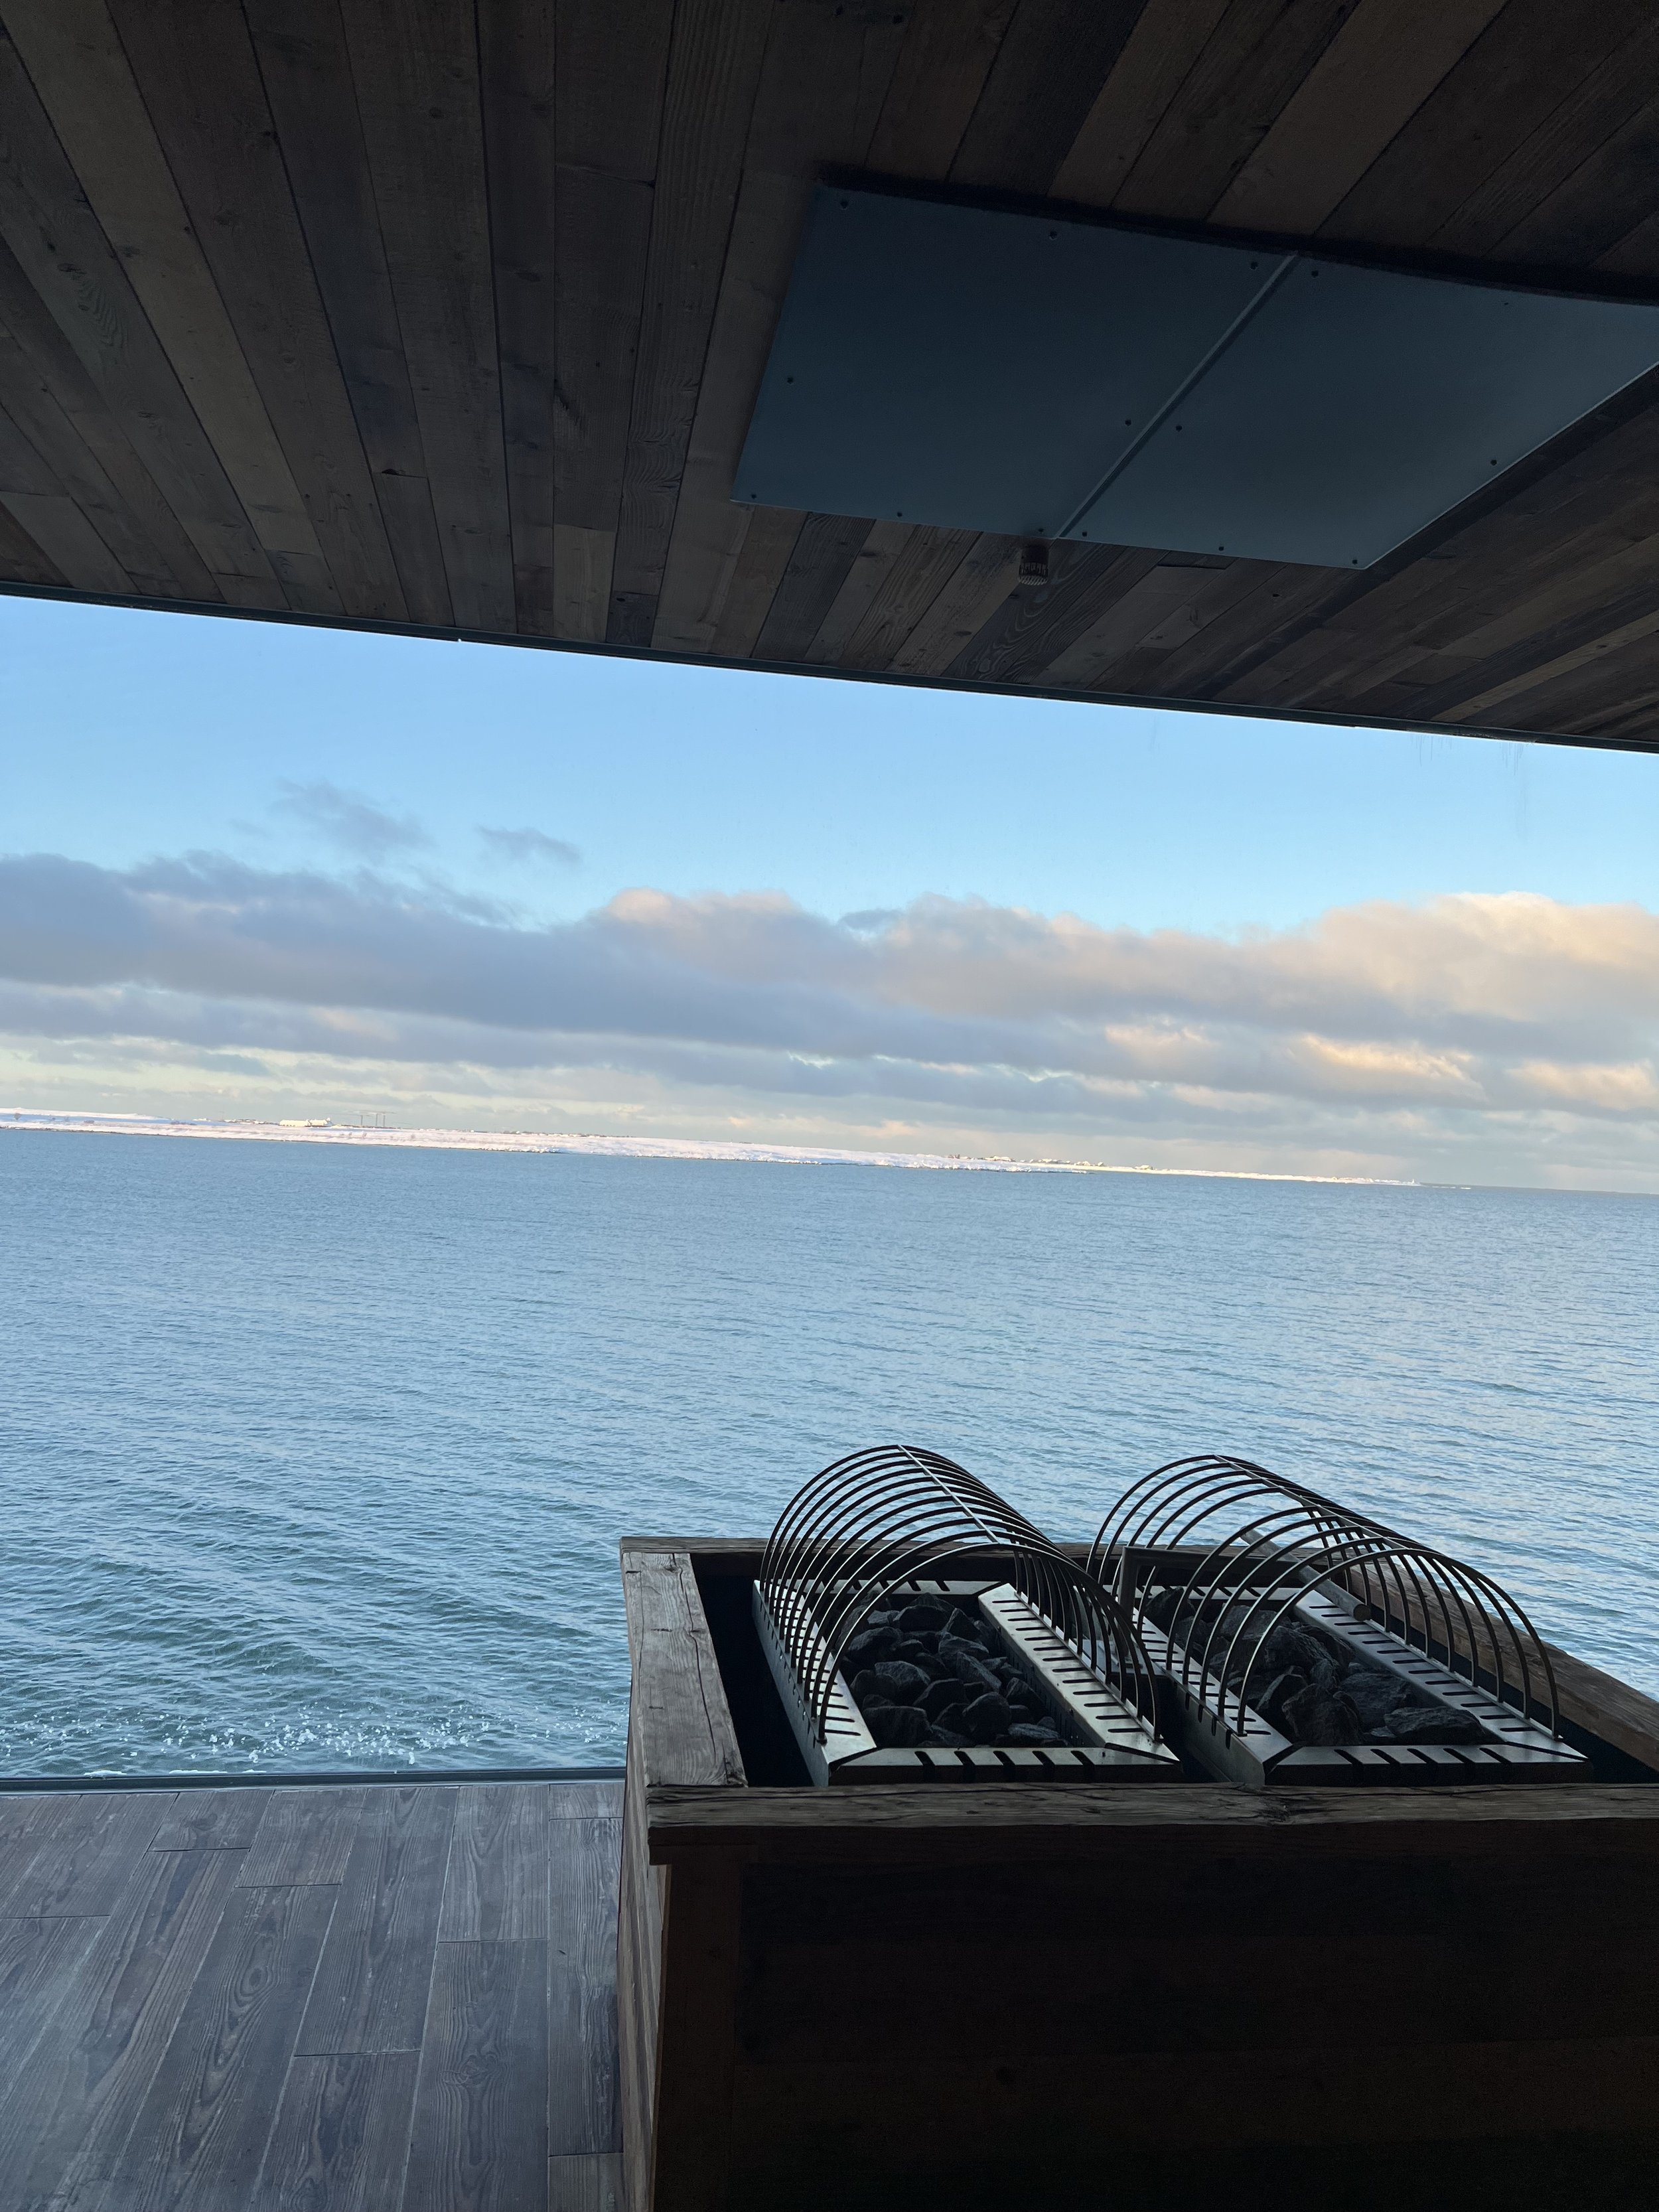
Transfer to Sky Lagoon at 10:15. Get picked up at 11:50 AM and get dropped off at the BSI terminal. Don’t be like me and go to Bus Stop 1 and then walk to the BSI Terminal only to miss the bus! I ended up catching a cab but it was an additional cost and slightly stressful. I read that the local buses only accept cash (which I didn’t bring) but luckily Bus Stop 1 is only a beautiful walk away from the BSI Terminal. I linked a transfer through Get Your Guide but there’s also a Sky Lagoon transfer ticketing option on their website with the Pure package so that you can experience the 7-step ritual. Sky Lagoon is only 15 minutes from the city center so not only is it convenient but it is the perfect way to relax and wind down before your flight home. The views are spectacular. Remember to bring everything with you! From the lagoon, you are going to transfer back to the airport.
Catch the Flybus Reykjavik Excursions transfer to Keflavik Airport at 12:30 from the BSI Terminal to arrive at the airport just after 1 PM.
Explore the airport and get lunch.
Catch the flight from Reykjavik to Newburgh at 4 PM, land at 5 PM (6 hours)

Packing List
Below is a copy-and-paste packing checklist. I always keep a Note in my phone with my itinerary and packing list for ease of use while traveling. Below this list are links to the items I purchased (or similar items) to help you source everything you need!
Backpack and cross-body pack
Travel pillow/neck support
Balaclava
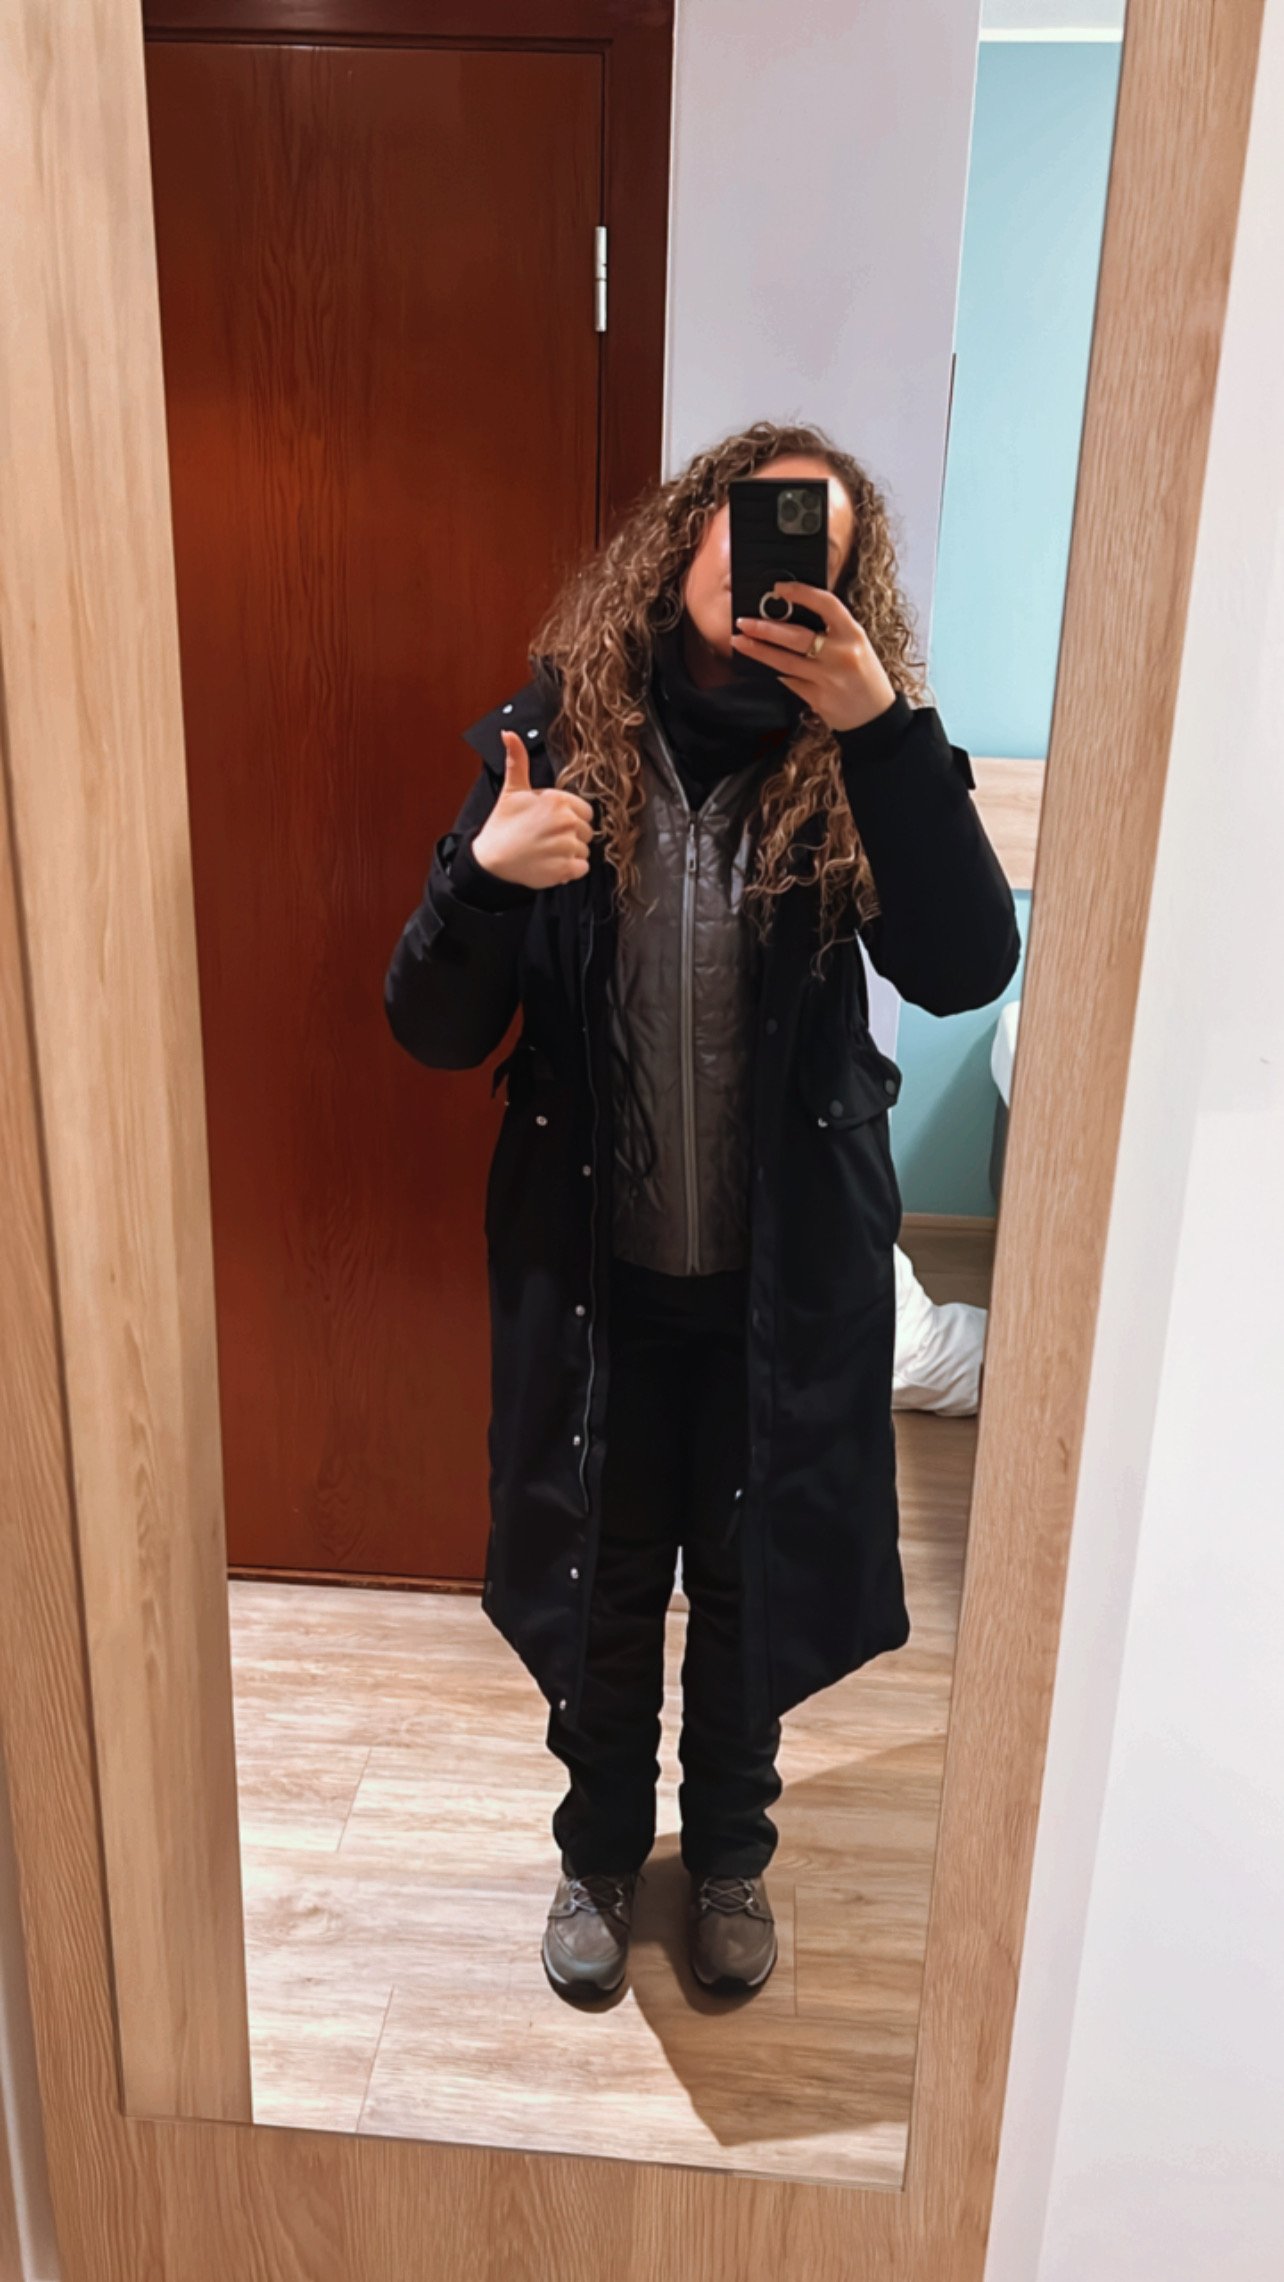
Waterproof maxi winter coat
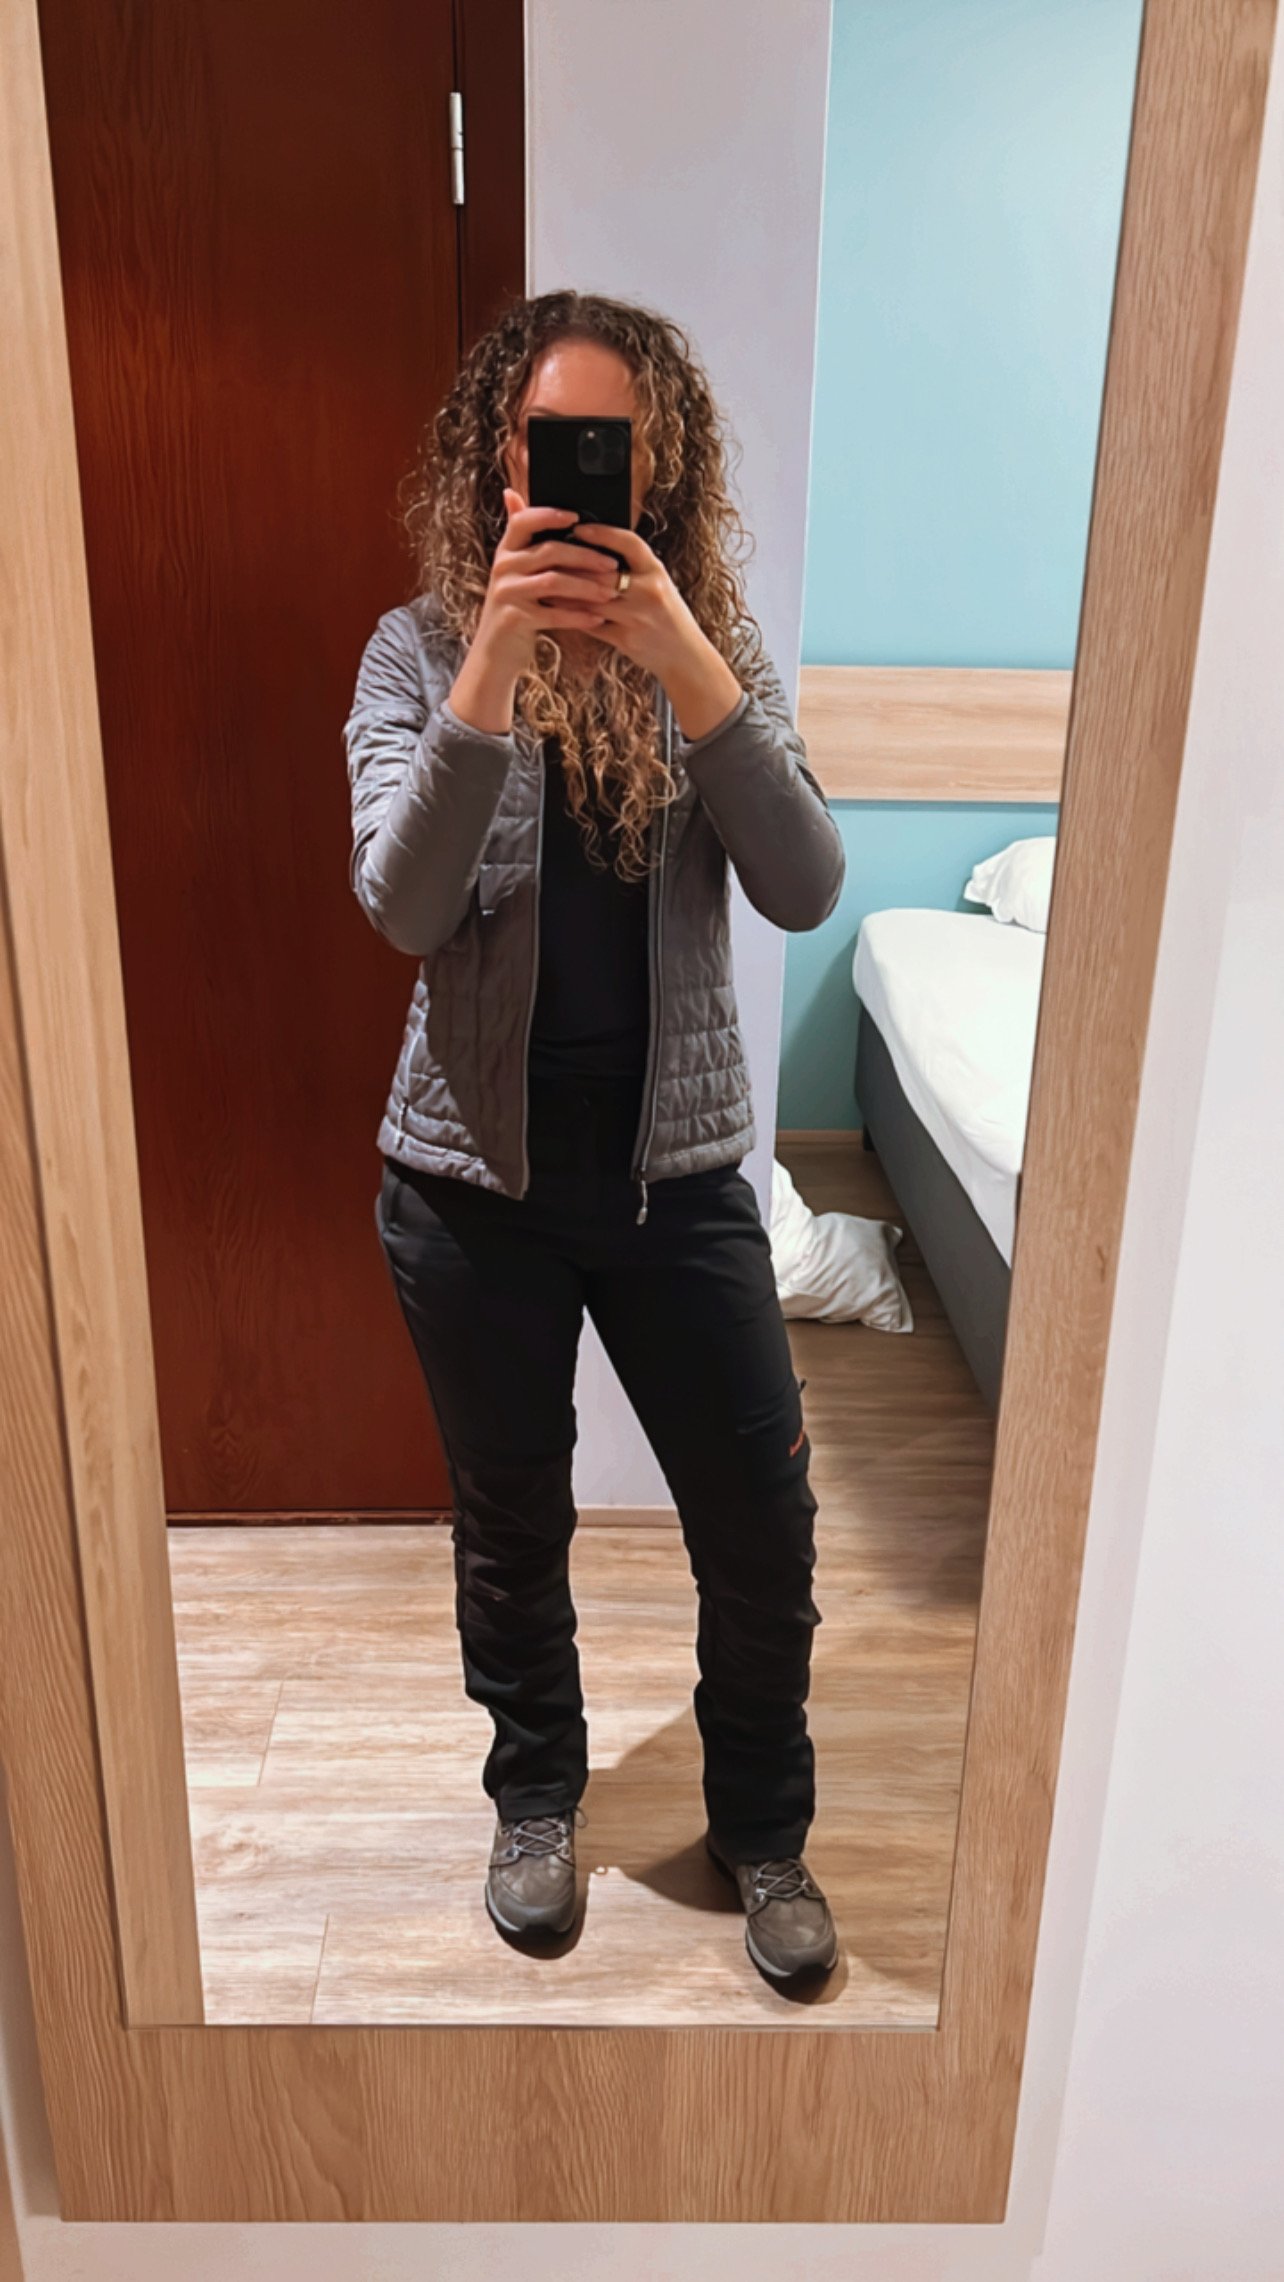
Micro puff jacket
2 Fleece-lined tops
2 Fleece-lined leggings
Wind/waterproof pants with fleece liner
4 Wool blend winter socks
Underwear/Bra
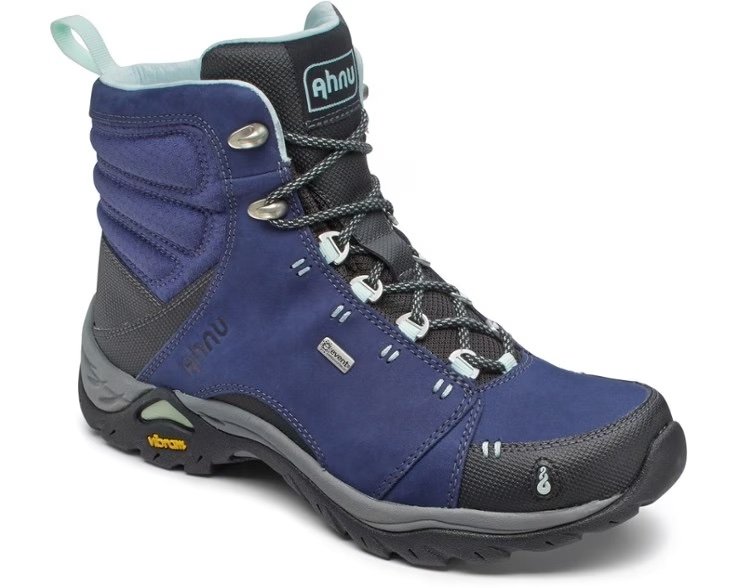
Waterproof hiking boots
Crampons
Waterproof gloves
Hand/foot warmers
Sport sunglasses
Bathing suit and wet bag (one for each lagoon)
Waterproof phone pouch
Battery pack
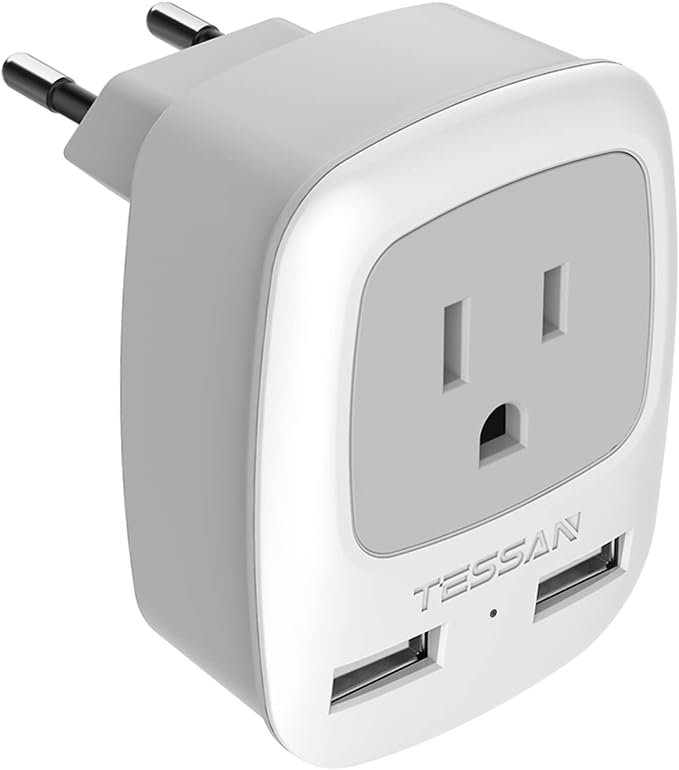
Plug adaptor
Phone charger
Headphones
Kindle
Face and lip balm
Toothbrush, facewash, serums and sunscreen
Empty water bottle/thermos
Hair tie and clip

I love this backpack because it has a shoe compartment on the bottom and a water bottle holder. It is also the perfect size to pass the “personal item” restrictions for your flight!

Can you tell I love the Luka Calpak line? This is my hack for sneaking a little extra onto my flight. They usually won’t give you a hard time about it but if they do, you can squeeze it into your backpack and put some of the items in your pockets, so there!!
The cross-body bag is my go-to for money, passport, and everything else that I want easily accessible or tucked close to my body for safety. These come in two sizes but I have the larger version which fits my Kindle perfectly. I also have the key pouch, duffle, and tech organizer. If you sign up for alerts they will send you great deals and you can also get steep discounts on Poshmark!

Hear me out on this one! The normal foam neck pillows never work great and since sleeping while traveling is so important on this trip, you’ll want to have this! It is much smaller than the traditional neck pillows, so easy to pack and it provides much better neck support! Granted, it does look a little funny. I get that. But who cares?! I’d rather look a little funny on the plane and get some shuteye than be exhausted from not sleeping. Don’t let your ego stop you from having this with you! Your neck will thank you.

The key to this is the drawstring. I tied it around the back of my head and then put my hood up, which ensured everything but my eyes was protected. No wind burnt, cold cheeks for me! A must have item.

Game changer!! Not only is this coat waterproof but it also blocks against the wind, has lots of pockets -including warm fuzzy pockets for your hands - AND because it’s a maxi coat you have protection all the way down your legs!
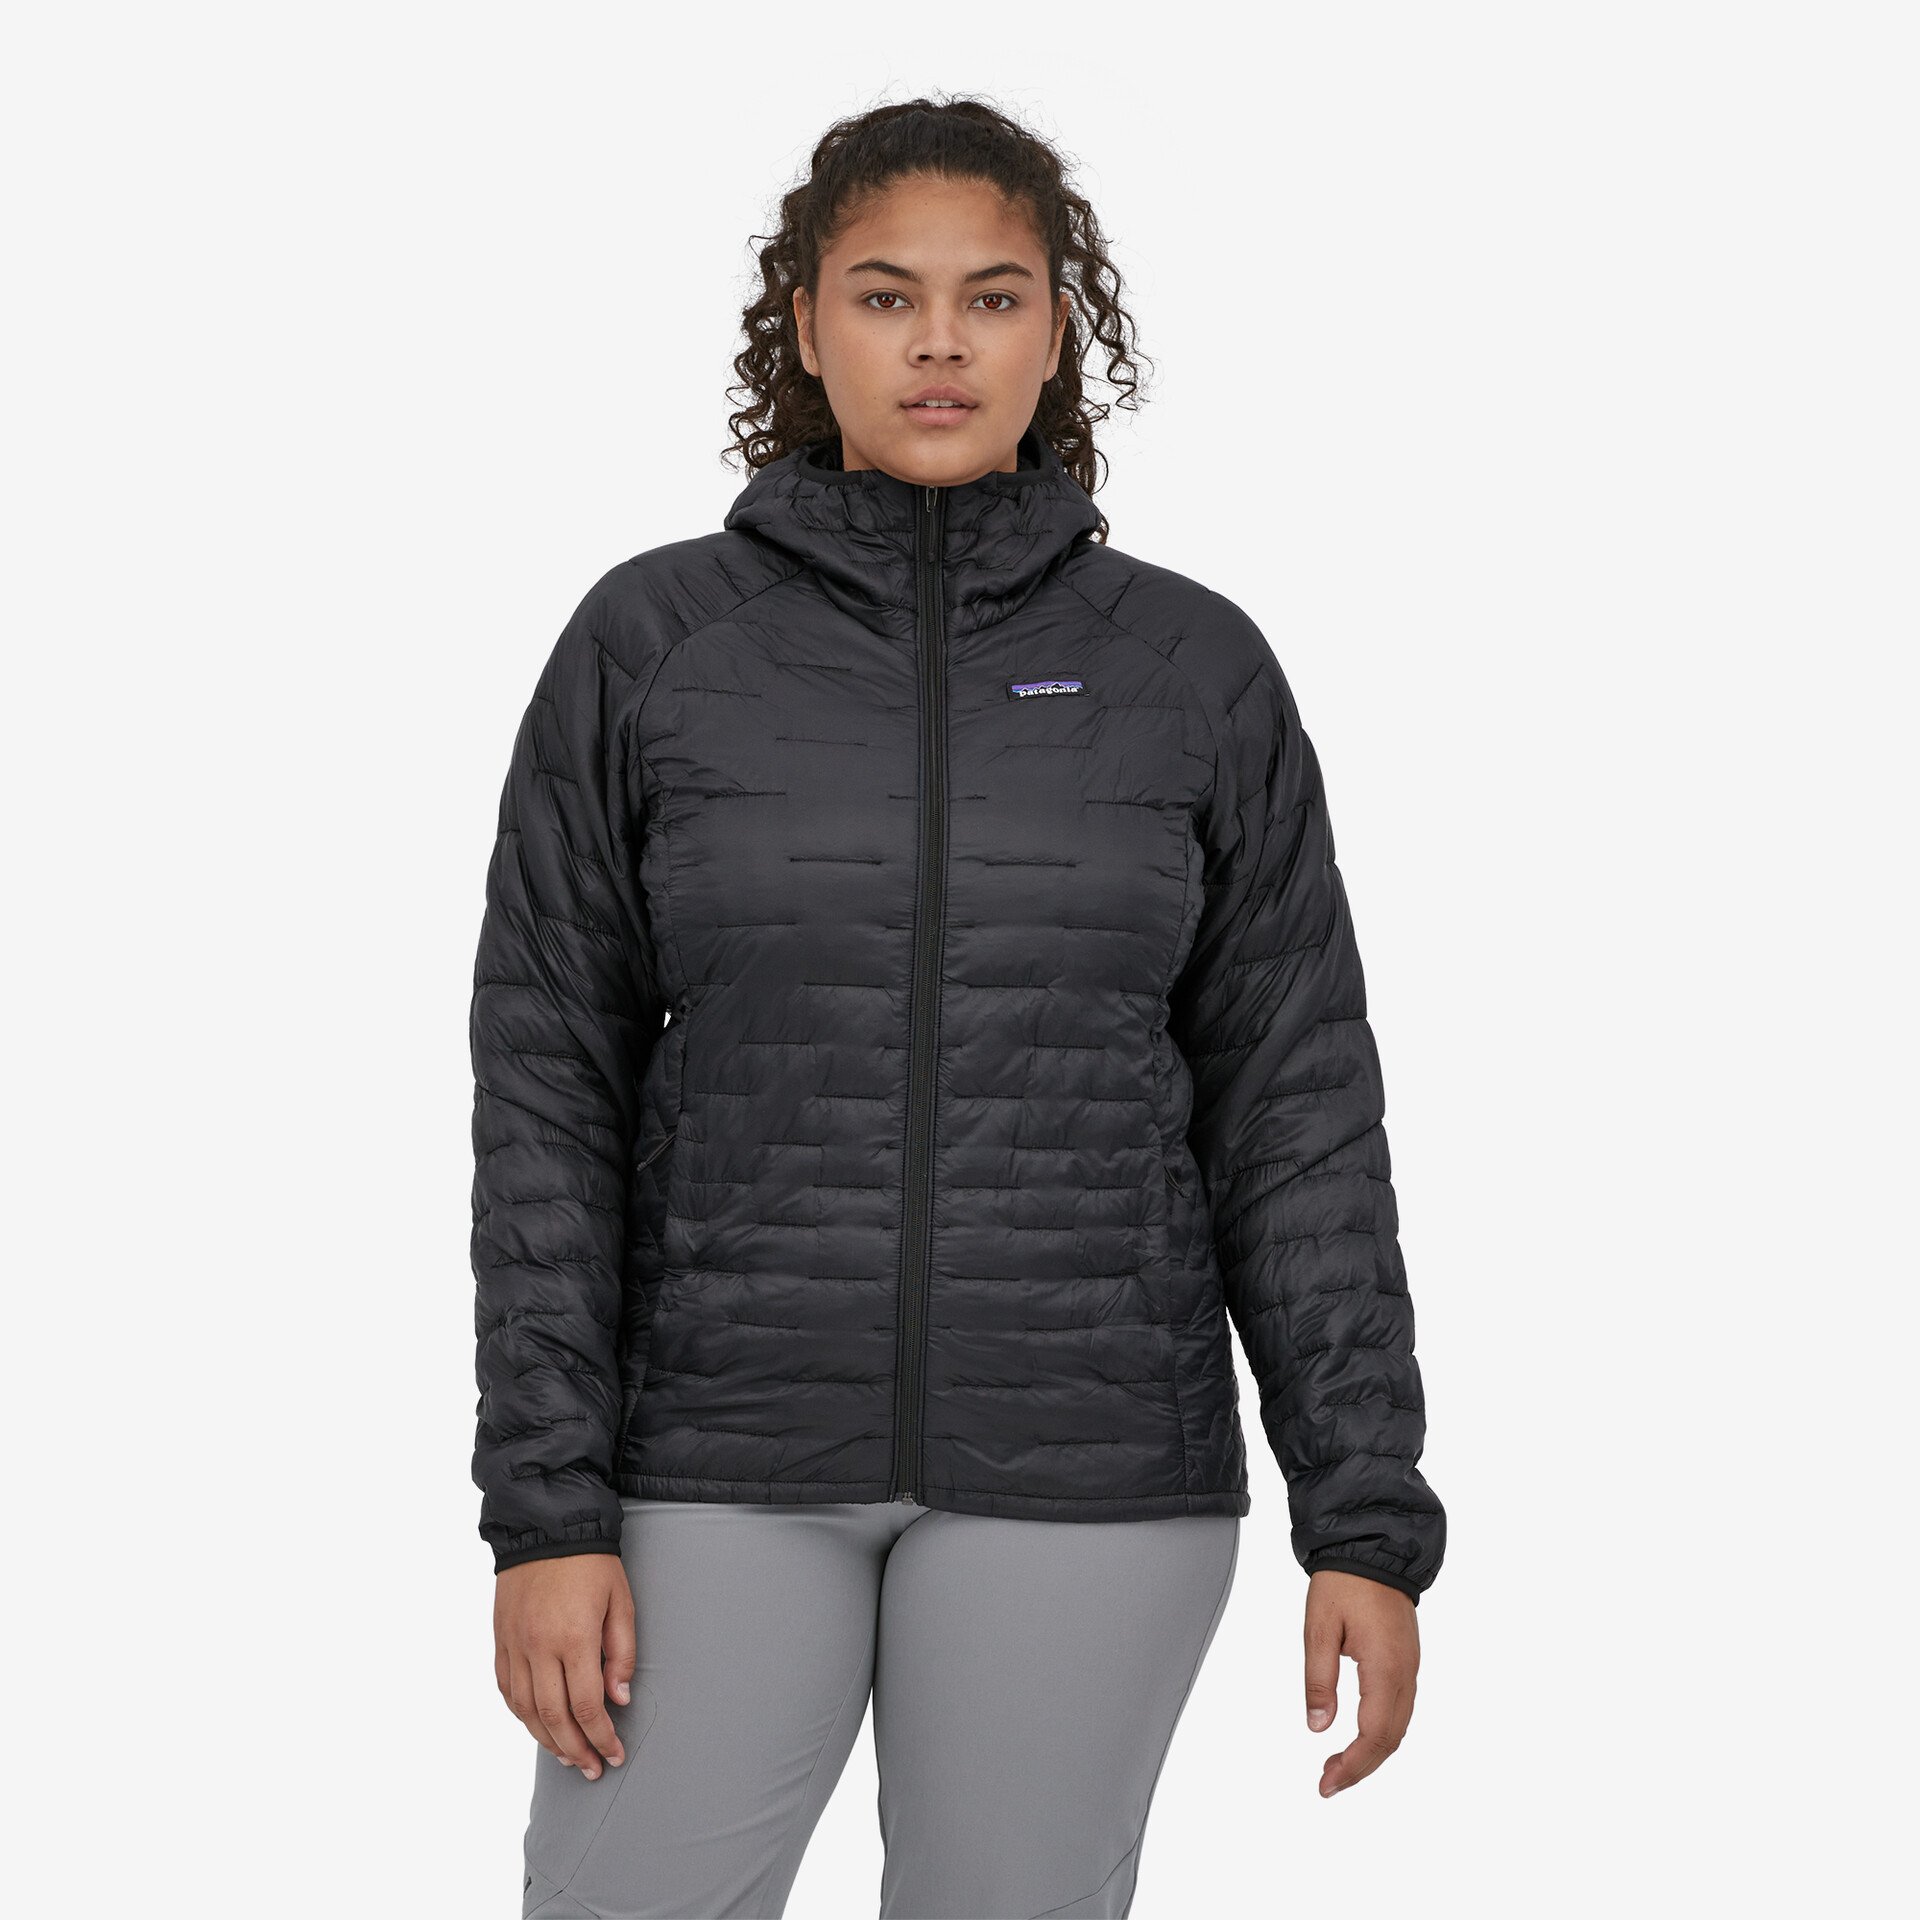
This is a GREAT liner coat between your clothing and your outerwear. What I love most is that it zippers up around your neck, so it basically comes with a neck warmer and hood. Extra cozy!

These are the perfect base layer for under your micro puff jacket!

I love these leggings! They are full-length, high-rise, and fleece-lined. They also have a drawstring at the top.

These high-rise, fleece-lined leggings also come in Tall sizing and are the perfect, warm base layer for under your waterproof pants. Getting full-length leggings is key - no cold ankles!!

The zippers on the bottom are great for adjusting over your hiking boots. I wore these over my fleece lined leggings! AND they have sizing in Tall, SOLD!

I don’t know why, but I always steal my husband’s winter socks! I think they are extra cozy. Stick a foot warmer on the bottom of your toes, lace up your boots and you’re good to go! I packed 4 pair for this trip.
These are sold out - I’M SORRY!! I think the company went out of business. I got my first pair in 2014 and I just got a new pair recently while I still could. I don’t know why they don’t make them anymore. Maybe you can get a worn pair, or at least something comparable.
These are the only shoes I wore on the entire trip. I did not pack another pair, nor did I miss having another pair. Everyone wears hiking boots everywhere!

I’ll admit, I forgot mine but my guide had a pair for everyone so I ended up being fine! But, they are light and easy to pack so better to be safe. Put them in the shoe compartment of the backpack!

You definitely want wind and waterproof gloves that have touch screen fingers. The last thing you want to do is take your fingers out of these to take photos with your phone. These are so soft on the inside and worked great!

These things are awesome!! I packed a two hand and two foot warmers. My mother-in-law buys them for us every winter and they are the best! If you’re anything like me and get cold hands and feet in normal 70 degree temps then you’ll absolutely love them! They are LUXURY on a non-luxurious trip! Also throw these in the show compartment.

Plastic is key so they don’t freeze on your face and the “shield” style helps to block the wind.

This one-piece is cute and perfect for the lagoons! Bring TWO bathing suits for this trip AND a plastic bag to store them and keep them separate from all of your other belongings when they are wet. Even better, you can store them in the shoe compartment of the backpack!

These are great for the lagoons! Bring you phone in knowing it’ll be safe in the water.
Don’t forget this or your power cord to charge your phone. The plug on the tour bus fried my cord, so maybe bring an extra cord if you can. I had to buy new at the corner market and they almost didn’t have my type!

I never travel without one of these because I love using my phone to take photos and I don’t want to worry about running out of battery.

If you’re anything like me, you don’t go anywhere without a water bottle and lip balm! You will definitely want to pack a lip balm for this trip. I ended up buying the Blue Lagoon brand in the airport and let me tell you, it’s dreamy!

Guys, this product is a chef’s kiss!! I have very sensitive skin so if I expose my face to harsh cold, windy weather I will get a rash and/or breakout. I put a layer of this on under my sunscreen to help protect my face. It is a miracle worker for winter skin!
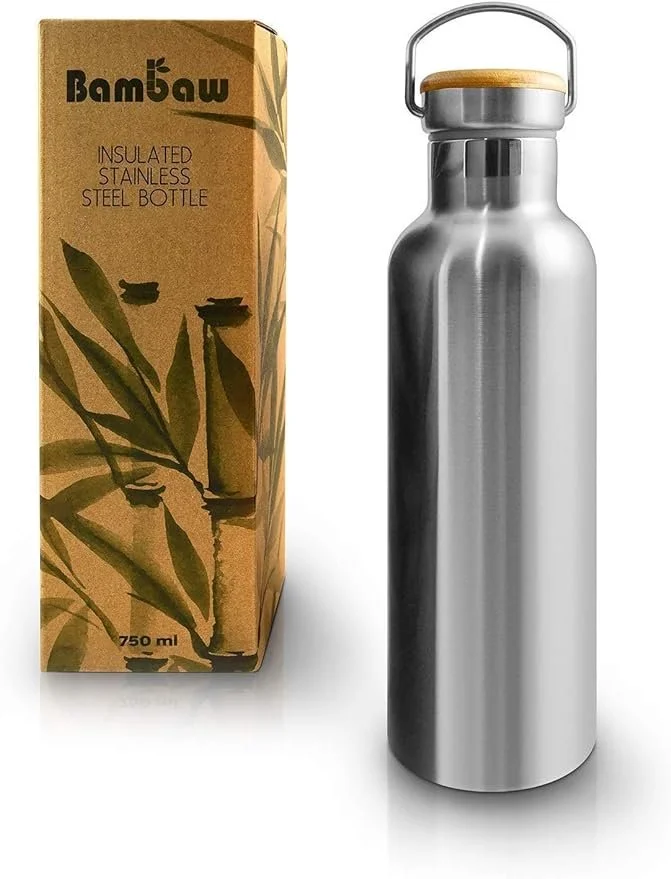
Big tip - save money on buying beverages when you pack a reusable water bottle! Europe is big on this, they have fountains at rest stops, in the airport, etc. ALSO - the water in the fresh spring rivers of Iceland is drinkable! My guide filled my water up from the river. I was skeptical, so I didn’t drink it until I went back to my hotel and poured it into a wine glass to analyze its clarity (lol). It was the purest water I’ve ever seen or tasted and only wish I was able to fill it up more than once.
Pack this in the bottle pouch of your backpack and you’re set to go!

I’m calling this one out only because it’s so important that you know not to put your hair in the blue lagoon water (or else you’ll look like a troll with straw hair!) In all seriousness, I saw girls dunking their heads and felt so sorry for them. Don’t be like them. When you shower (they will make you shower before going in) make sure to coat your hair in conditioner to protect it. The minerals are harsh on your hair but amazing for the skin. Funny how that works, huh?
There you have it friends! Ping me on my personal Instagram or use my Contact form on this website if you want to get in touch or are curious about any other details!